To manage a client being supervised under a drug patch, officer can perform the following tasks:
- Record a drug patch replacement/removal appointment.
- Record drug patch results.
- Collect payment.
Record Drug Patch Replacement/Removal Appointment
- Log in to SCRAM 24/7.
The officer’s Testing page appears.
Locate the specific drug patch appointment and click the Replace/Remove a Drug Patch button.
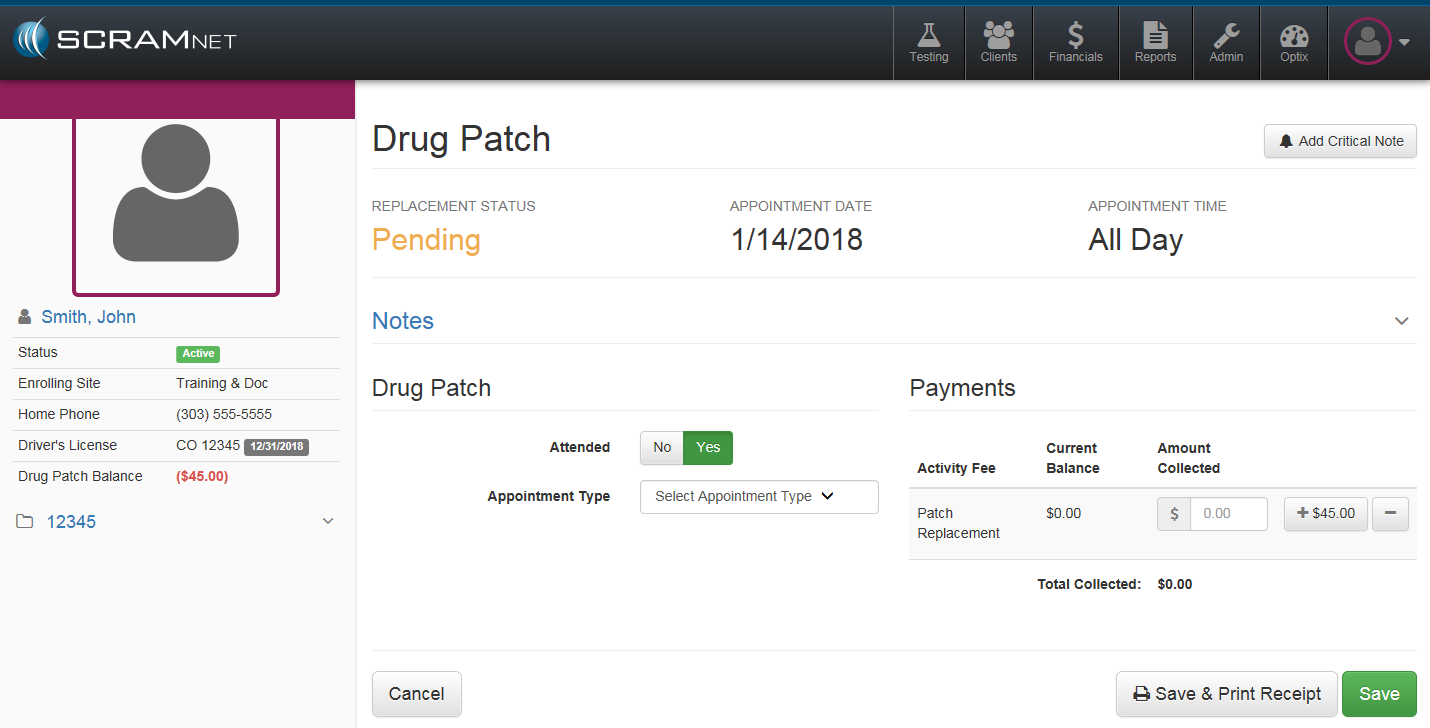
The Replace/Remove Drug Patch page appears.
Note: The Replace/Remove Drug Patch page can also be accessed from the client’s Summary page.
Drug Patch Replacement
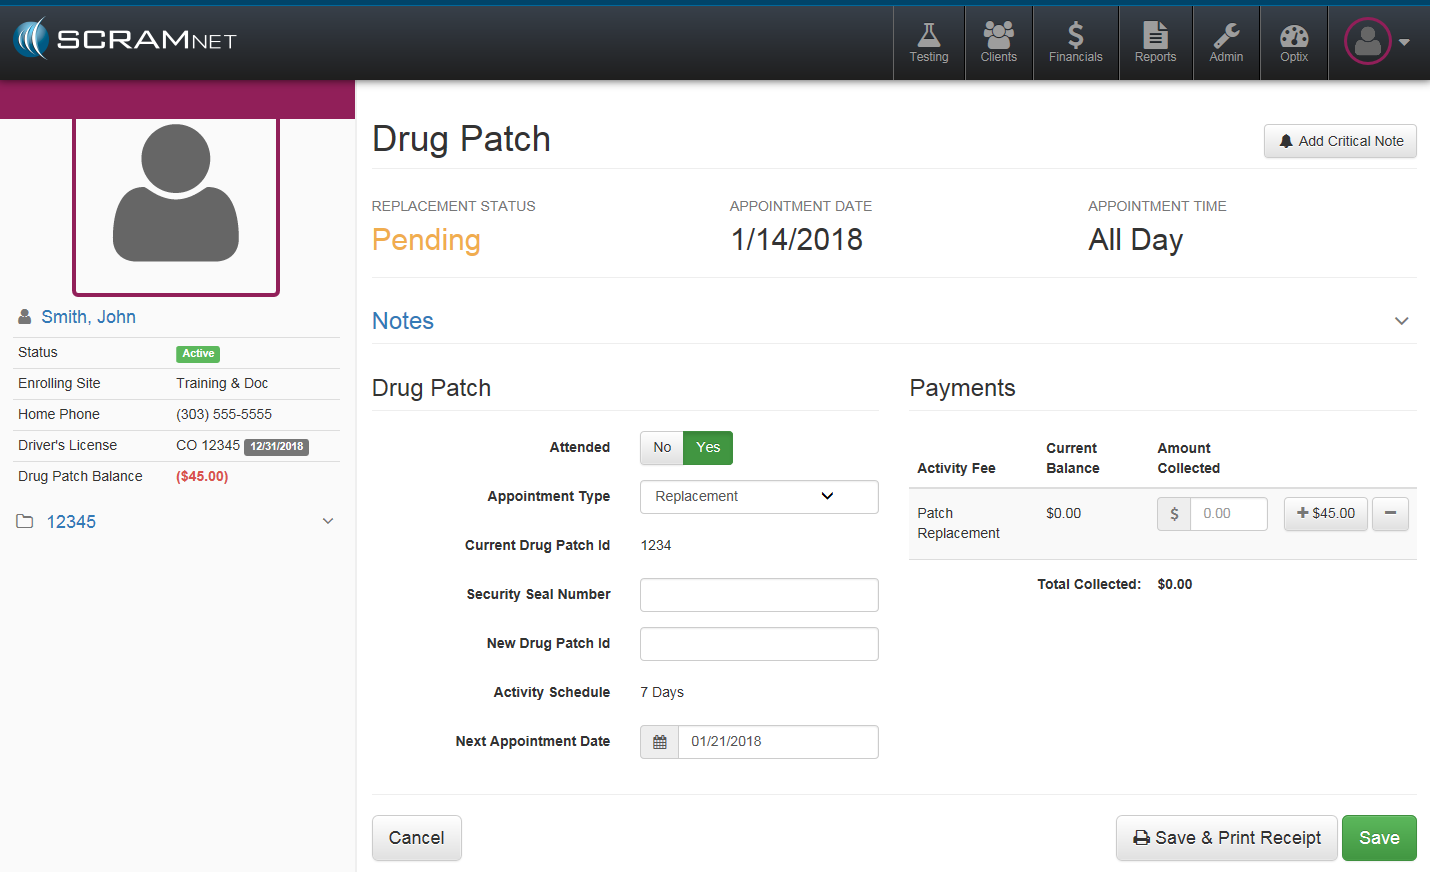
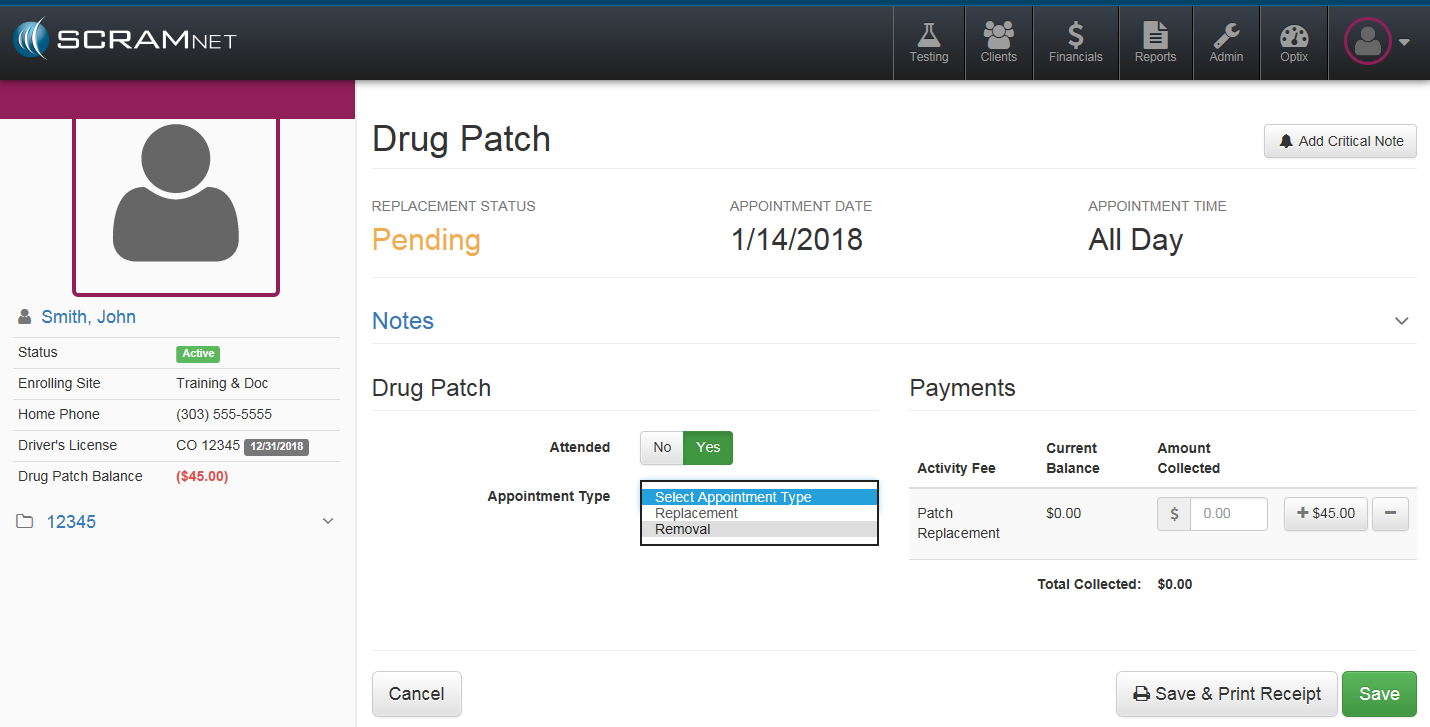
With the client in attendance, select the “Replacement” option in the Appointment Type drop-down list.

The appointment details appear.
Note: If the client does not attend appointment:
Click the “Attended” No button.
Click the applicable “Excused Absence” button.
Reschedule the appointment.
Click the Save button.
Remove the drug patch and place in package.
Secure the package with a security seal.
Enter the security seal number.
Enter the drug patch ID for the new drug patch.
Attach the new drug patch.
If necessary, enter the next appointment date.
Click the Save button.
The client’s Summary page appears with the appointment shown in the Daily Activity section.
Drug Patch Removal
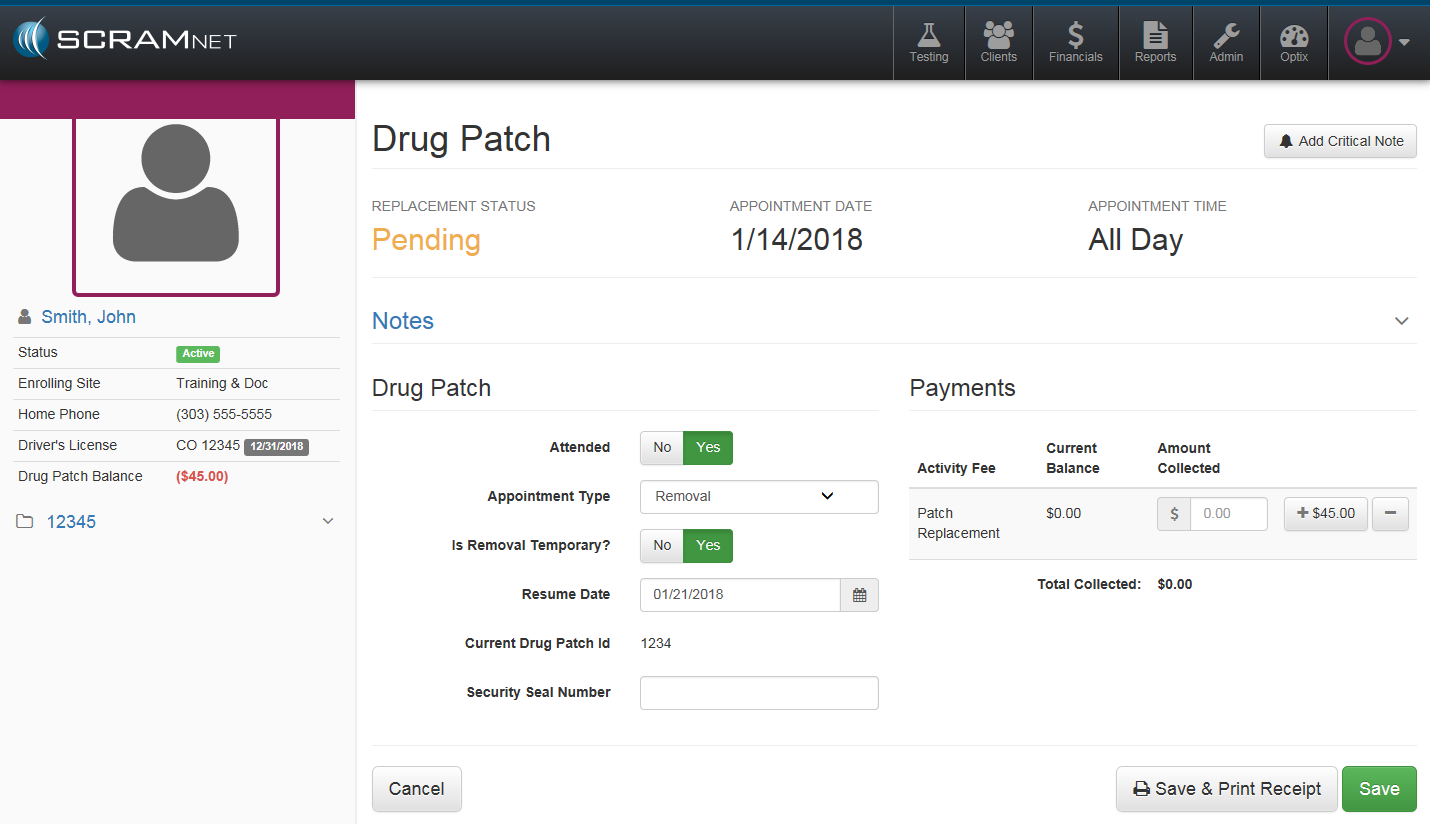
- With the client in attendance, select the “Removal” option in the Appointment Type drop-down list.
The appointment details appear.
Note: If the client does not attend appointment:
- Click the “Attended” No button.
Click the applicable “Excused Absence” button.
Reschedule the appointment.
Click the Save button.
Is the removal temporary or permanent?
- If the removal is temporary, select a resume date.
If the removal is permanent, select the “Is Removal Temporary?” No button.
Remove the drug patch and place in package.
Secure the package with a security seal.
Enter the security seal number.
Click the Save button.
The client’s Summary page reappears.
Record Drug Patch Results
- From the client’s Summary page, click the Record Drug Patch Results button that appears in the Pending Items section.
The Drug Patch Results page appears.
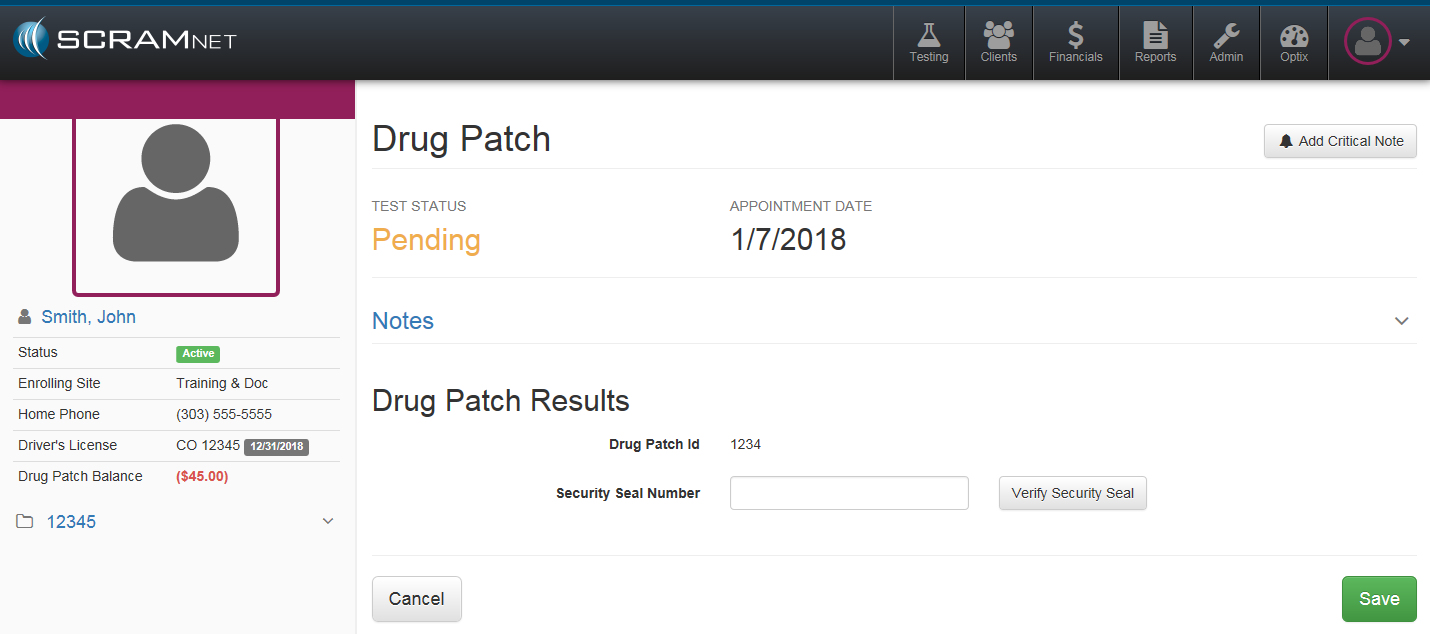
Enter the security seal number and click the Verify Security Seal button.
The test result details appear.
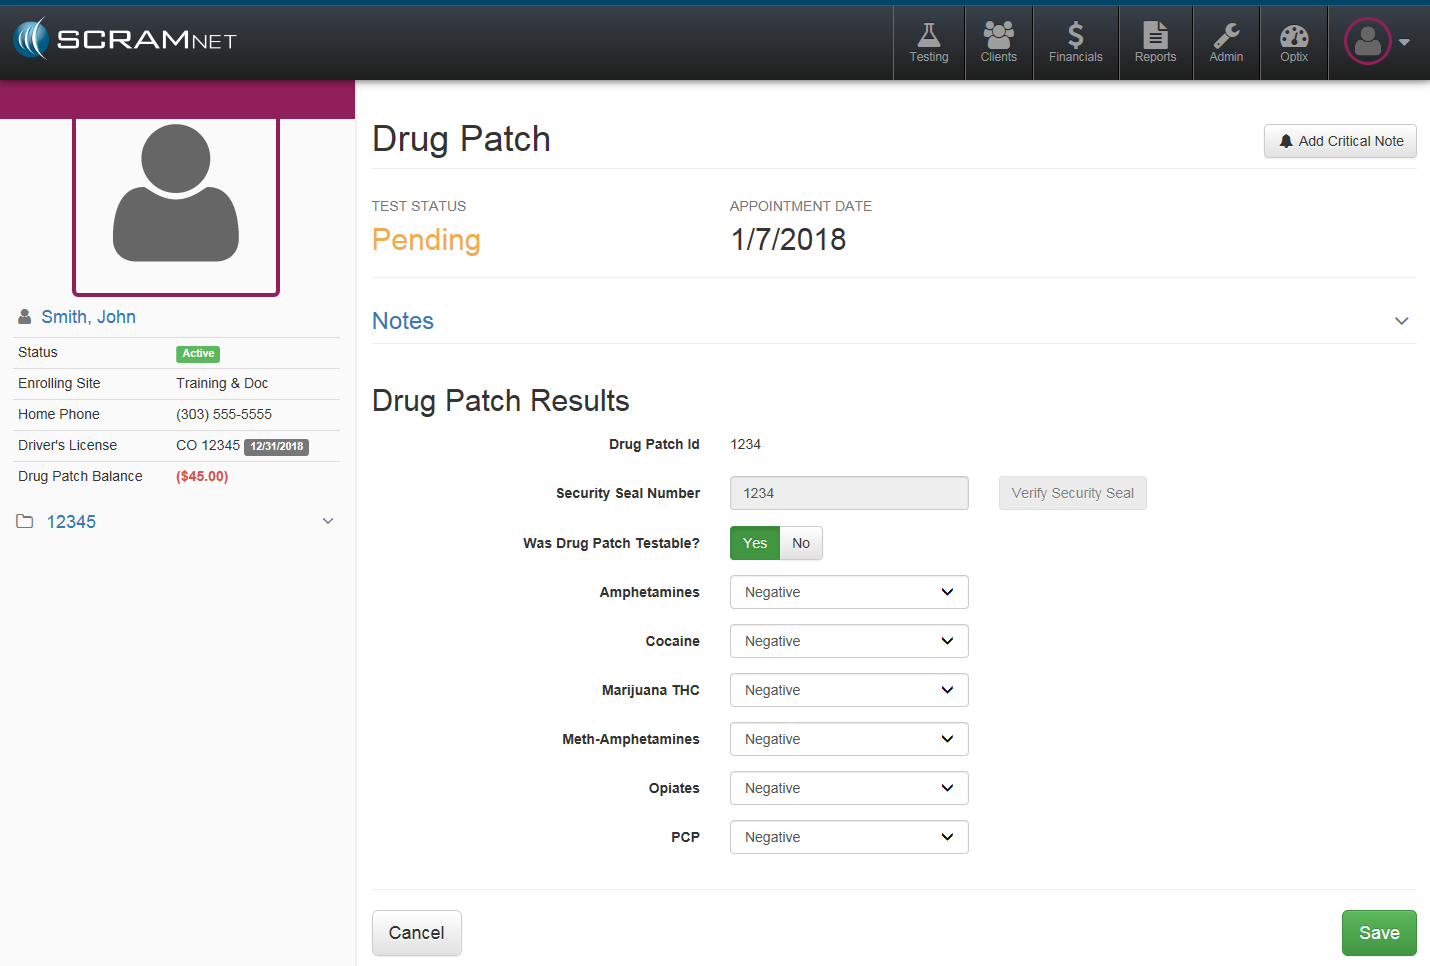
Record test results.
Negative Test Results
- Add a note. (optional)
- Click the arrow on right side to expand Notes section.
Enter note in field.
Click the Add Note button.
The note will appear to the left of the “Notes” field.
With the “Negative” option selected for each of the drug types, click the Save button.
The client’s Summary page reappears with the passed test results shown in the Daily Activity section.
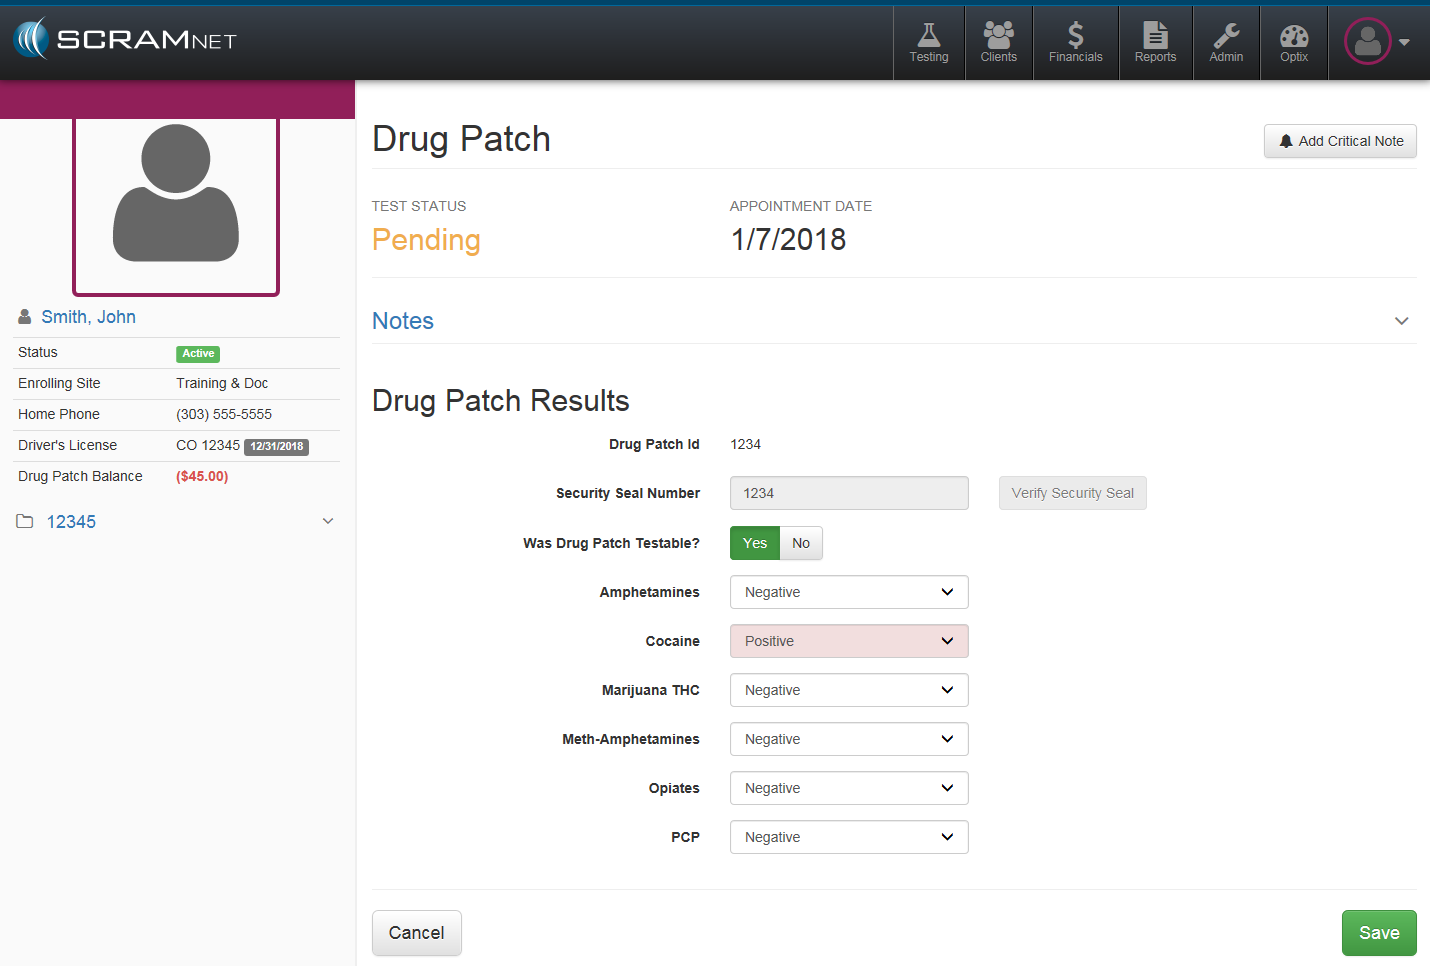
Positive Test Results
- Add a note. (optional)
- Click the arrow on right side to expand Notes section.
Enter note in field.
Click the Add Note button.
The note will appear to the left of the “Notes” field.
Select the “Positive” option for the drug type that registered a positive result.
Click the Save button.
The client’s Summary page reappears with the failed test results shown in the Daily Activity section.
Collect Payment
If the client elects to make an initial payment during an appointment or while test results are being entered:
- Click the + button until the proper amount is entered.
Click the Save button, or click the Save & Print Receipt button if a receipt of the transaction is requested.