Use this procedure to add and set up a victim in SCRAMNET® GPS.
Note: The client who is associated with this victim MUST be on a 1×1 rate plan.
- Select the Manage / Add Victim navigation option.

Select Add Victim from the Manage Dropdown Menu (click to enlarge)
The Add SCRAMNET GPS Victim page appears (click on each image to enlarge it):
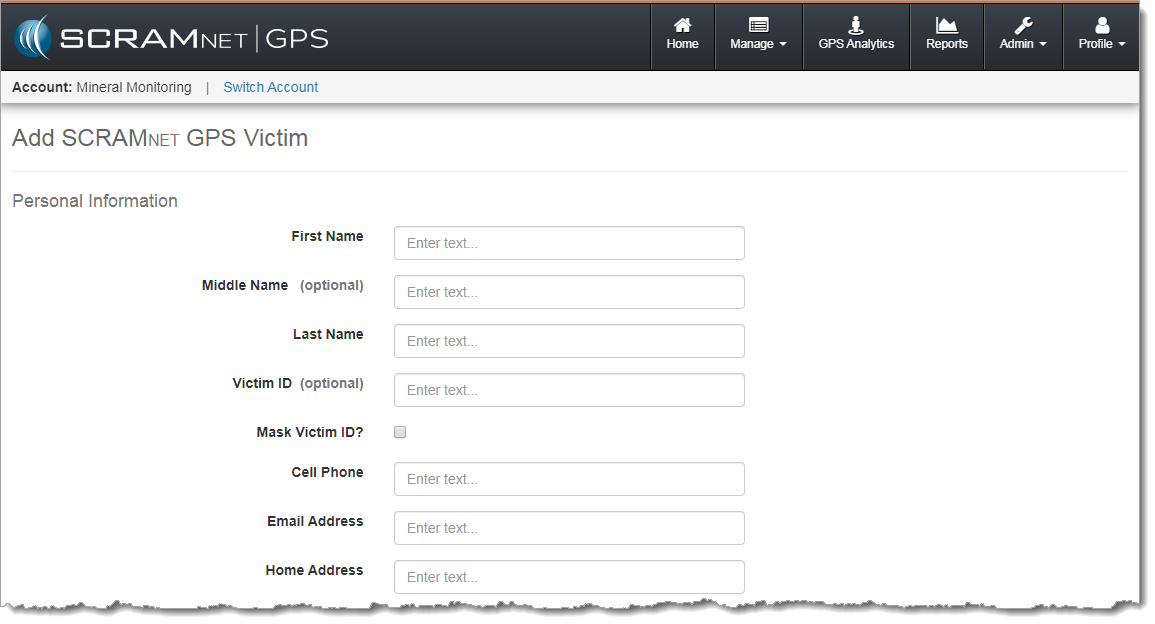
- Enter/select all required information:
- First/Last Name
- Cell Phone – Required for officer/victim communications and victim notifications.
- Email Address – Used as the victim’s username for SCRAM Ally. The SCRAM Ally download instructions will be sent to this email address.
- Home address – Required to set up an Exclusion Zone around the victim’s home.
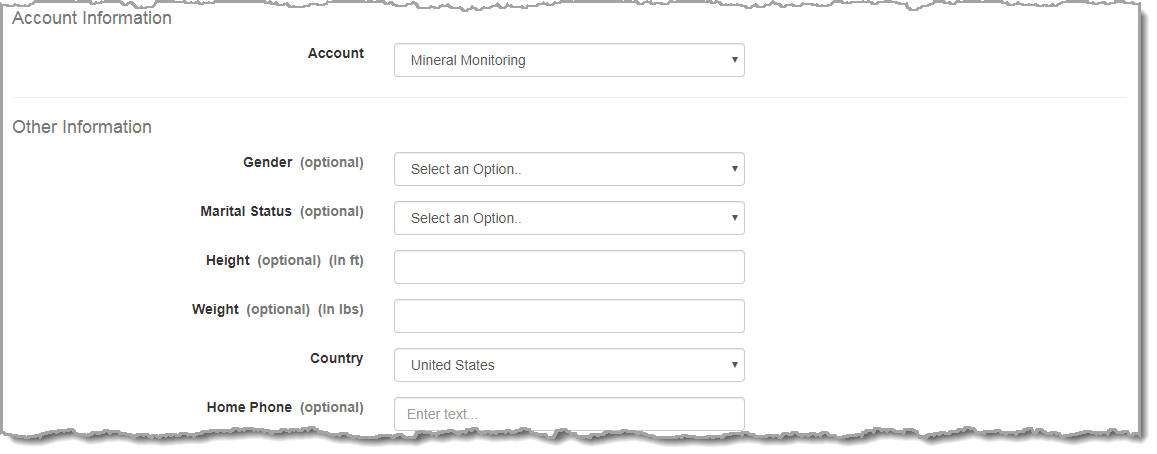
Note: The units of measure (UOM) and the date format are determined by the account settings. Also, the “Account” drop-down list will default to the current account. You have the option to select any other account in which you have permissions to access.
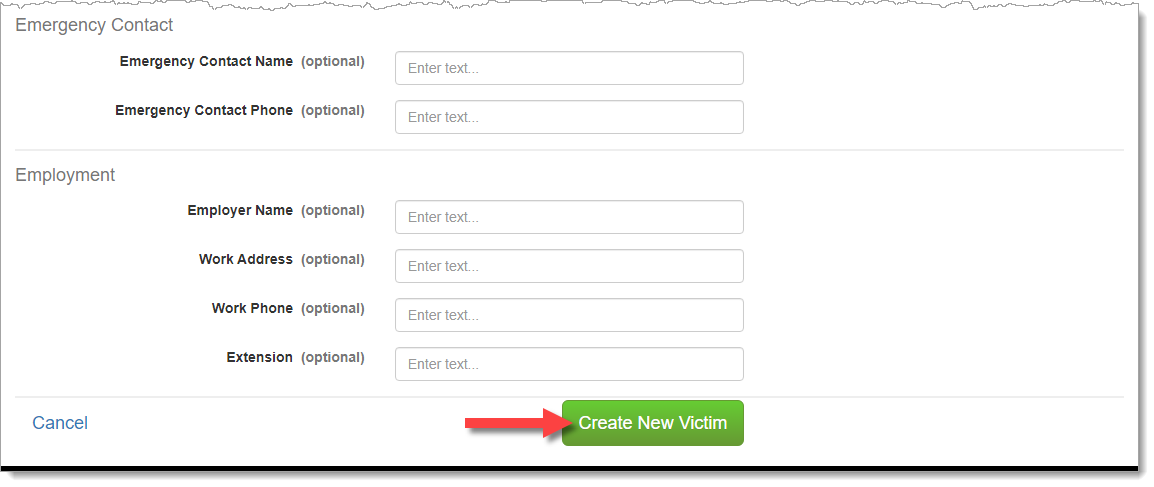
- Click the Create New Victim button.
The Victim Profile Summary page appears.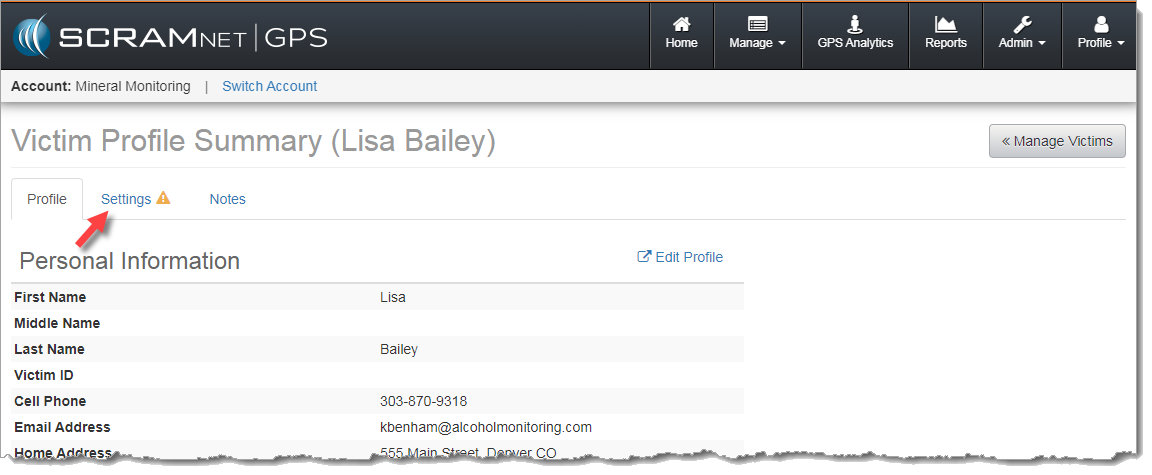
Victim Profile Summary Page (click to enlarge)
- Select the Settings tab.
- Click the Edit link.
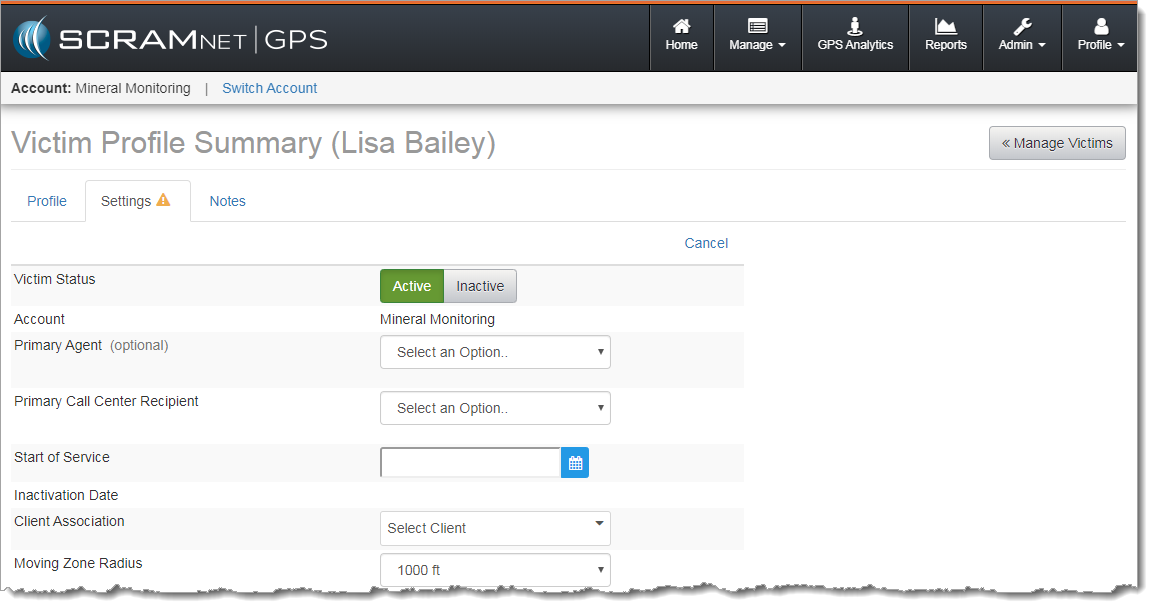
Victim Profile Summary Page – Settings Tab (click to enlarge)
- Update all required information:
- Primary Call Center Recipient (If account has Call Center enabled)
- Moving Zone Radius
- If the associated client has been added in SCRAMNET GPS, select that client in the “Client Association” drop-down list.
- Click Save Changes.
Next Steps:
- Go back and review victim notification features and violations
- Explain the features and capabilities of the SCRAM Ally App
- Identify areas in SCRAMNET GPS related to victim management
- Configure account and user/recipient/victim notification settings
- Utilize reports in SCRAMNET GPS
- View and print the SCRAM Ally App victim instructions