For SCRAM Systems customers who are using OM500 bracelets on their clients, please follow these installation instructions.
OM500 Bracelet Components
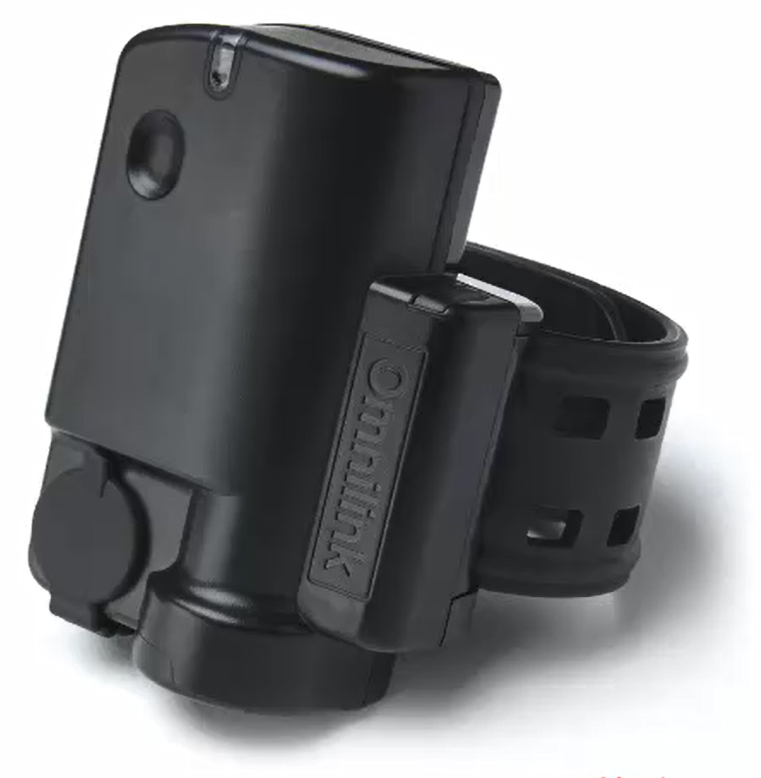
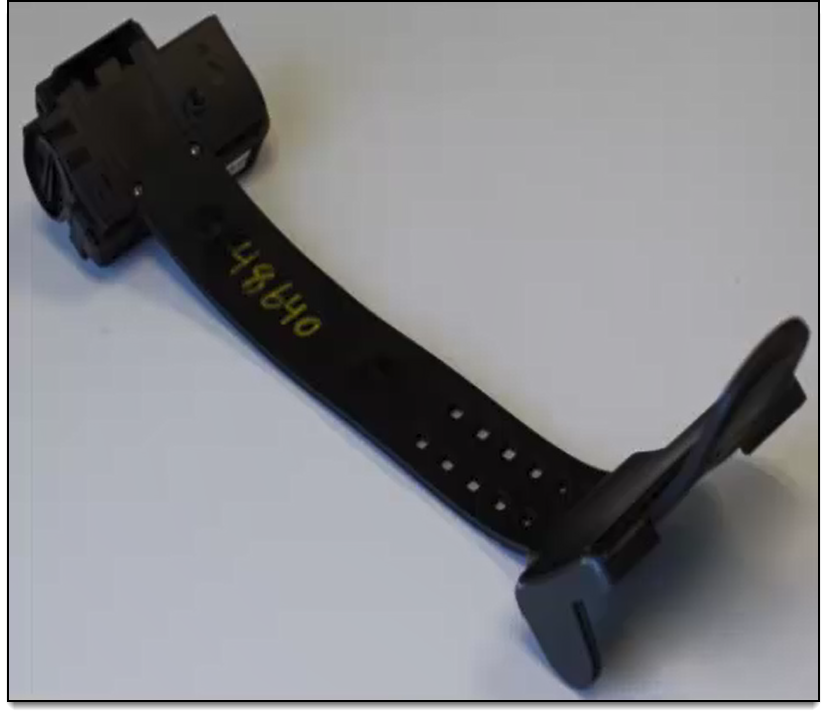
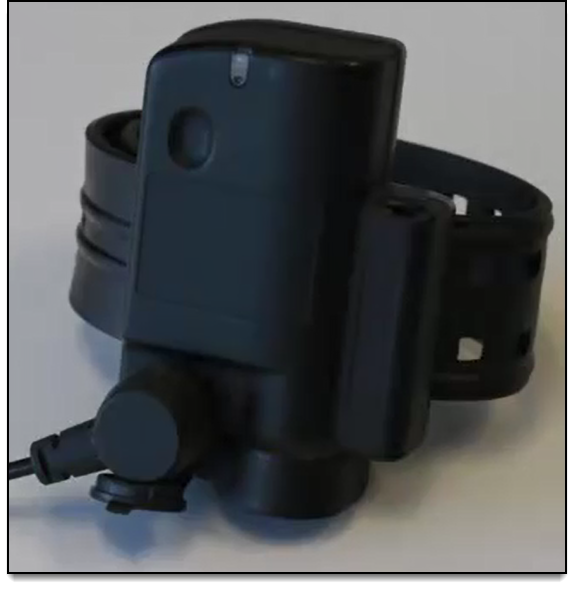
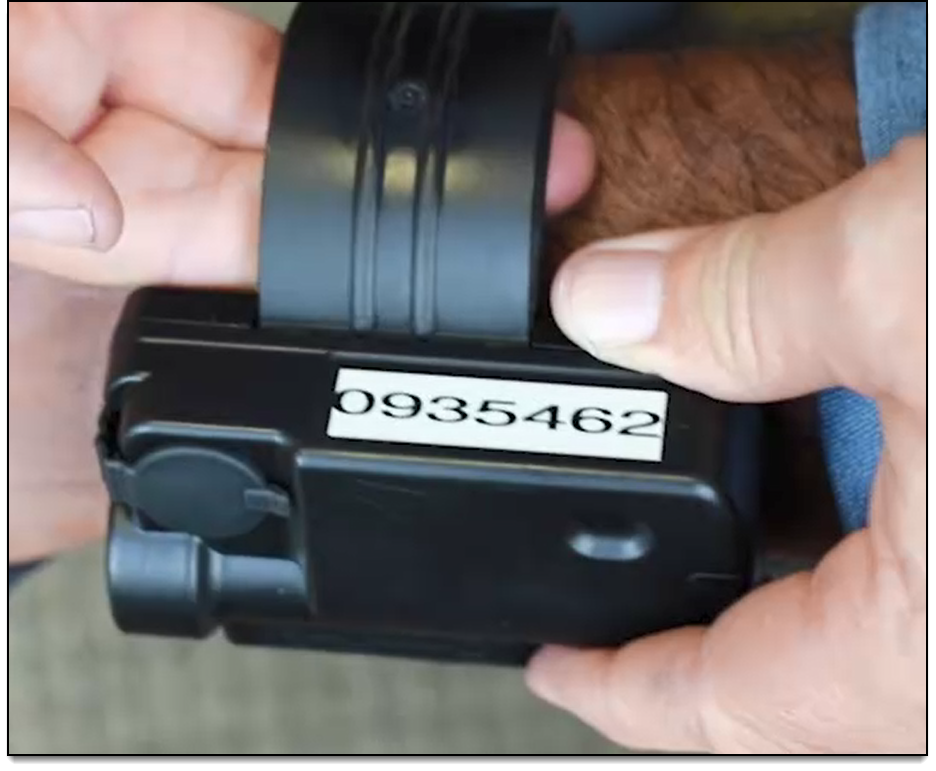
When using the OM500 GPS bracelet, it can be helpful to know what various components on the device are called.
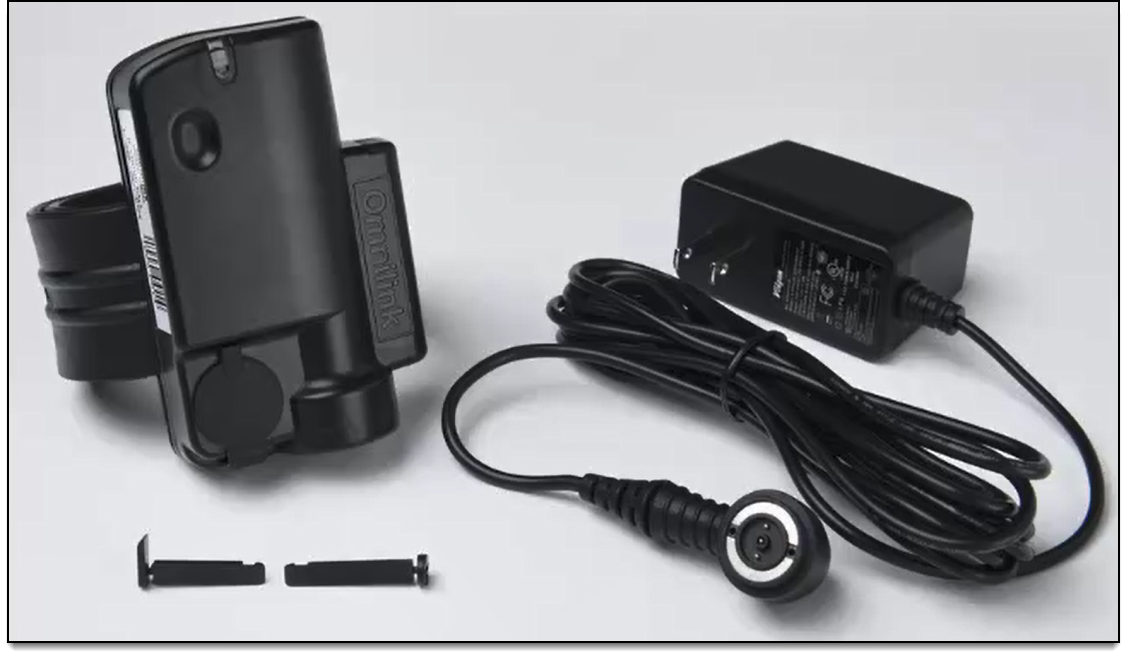
Device/Locking Pins/Charger
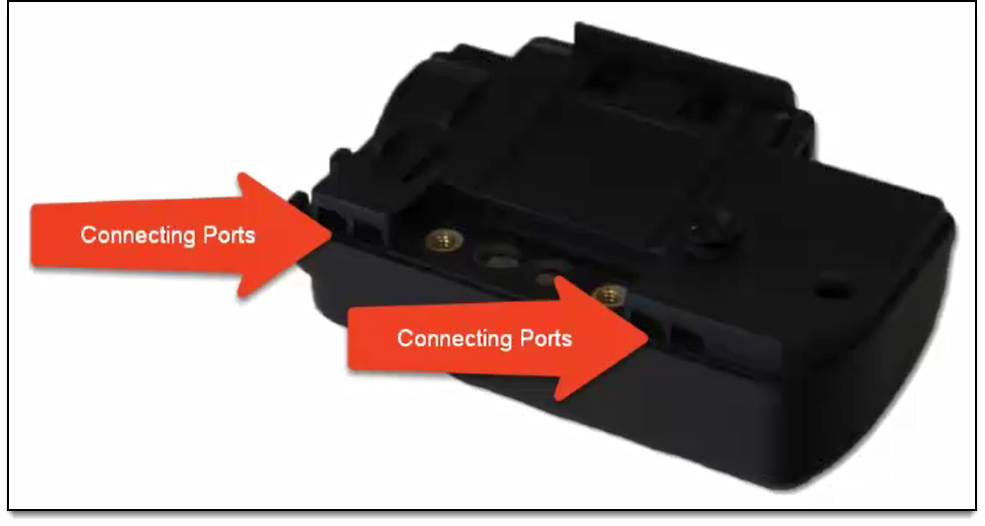
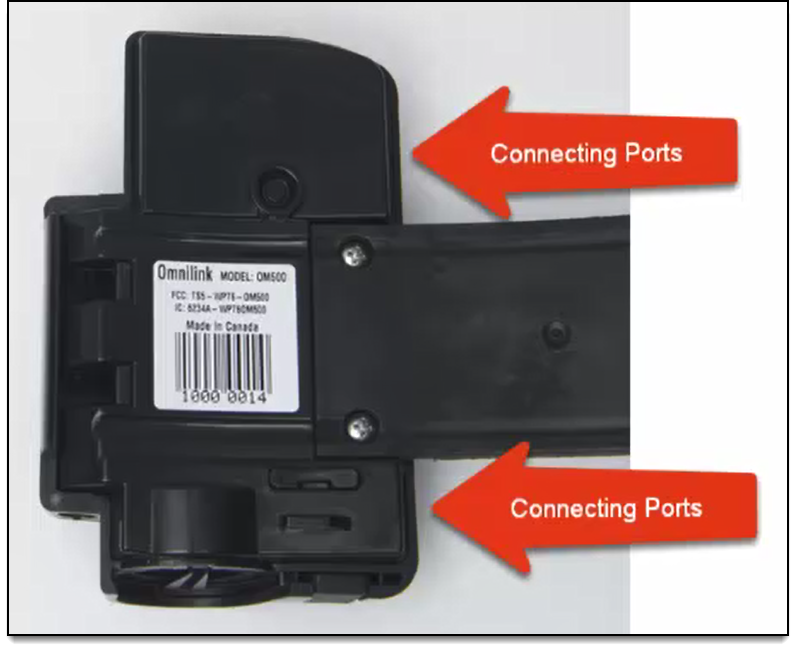
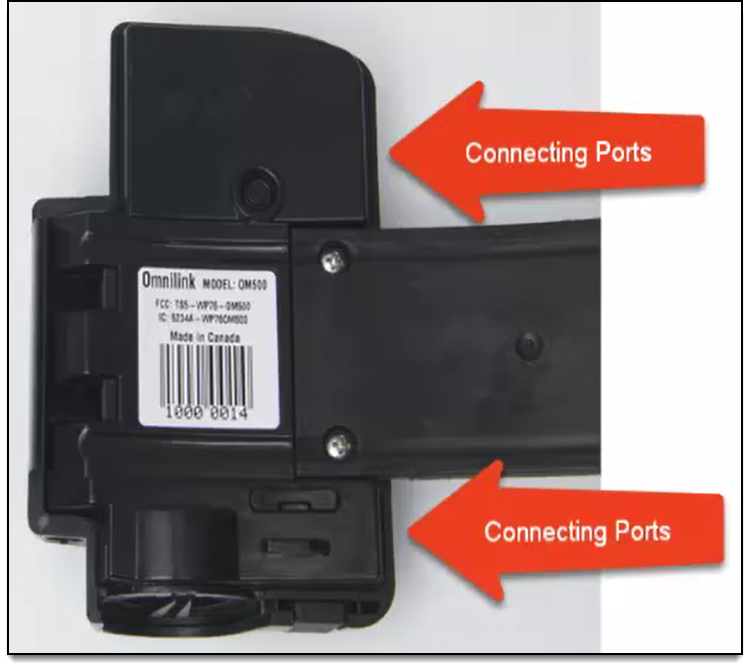
Connecting Ports
Located on the back of the OM500 GPS bracelet on either side of the strap screws.
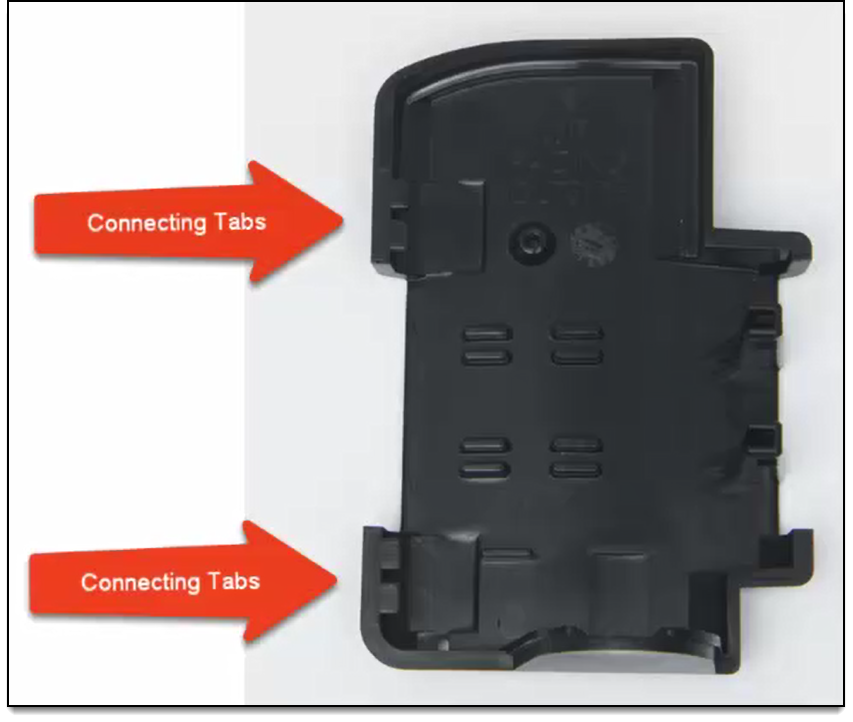
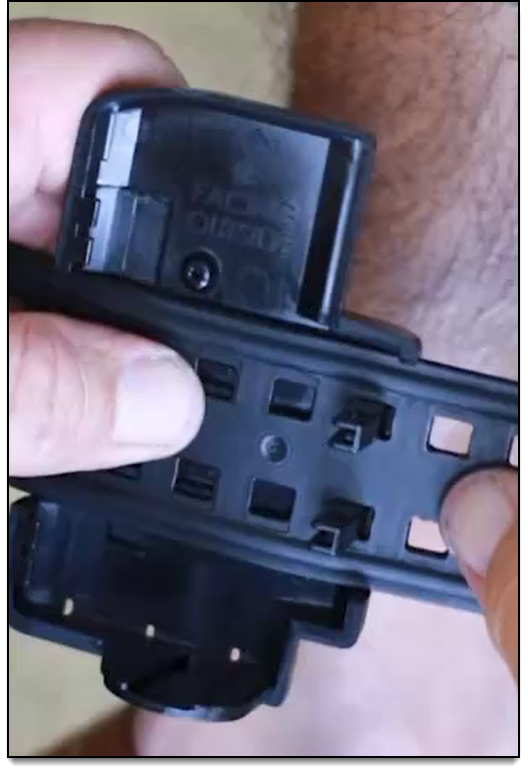
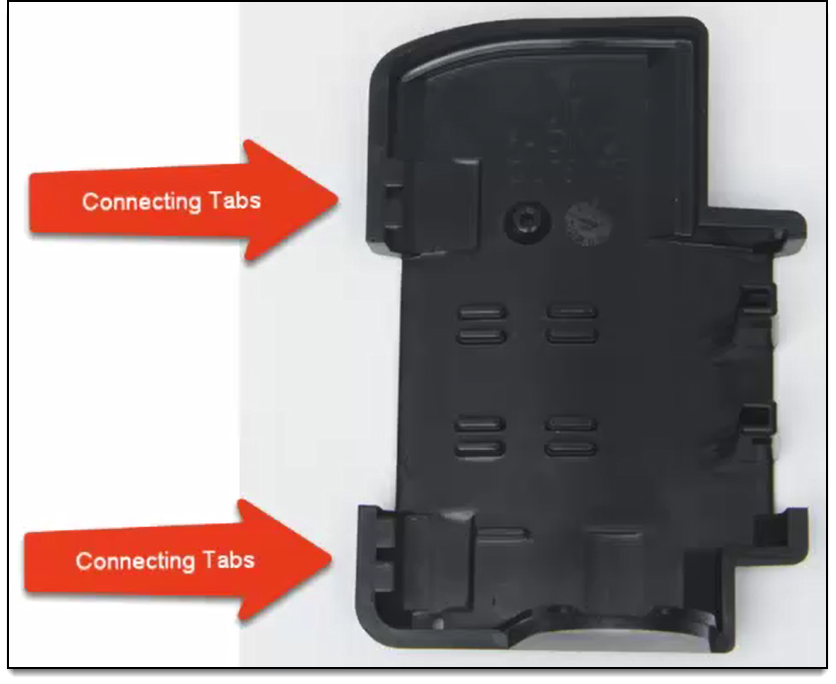
Connecting Tabs
Located on the back plate.
Connecting Ports
Connecting tabs are inserted into the connecting ports.
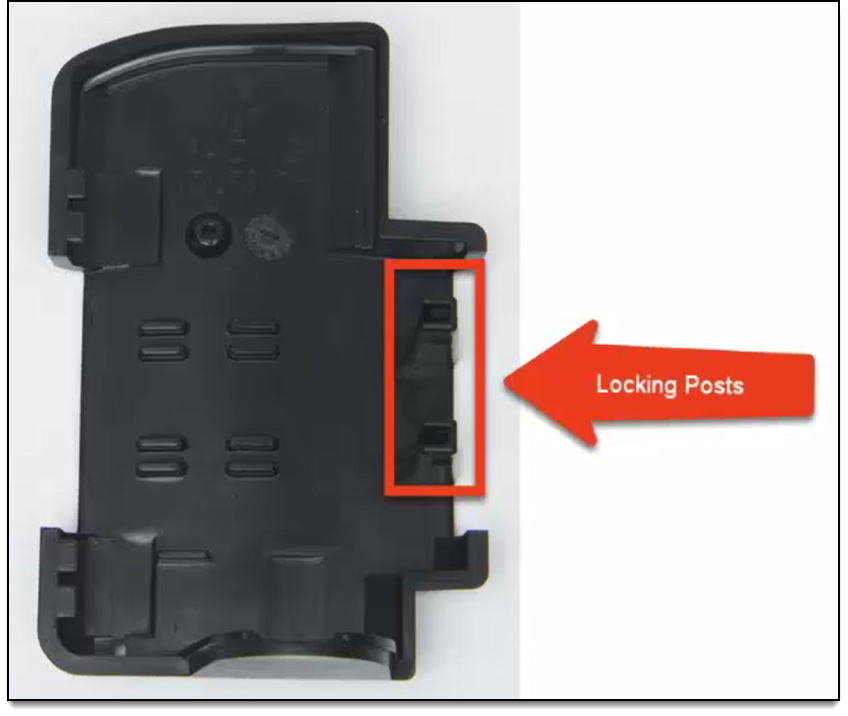
Locking Posts
Located on the back plate. Used to properly size the strap and attach the back plate to the strap.
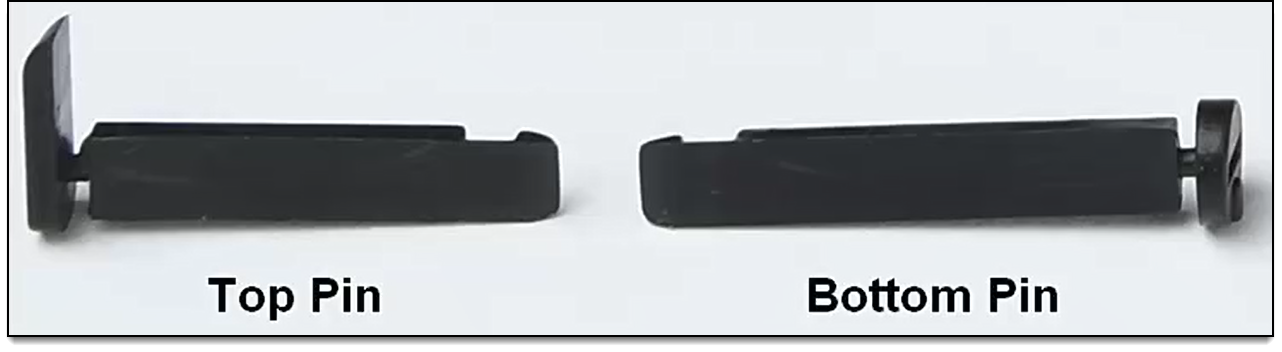
Locking Pins
Two-piece disposable retention pins that secure the back plate to the device.
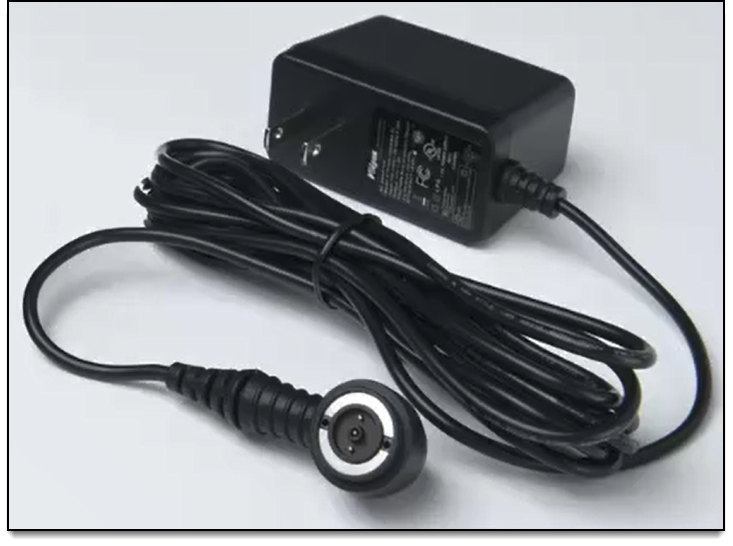
Bracelet Charger
Used to charge device.
Note: DO NOT leave the charger on the device once the device is fully charged.
Prepare for Installation
- Inspect the device for any signs of damage or deterioration. Replace if necessary.
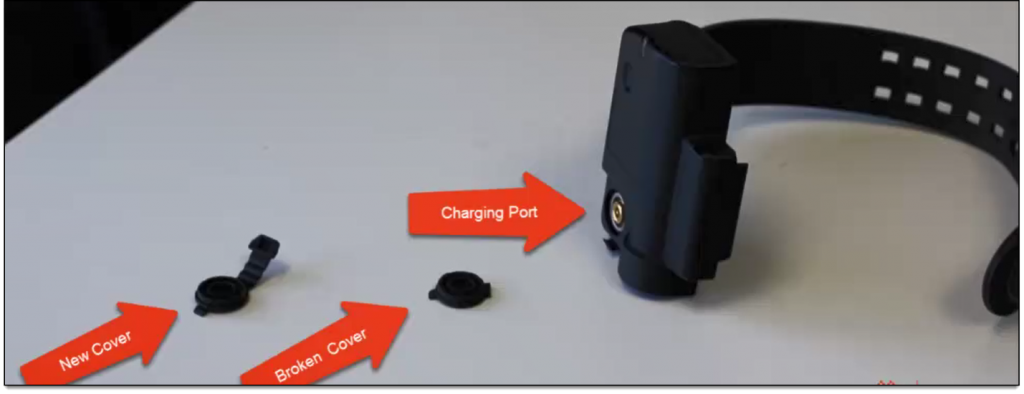
The charging port should be clear of any corrosion or debris.
- Check the charger cord for any frayed wires. Replace if necessary.
- Check the charging port cover for damage. Replace if necessary.
Install OM500 GPS Bracelet
Things to consider as you install the bracelet:
-
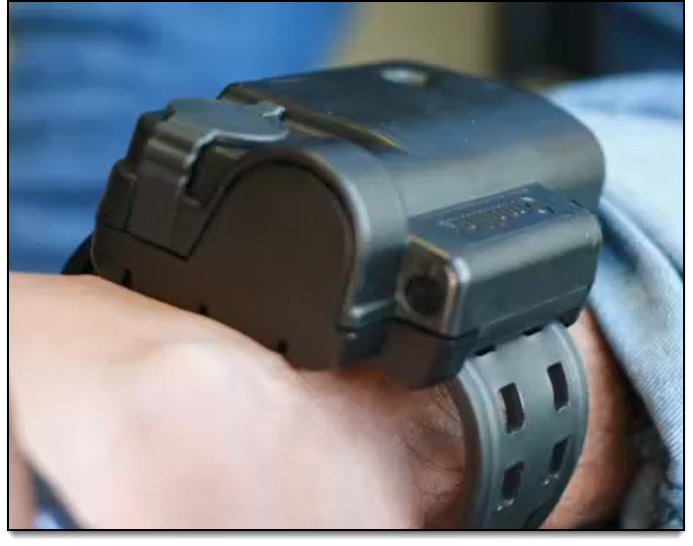
- Install directly on the ankle.
- If client is wearing boots or high-top shoes, those must be removed to attach the device.
- Do NOT install the bracelet higher on the client’s calf. Installing the device too high could result in undetected removal attempts.
- Install directly on the ankle.
- Ankle condition
- Is the ankle swollen?
- Why?

- Schedule a time every few weeks to inspect the device for a proper fit.
- If necessary, talk to your Account Manager about extra-large straps.
To install the device on a client:
-
- Have the client place his/her knee on a chair or bench with both hands on the wall, as shown.
Best Practices- Do not allow the client to view the installation.
- Keep all locking pins out of the client’s reach.

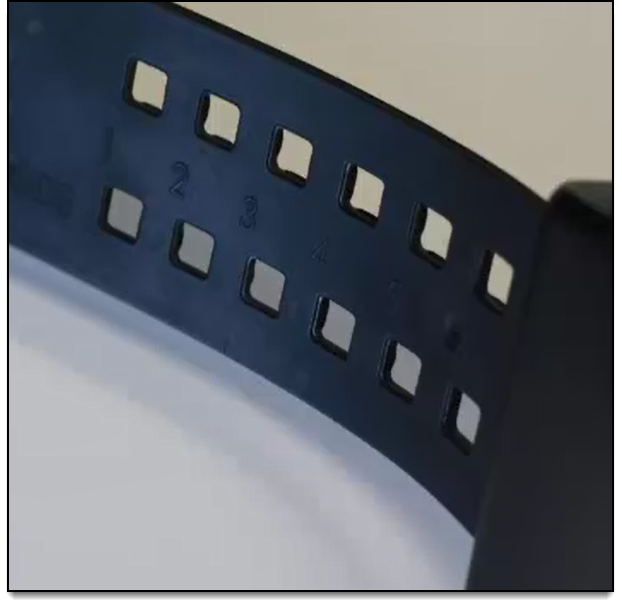
- Place the strap through the locking posts on the back plate.
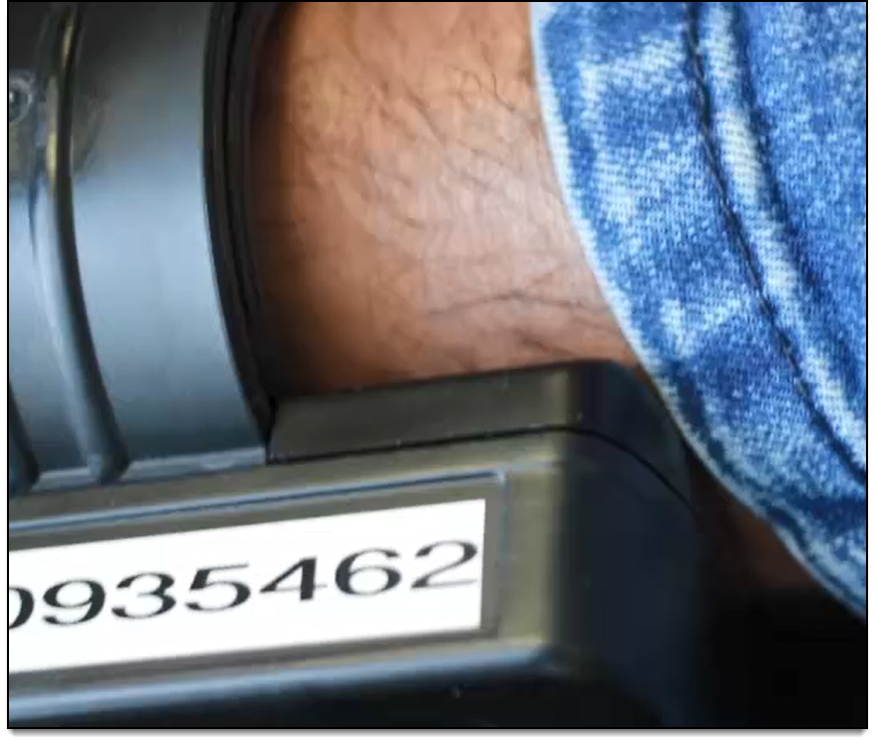
Note: Use the numbers on the strap to select the initial size.
Start with holes 5 through 7 as you determine the correct size for the client. Use higher numbers for larger ankles and lower numbers for smaller ankles.
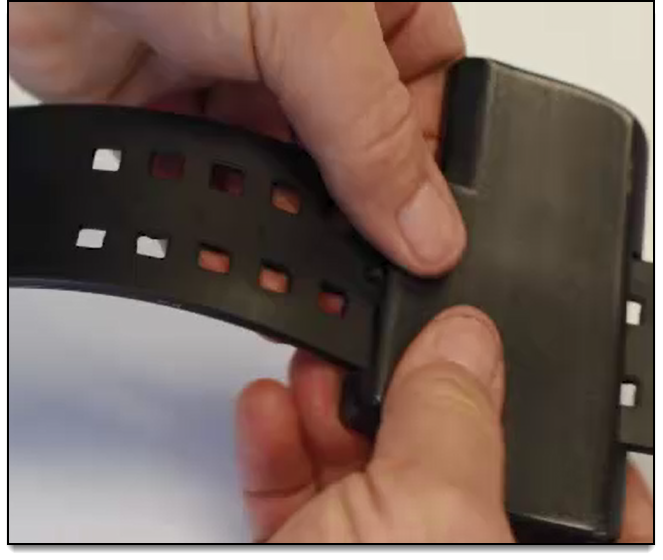
- Insert the strap through the locking posts on the back plate at the desired position.
- Wrap the strap around the client’s ankle to determine if the strap is too loose or too tight.
- Adjust the locking posts as necessary to determine the appropriate size.
- Have the client place his/her knee on a chair or bench with both hands on the wall, as shown.
Note: Keep in mind that installing the device too loosely could result in an undetected removal. A properly sized strap will allow for two average sized fingers to fit between the strap and the client’s ankle.
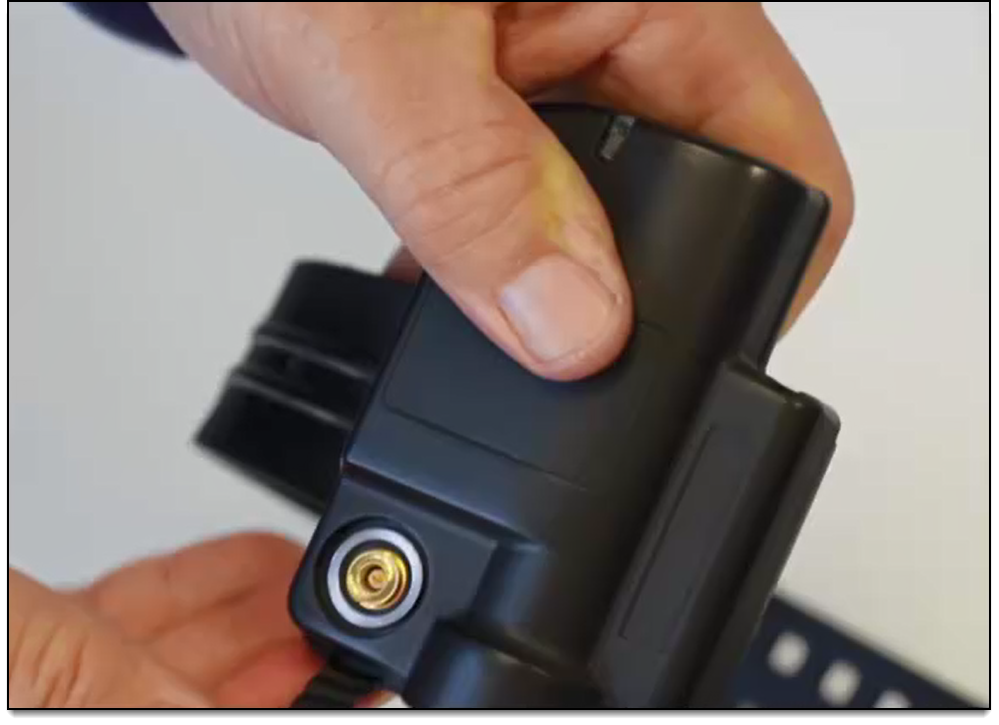
- Connect the OM500 GPS bracelet to the back plate.
-
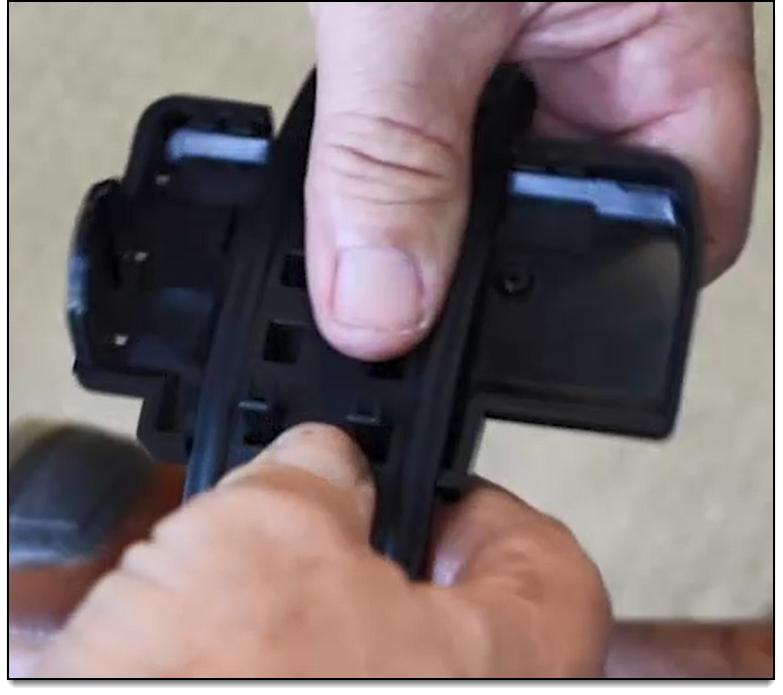
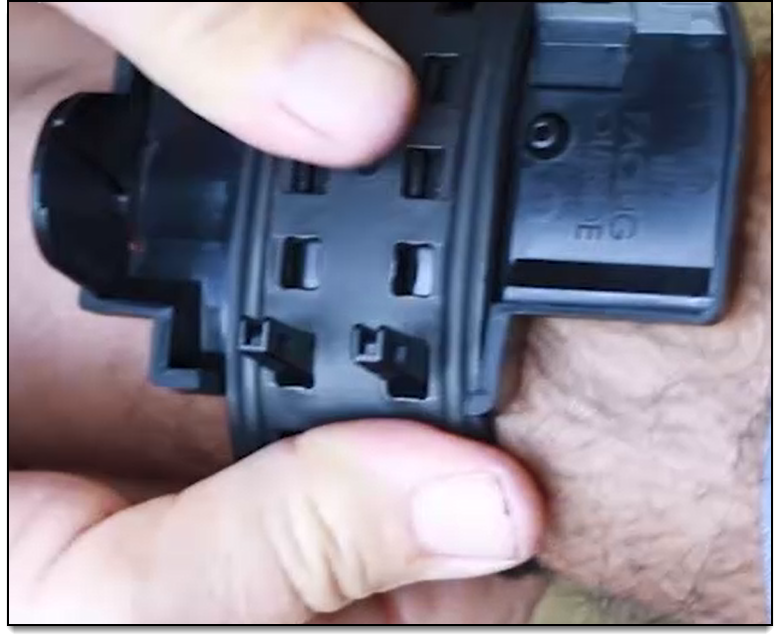
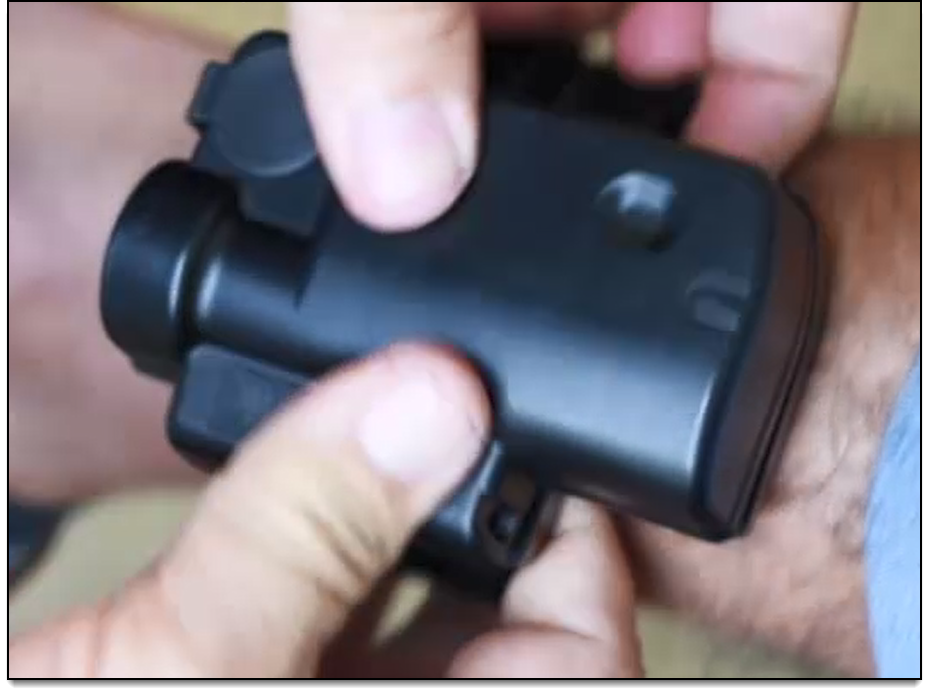
- With the back plate connected to the strap, slide the connecting tabs of the back plate into the connecting ports on the device.
- Slowly close the device against the back plate using a clam-like closing motion while ensuring that the device is correctly aligned with the locking posts on the back plate.
Note: If not correctly aligned, forcing the device closed can bend and damage the locking posts.
- With the back plate connected to the strap, slide the connecting tabs of the back plate into the connecting ports on the device.
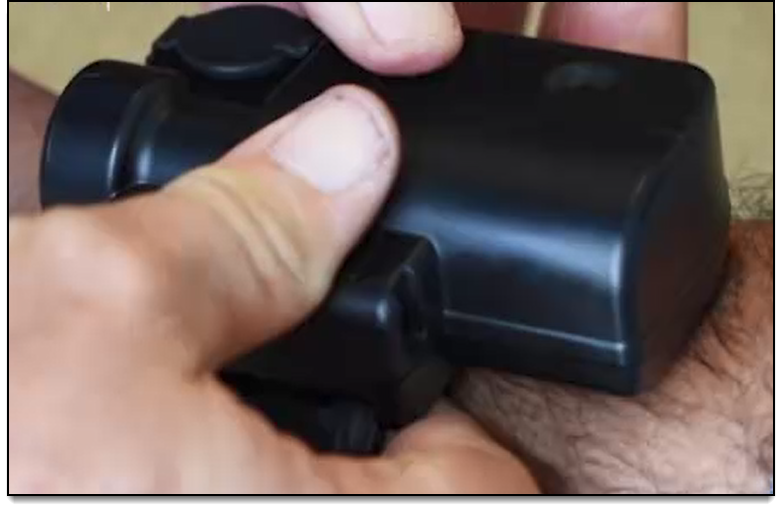
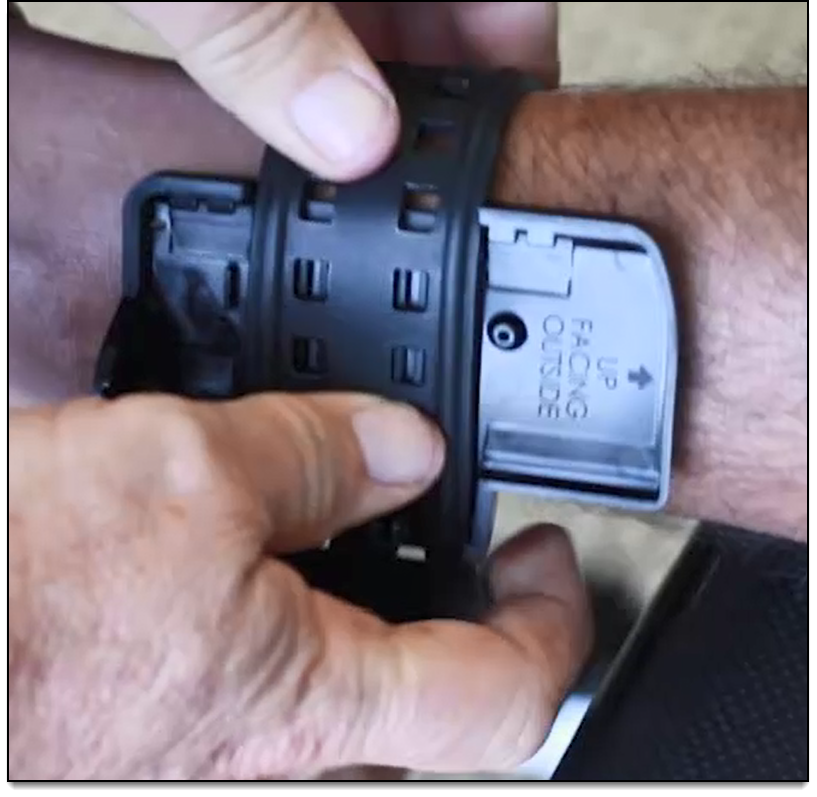
- Verify that there are no gaps between the device and back plate.
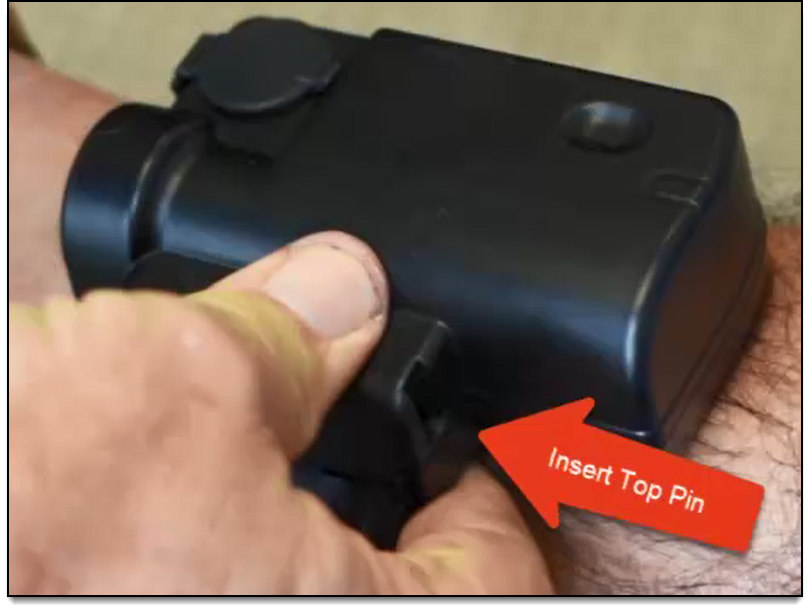
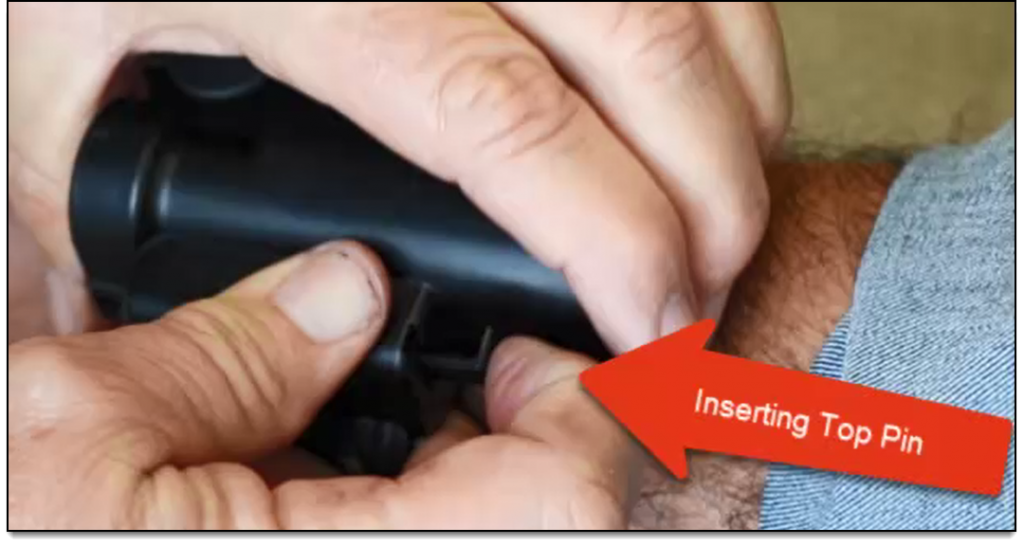
- Insert the top locking pin.
Note: The top locking pin has a larger head and will only fit into the device in one direction. You may need to squeeze the device and back plate together for the top pin to drop into place.
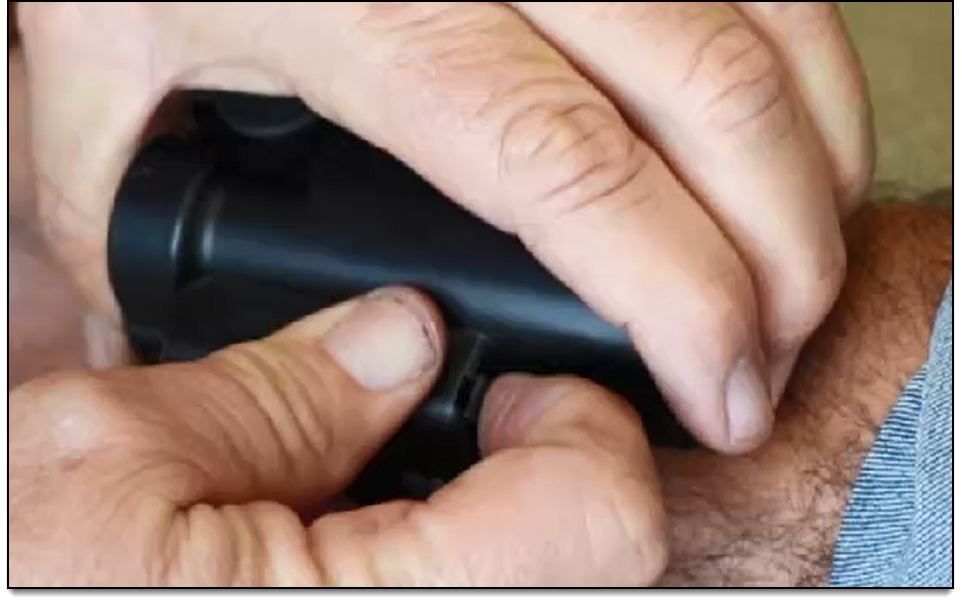
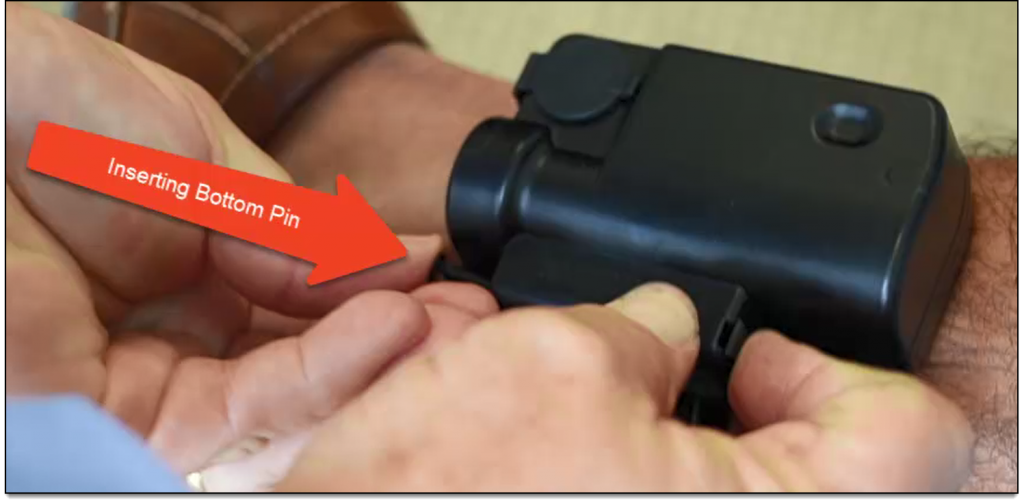
- Insert the bottom pin.
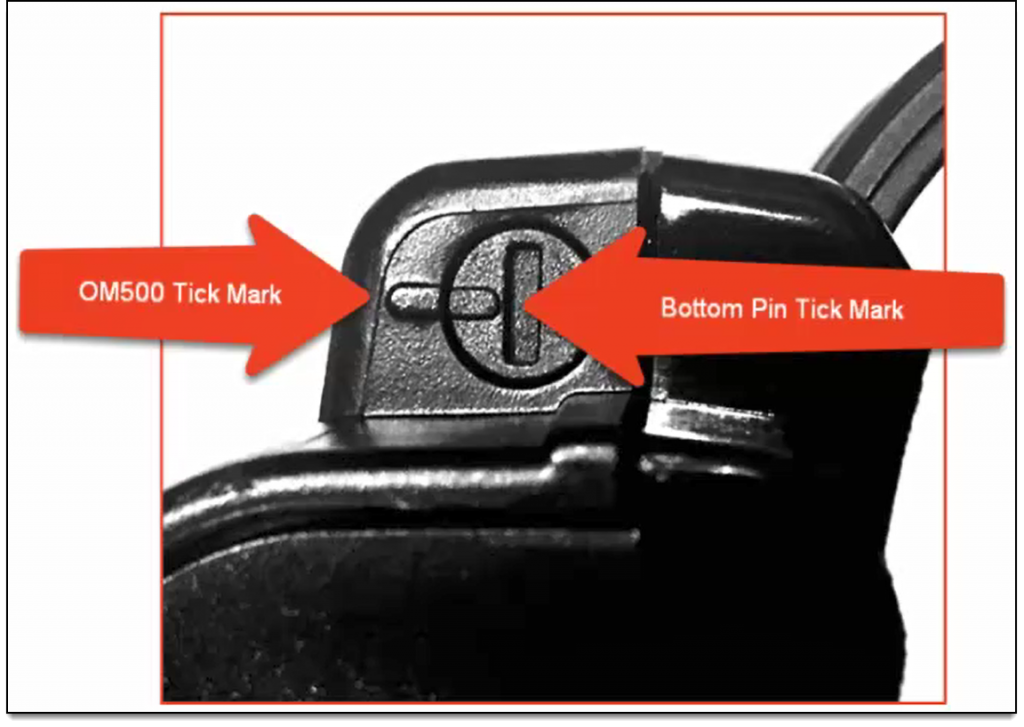
Note: The bottom pin MUST be inserted with the teeth on the pin facing the device and the tick mark on the pin MUST align with the tick mark on the device.
A loud click indicates that the pins are properly connected.