To begin monitoring an individual on your program, you must first create their client profile in SCRAMNET GPS.
To create a client profile, from the SCRAMNET GPS Dashboard:
- Open the Manage dropdown menu and select the Add Client button.
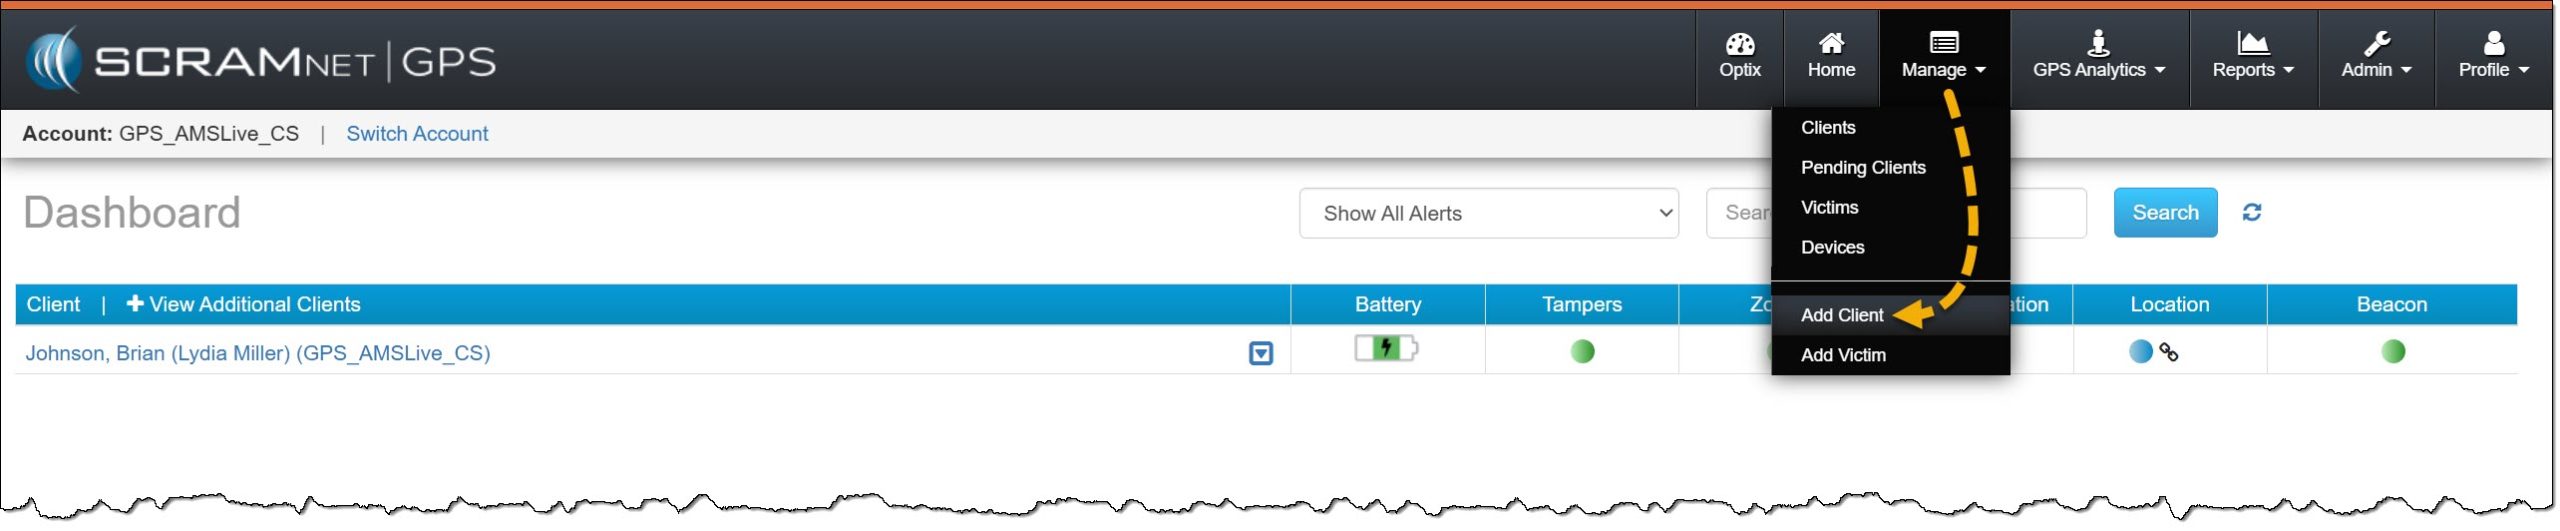
Manage button > Add Client option – click to enlarge
- On the Create New SCRAMNET GPS Profile page, add the client’s first and last names and their date of birth. The system will search our entire program for potential duplicates as the client’s information is entered.
- As you are entering the client’s information, there are two possible results:
- In the Potential Duplicates section, the system will list any results matching the information entered. At this time, you may use the existing profile by selecting the Use this SCRAMNET GPS Profile hyperlink. Once selected, the current profile page for the client will be displayed.
- When the client’s profile is not displayed in the Potential Duplicates section, or you choose not to utilize it, select the Create New Client button.

Create New SCRAMNET GPS Profile – click to enlarge
- After selecting the Create New Client button, the Add SCRAMNET GPS client page will open. Enter the client’s details and their monitoring program details. If you do not have all the information at this time, fields designated as “optional” may be included later.
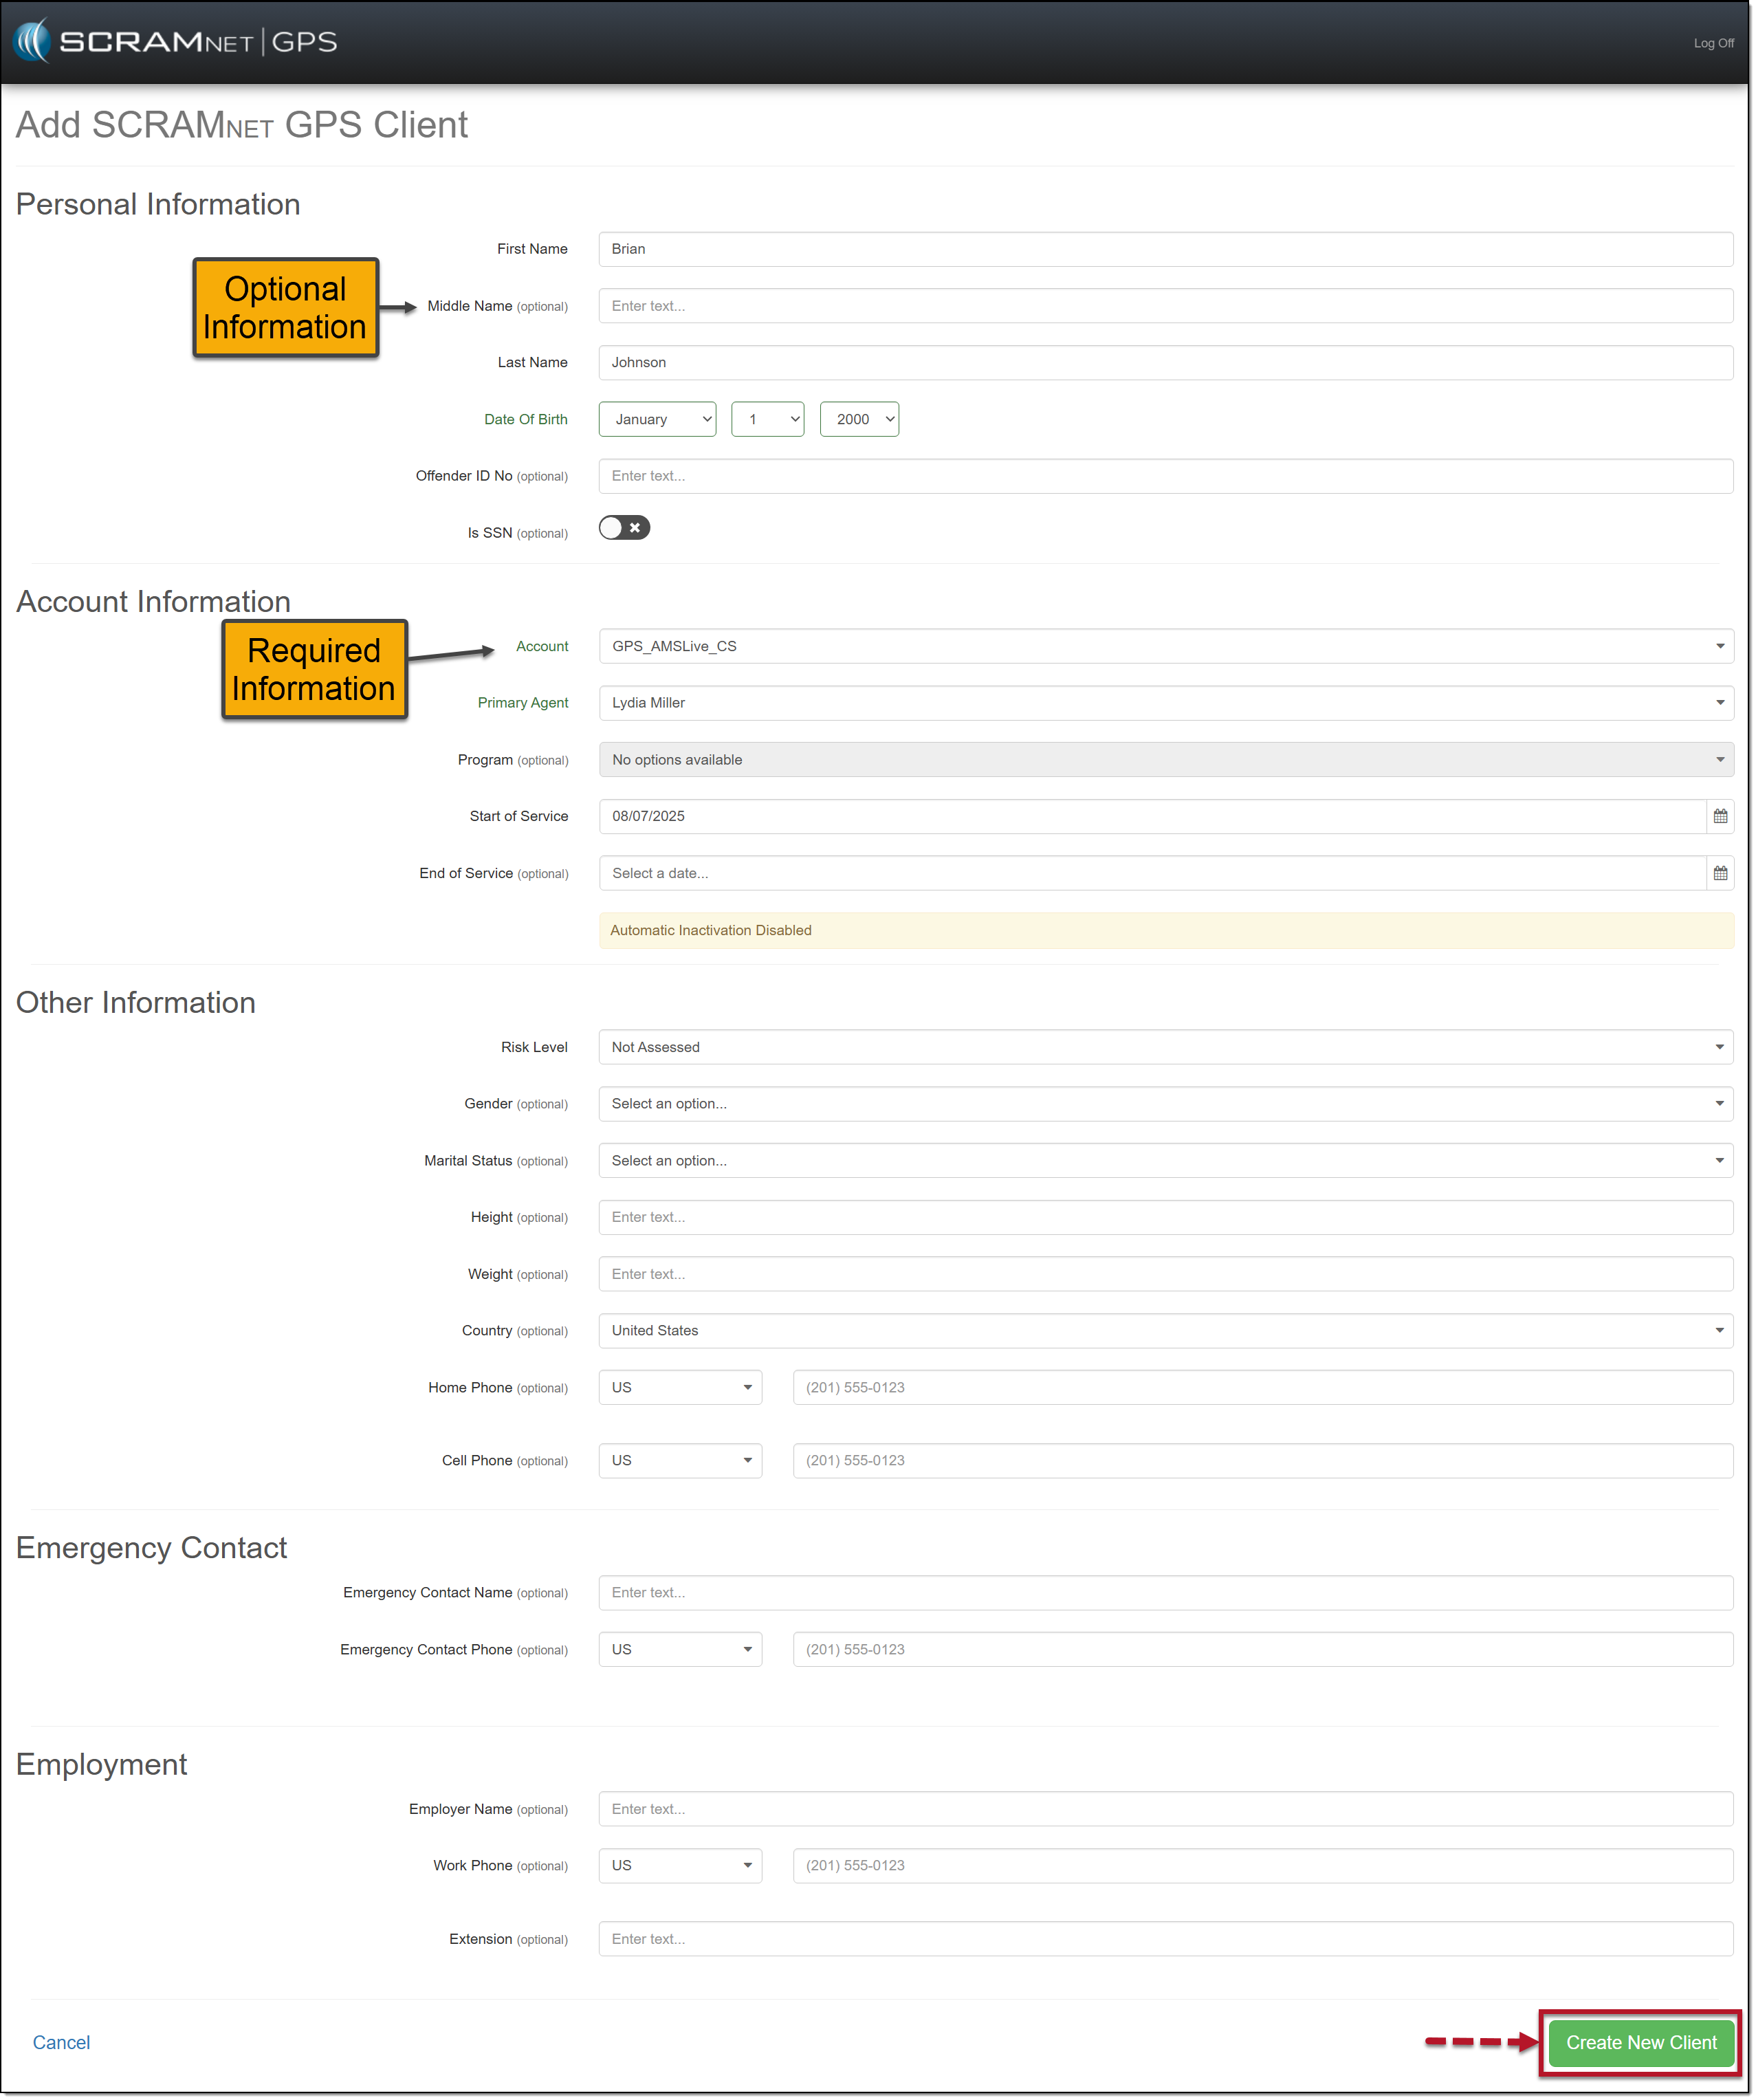
Add SCRAMNET GPS Client Details page – click to enlarge
- Once all information has been entered, select the Create New Client button.
- On the “Client successfully added to SCRAMNET GPS” pop-up, you may select the “Add Another Client” button to add another client profile to your program, or select the View SCRAMNET GPS Profile button to continue enrolling the current client.
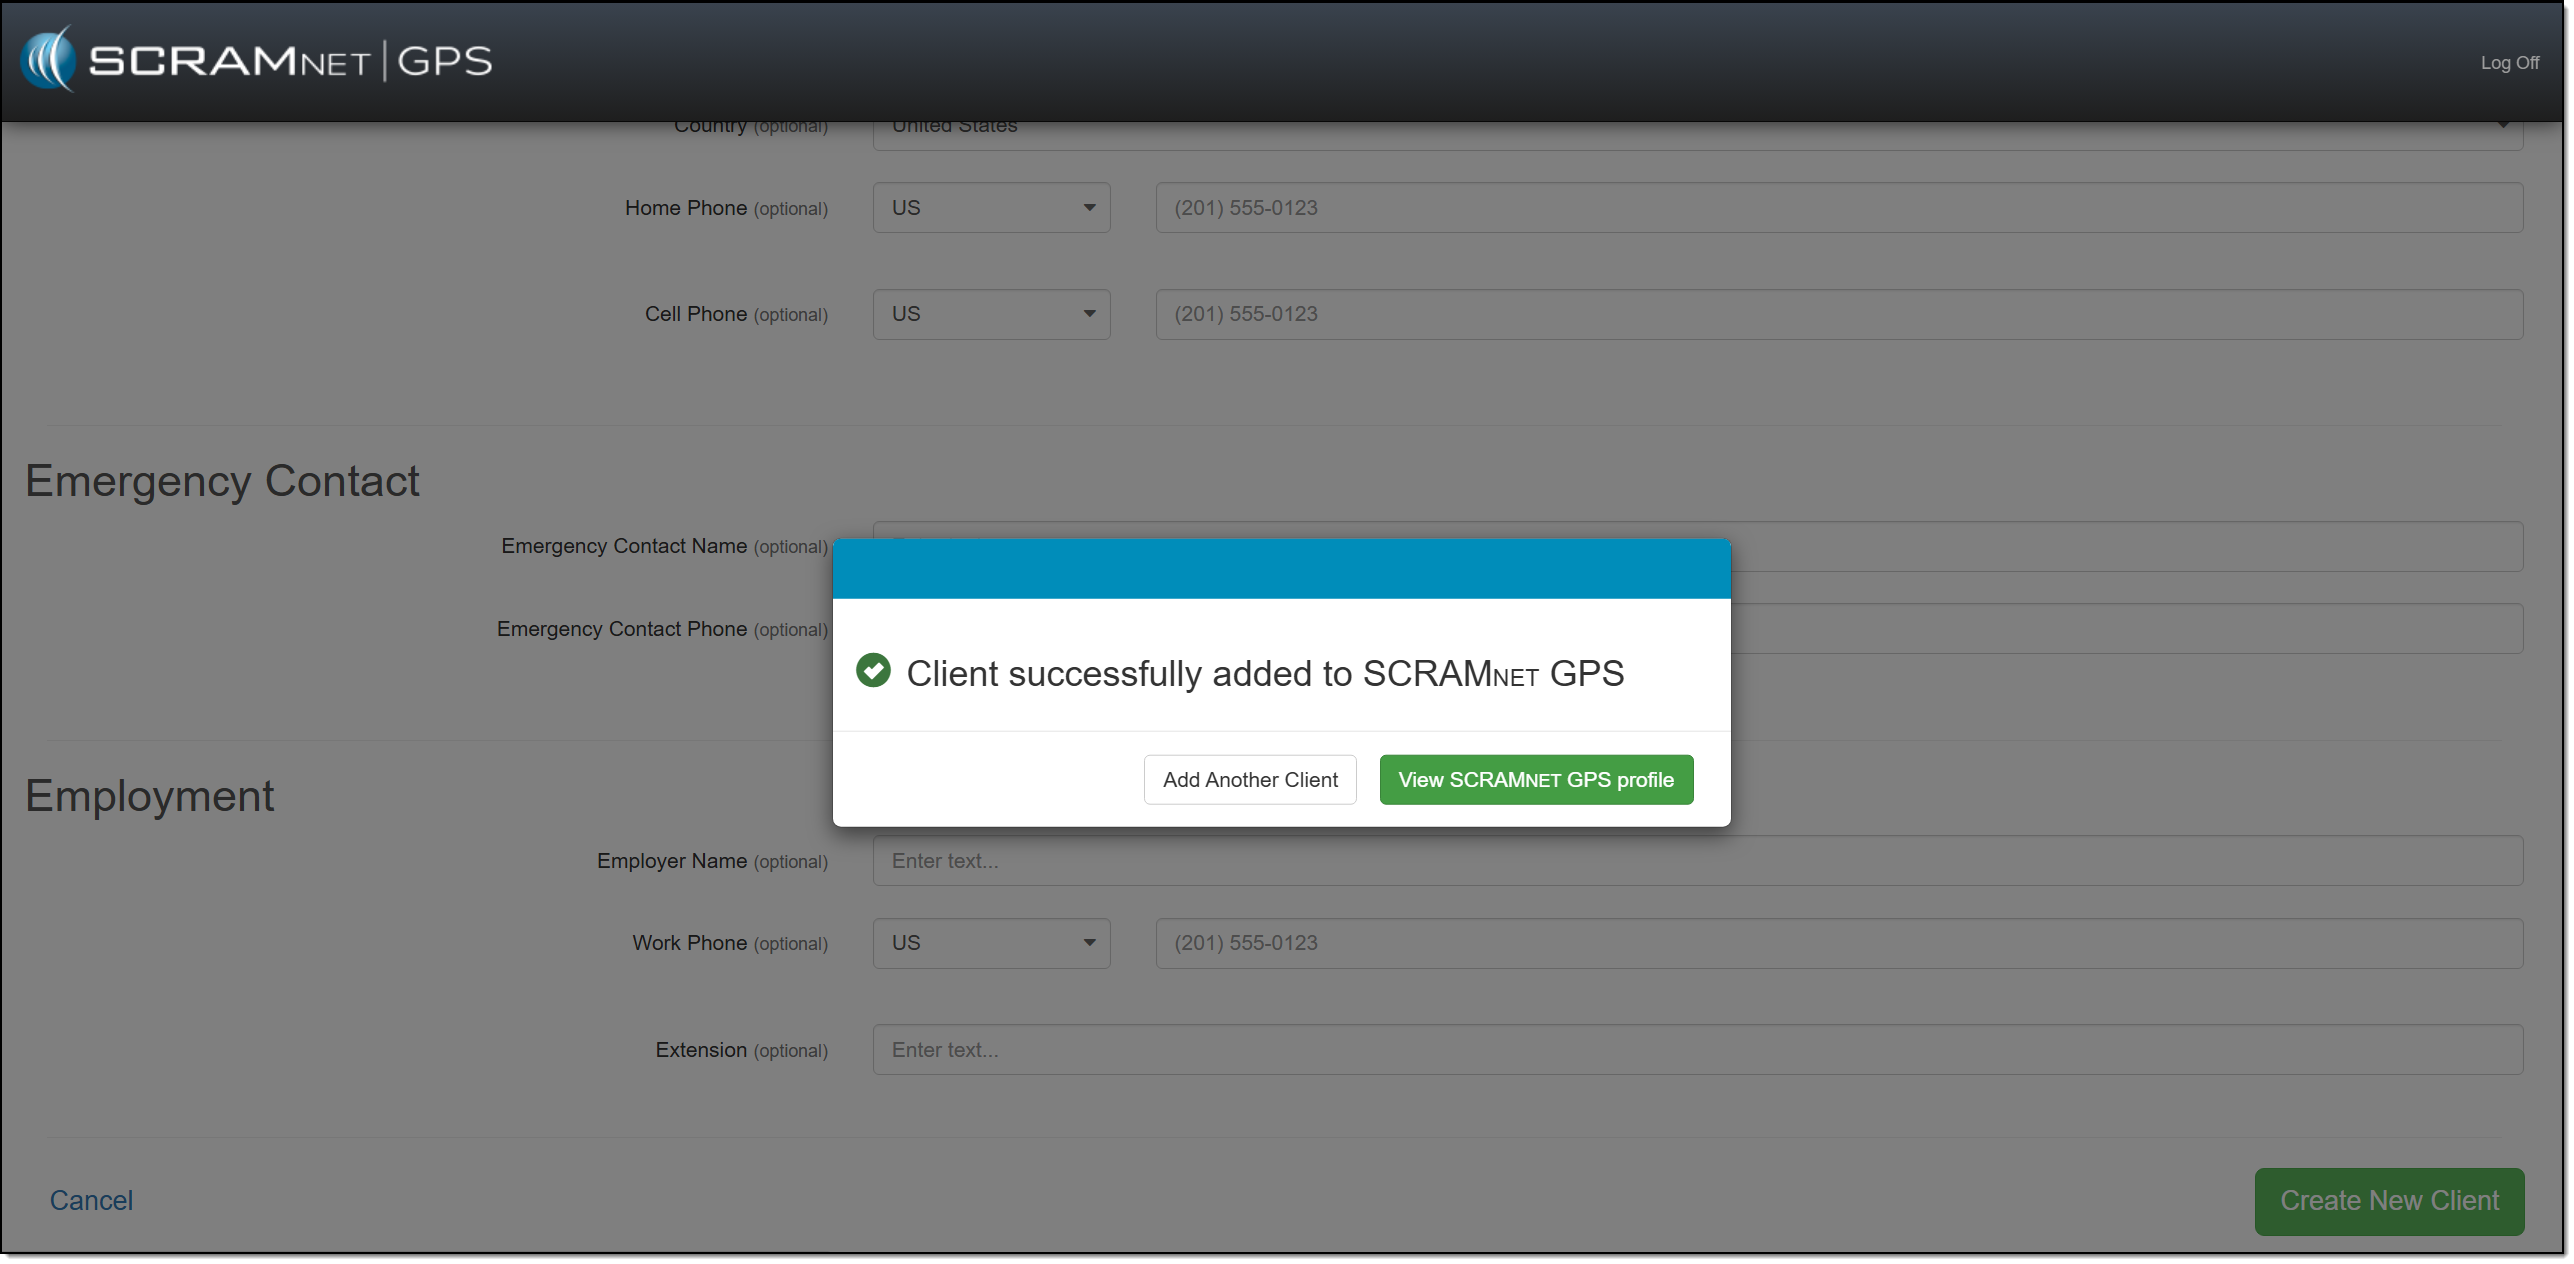
Client Added Successfully Pop-Up Window – click to enlarge
The client’s profile is now active in SCRAMNET GPS.
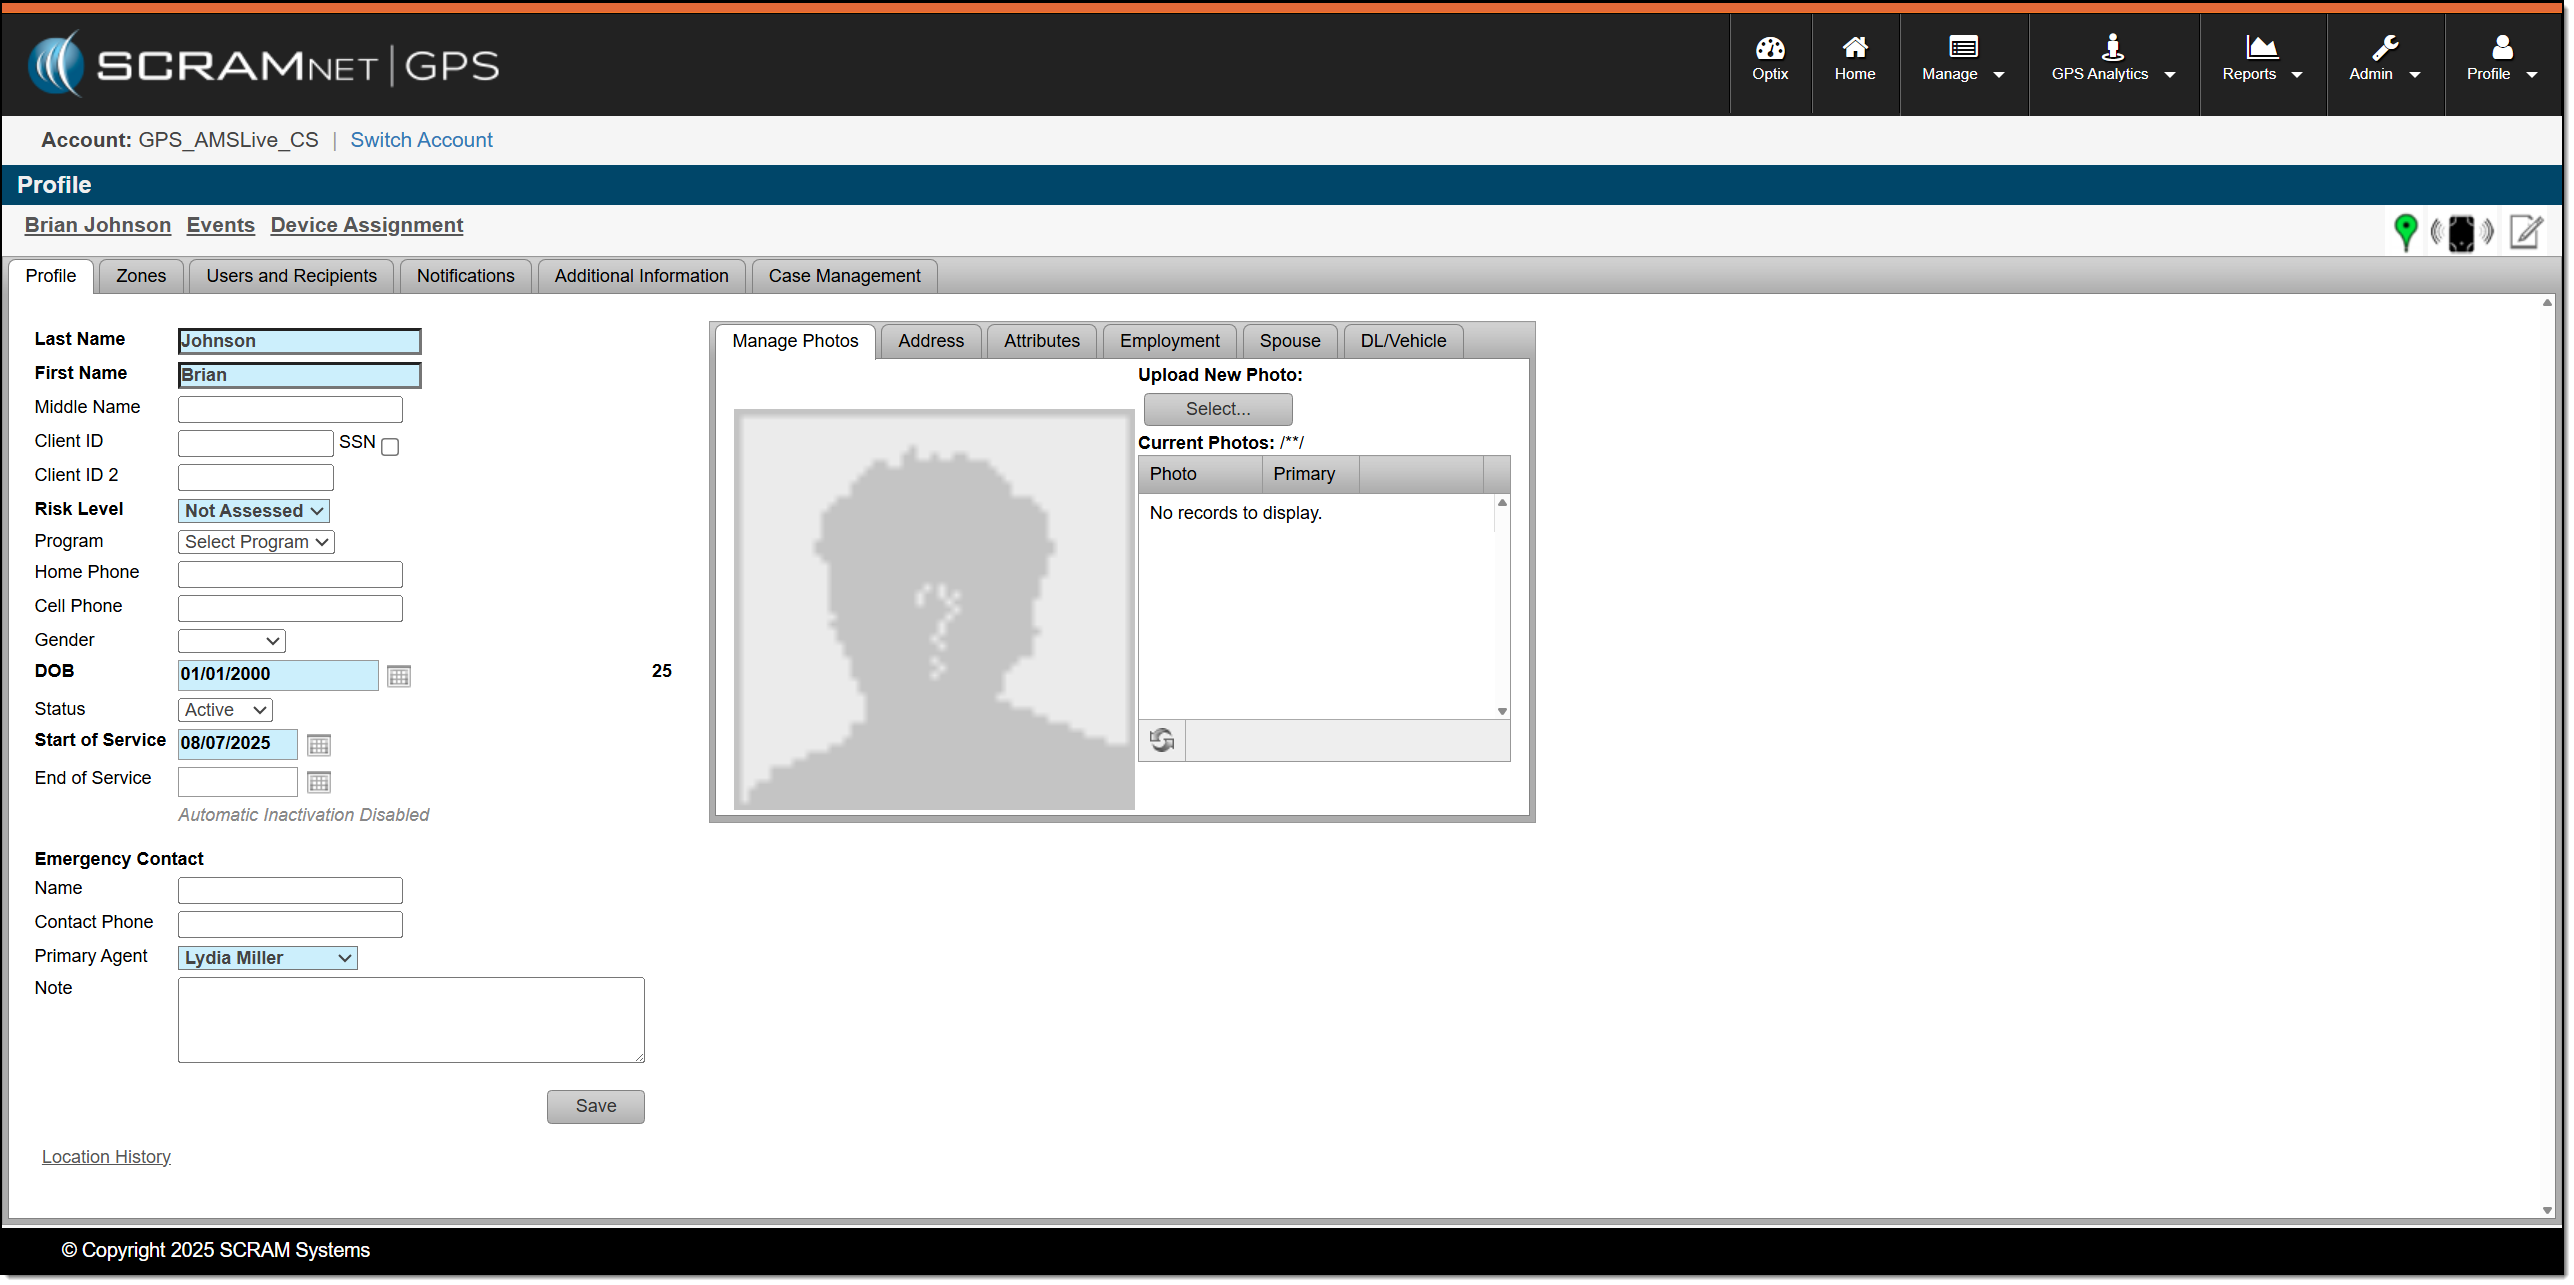
Client Profile page – click to enlarge
Quick Tip:
|