At 5:00 AM MDT on Monday, January 13, 2025, SCRAM Systems will release four enhancements for your SCRAM GPS monitoring program.
These enhancements are:
- The Monthly Monitored Days report will track the GPS 9 Plus bracelets separately
- Optionally include Client ID in Text and Email Notifications
- Notes Can Be Sorted by Any Column
- Device Assignment “Classic View” No Longer Available
| During the 15-minute deployment, you may not be able to access SCRAMNET GPS, but messages from the SCRAM GPS device will continue to be processed uninterrupted. |
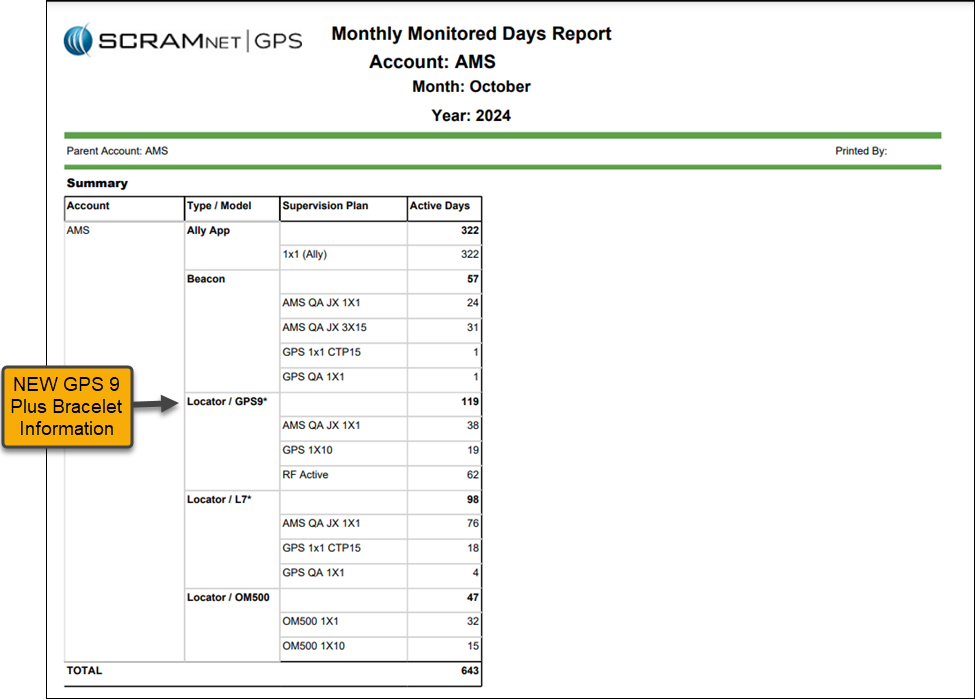
Update to the Monthly Monitored Days Report – GPS 9 Plus Bracelets Type / Model Added
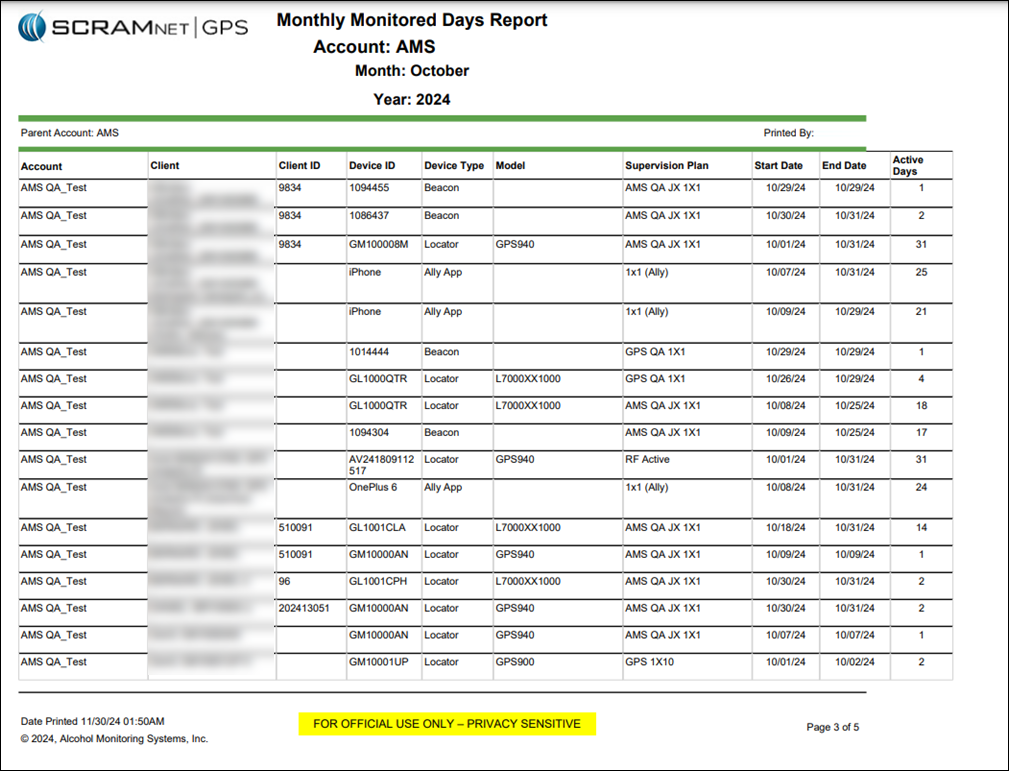
The Summary section of the Monthly Monitored Days Report will display the total active days by device type, supervision plan, and services, providing a clear view of reporting and billing for your monitoring program.
The Type / Model column is broken out into the following devices and services:
- Ally App
- Beacon
- Locator/Gen7* (Standard GPS Bracelet)
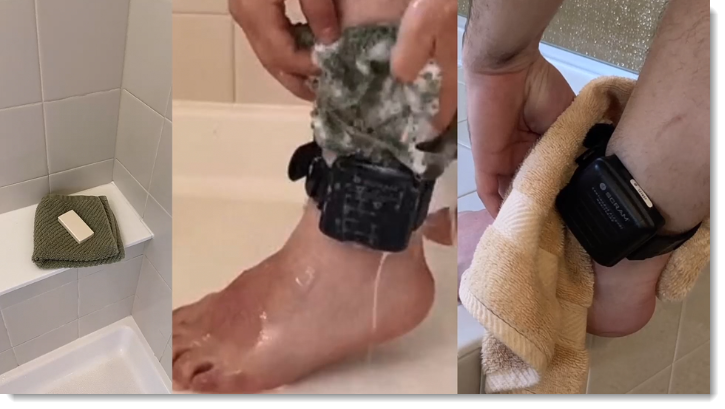
- Locator/GPS9* (GPS 9 Plus Bracelet)
- Locator/OM500
Include the Client ID in Text and Email Notifications
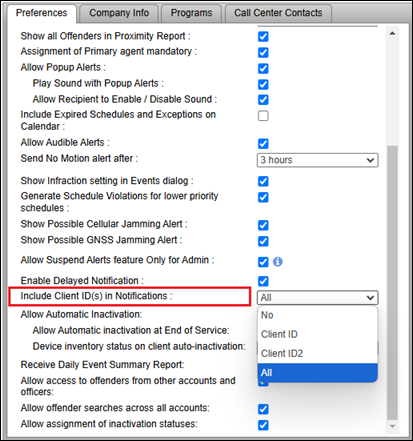
An Administrator for your program may include one or both of the Client ID fields in Text and Email notifications. This can be useful for programs relying on the Client ID fields to identify clients.
To include Client ID field(s):
- Select the Admin button and then the Account Settings option.
- On the Administration page, select the Accounts tab.
- On the Preferences tab, locate the “Include client ID(s) in Notifications” option and open the dropdown menu to select your options.
Once selected in Account Administration, one or both (depending on what is selected) Client IDs will be included in Notifications sent to recipients.
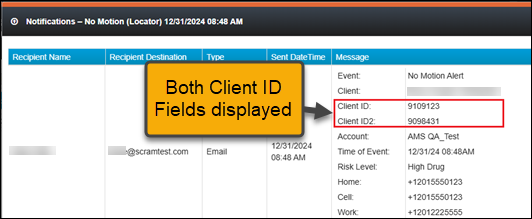
| When the client ID field has been identified as a social security number (SSN), only the last four (4) numbers are visible on the Text or Email notification. |
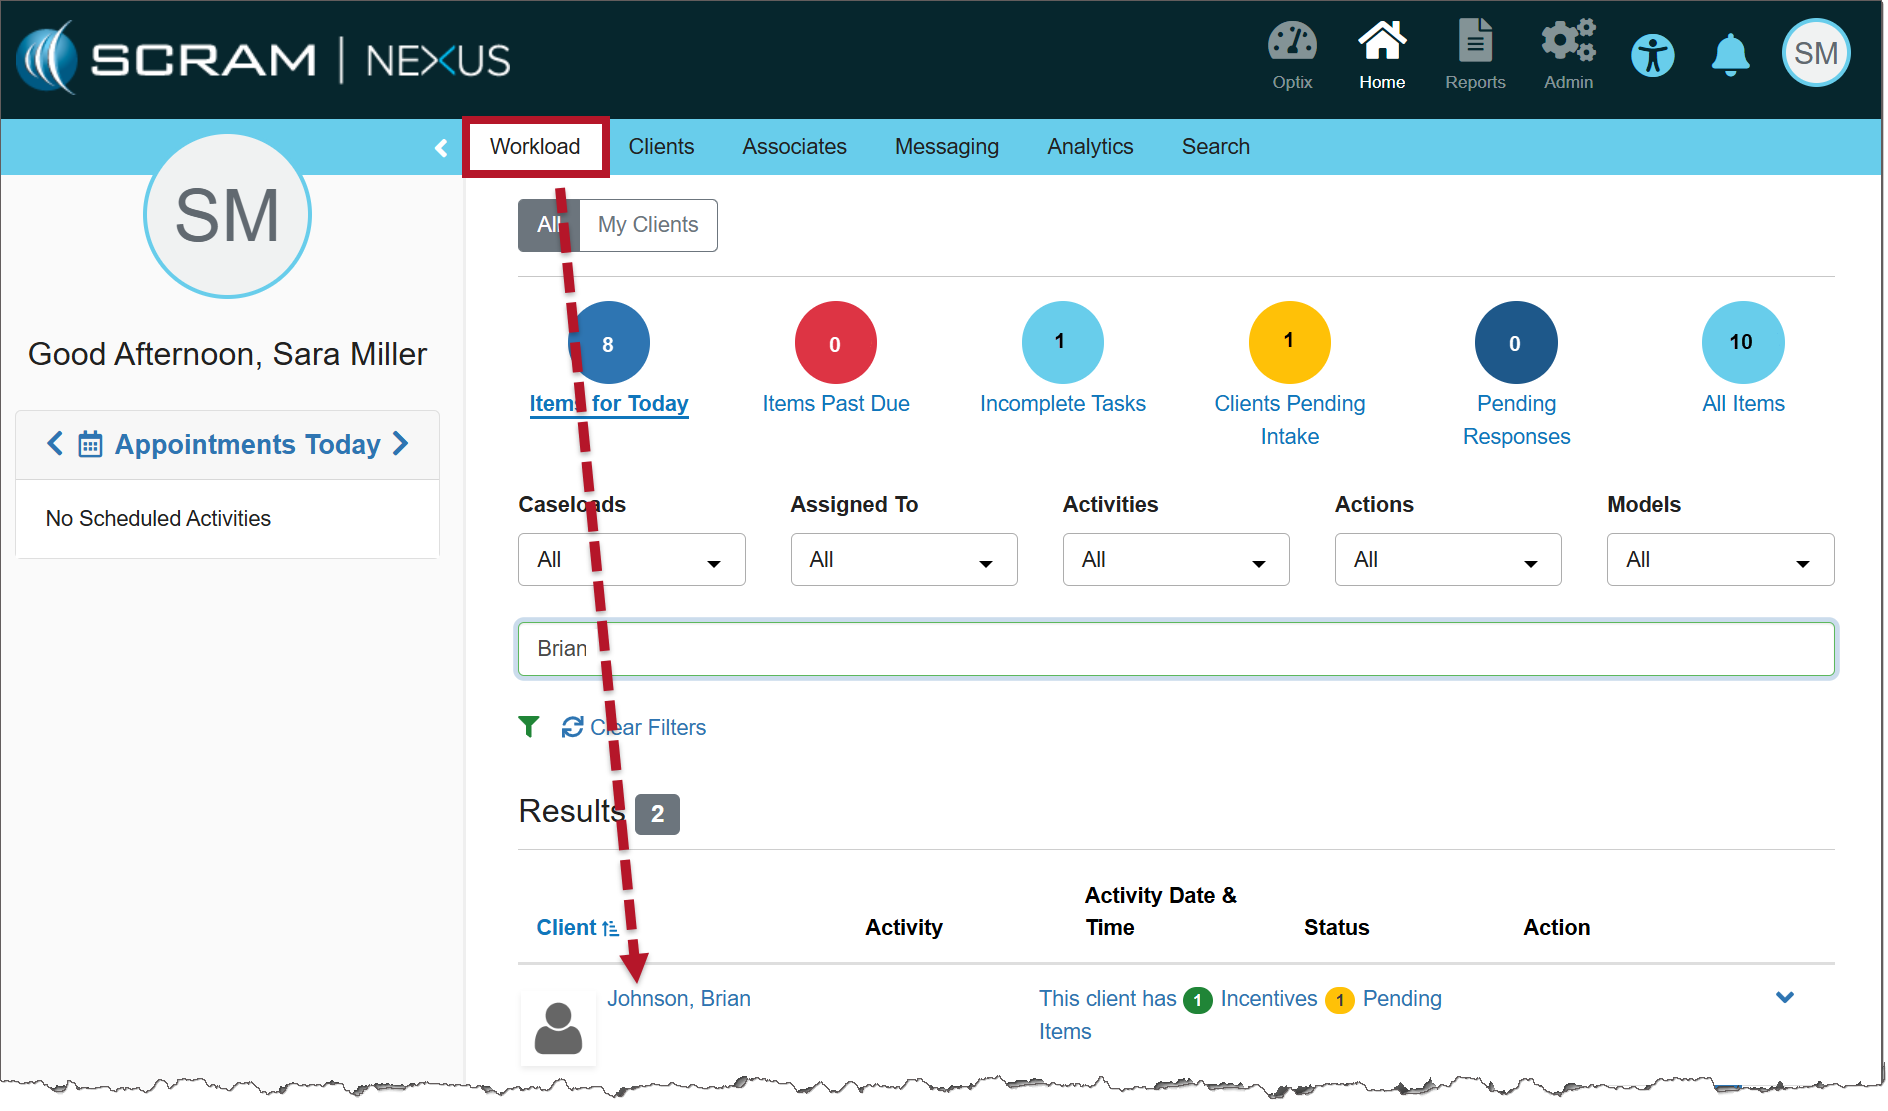
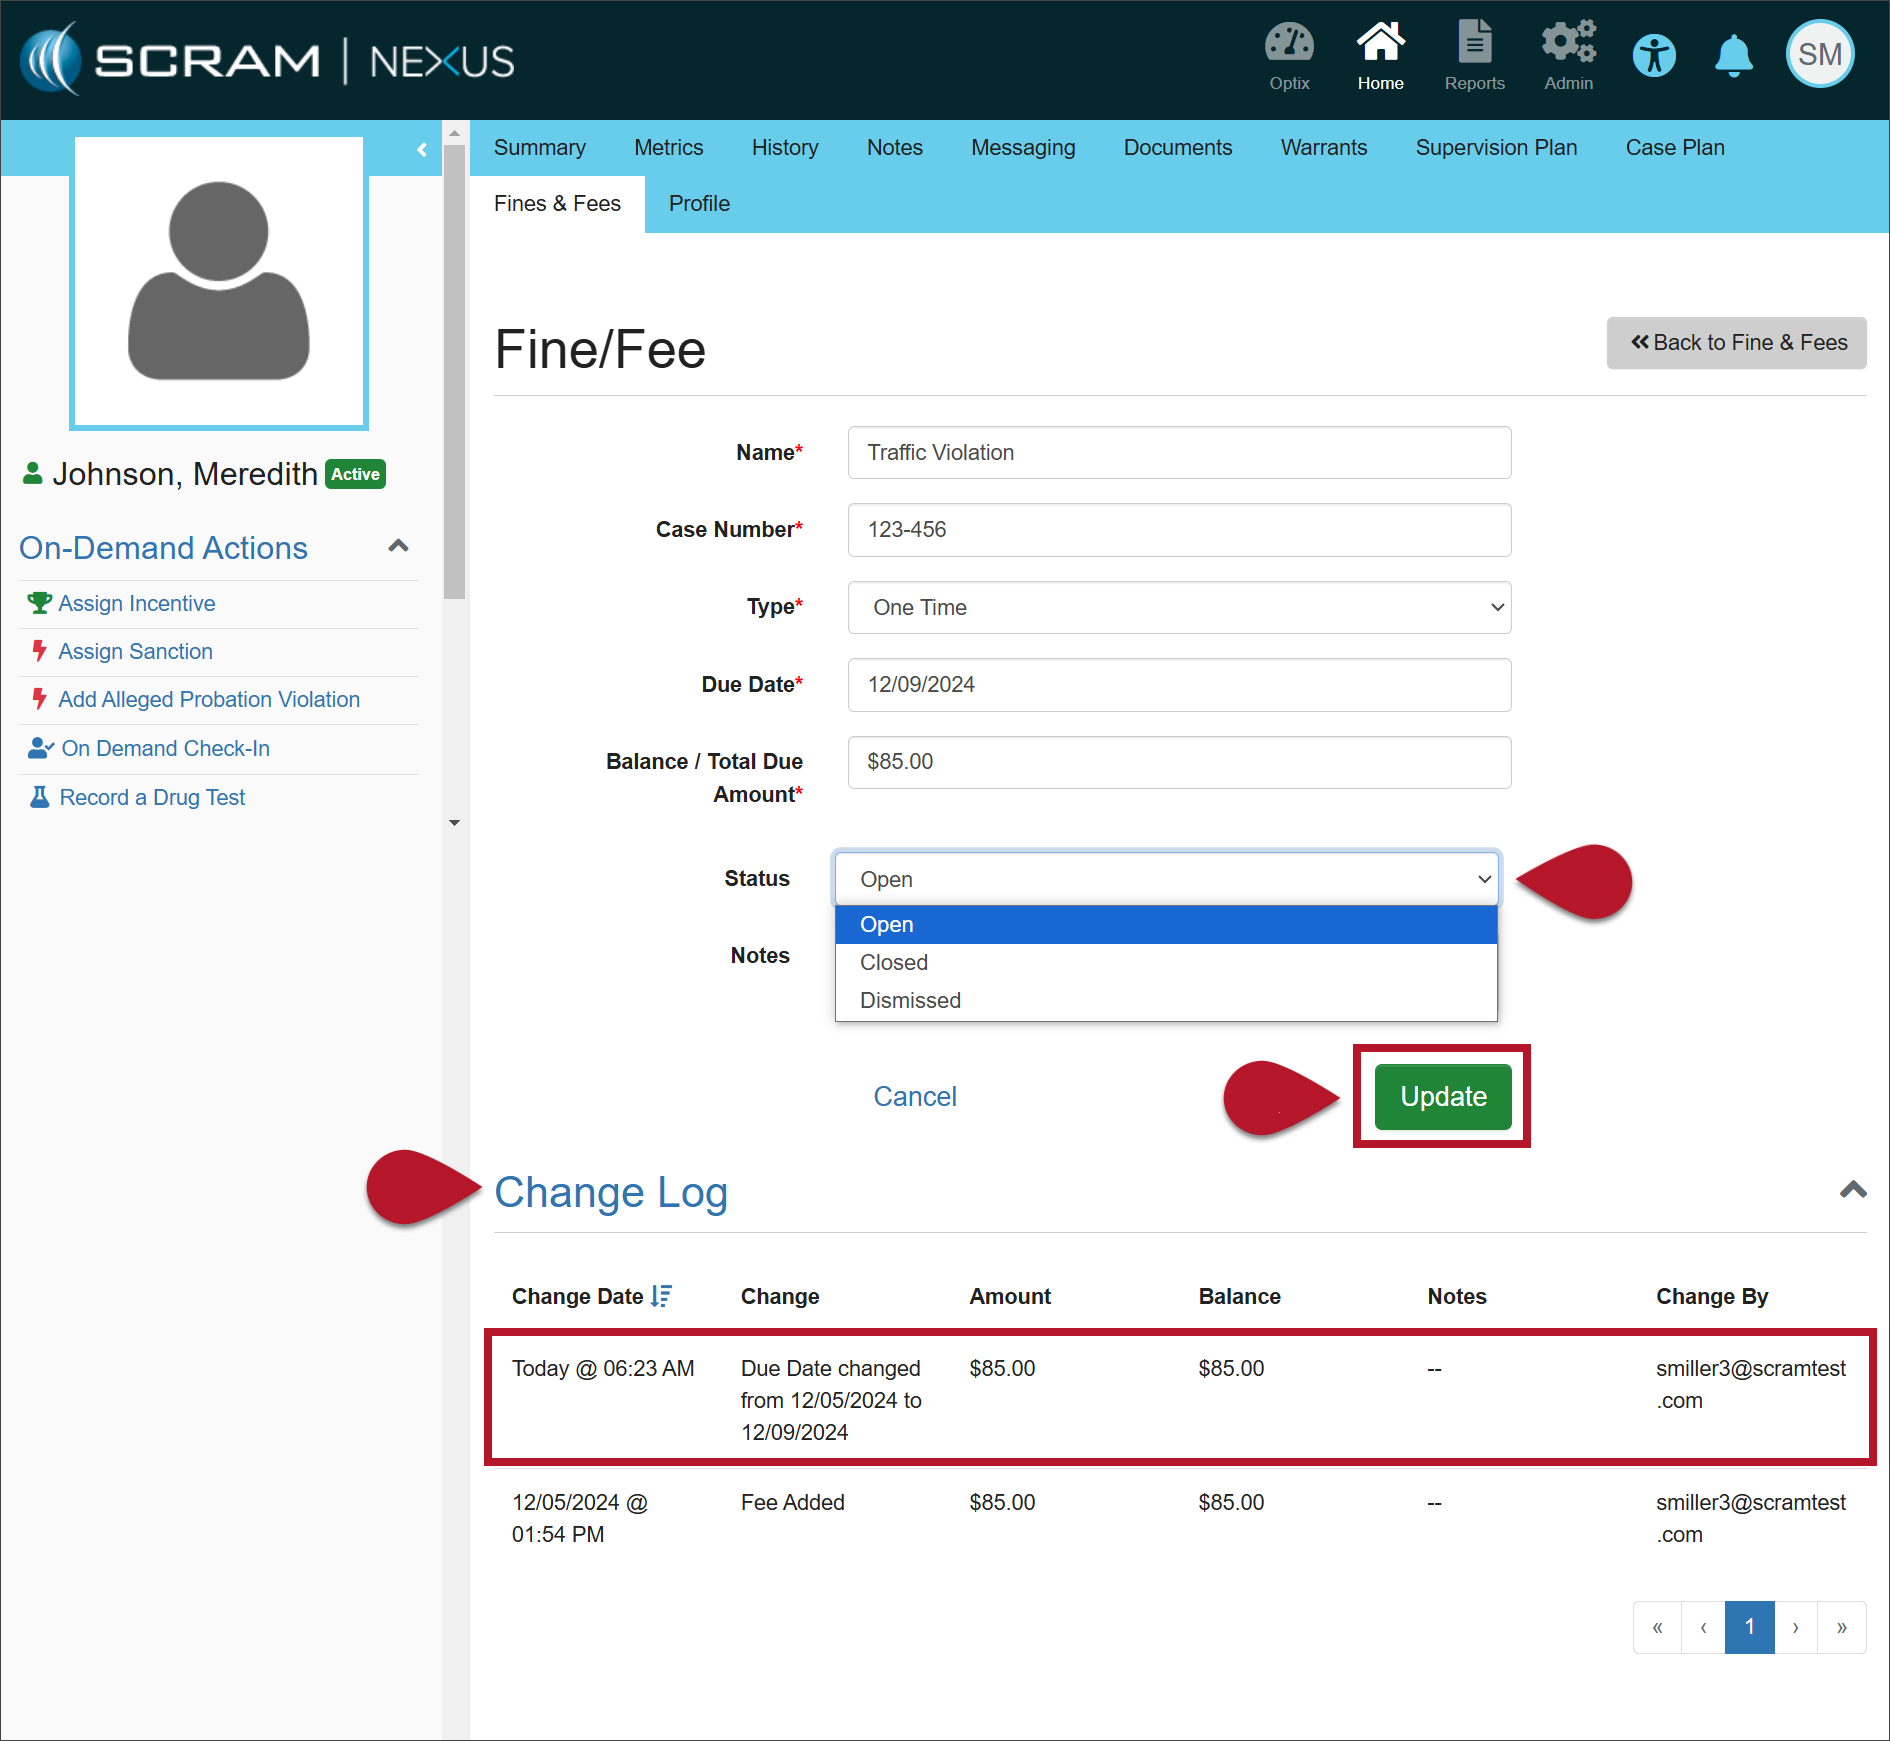
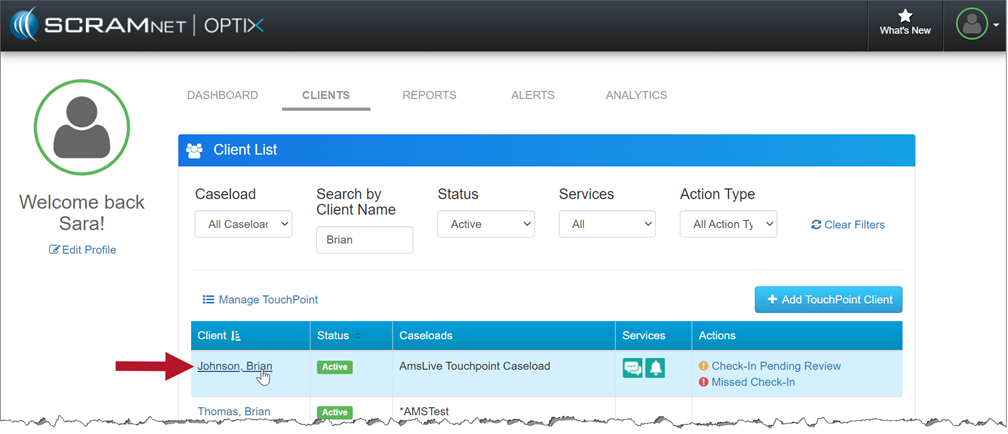
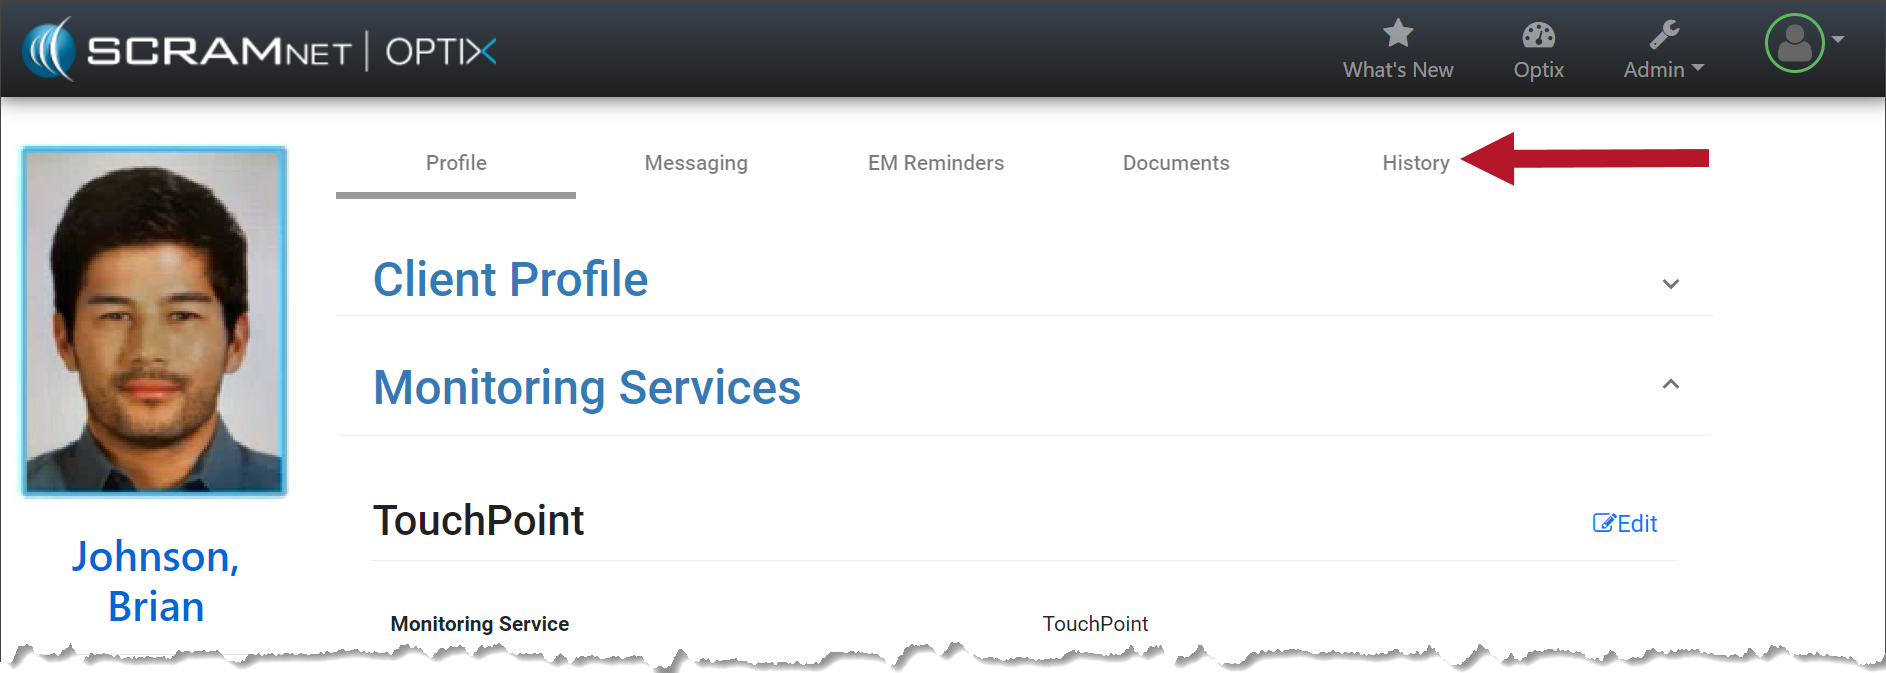
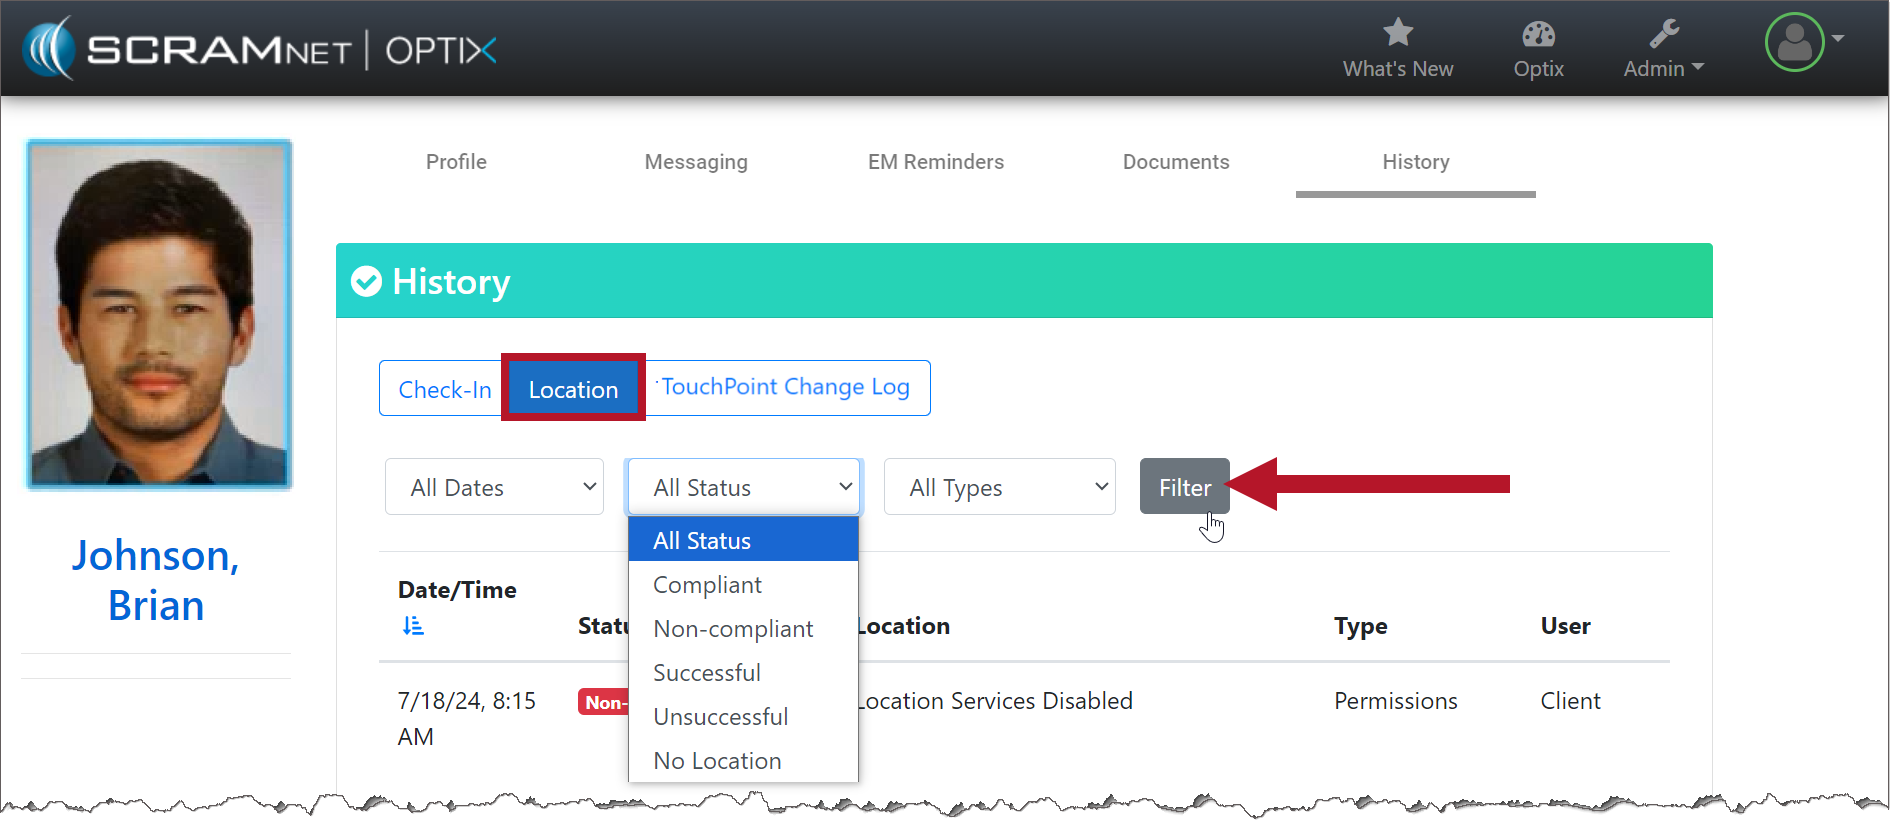
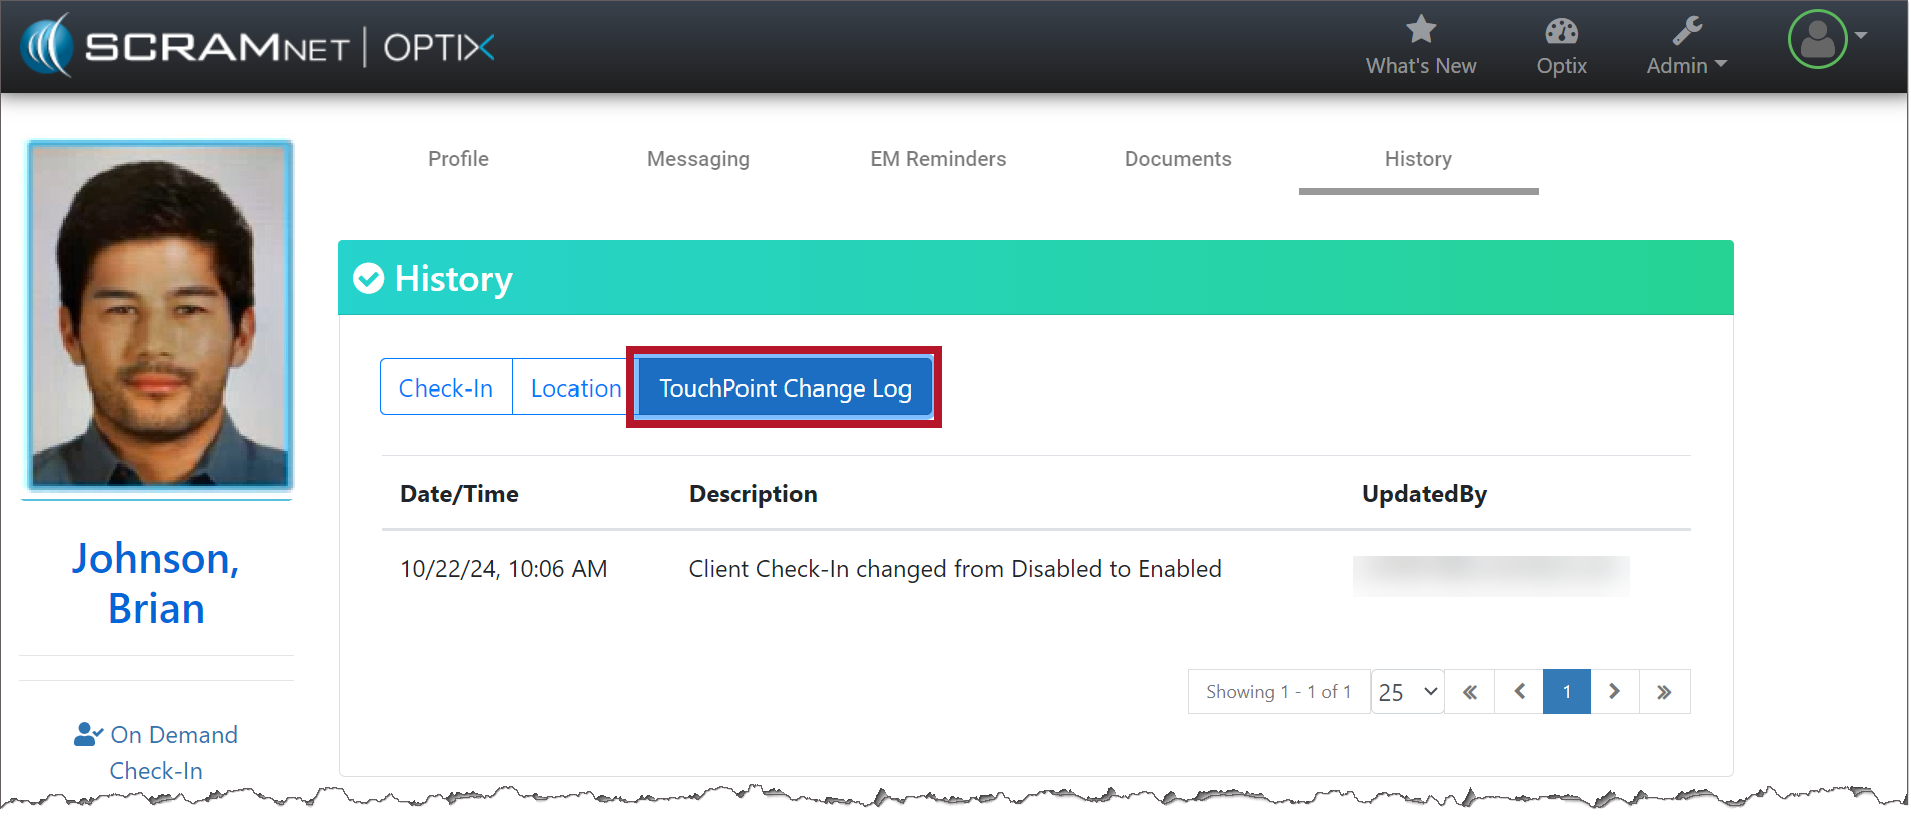
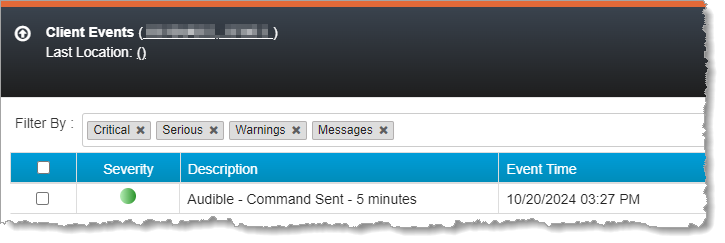
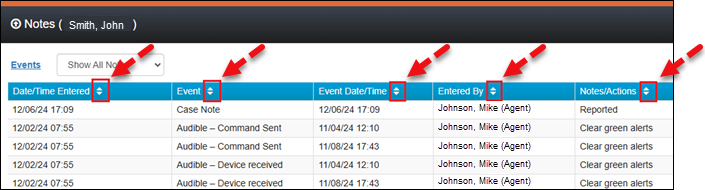
Filter Client Notes by Column
With this update, you may filter how the Notes are displayed for client Events using the filter icons on each column header. This can be useful to filter for specific Event types or usernames (Entered By).
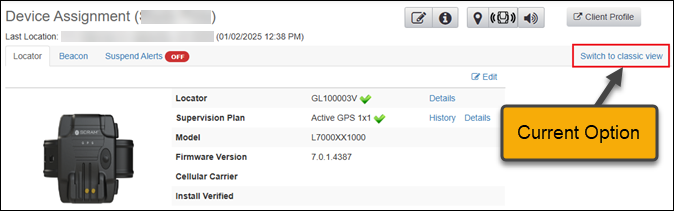
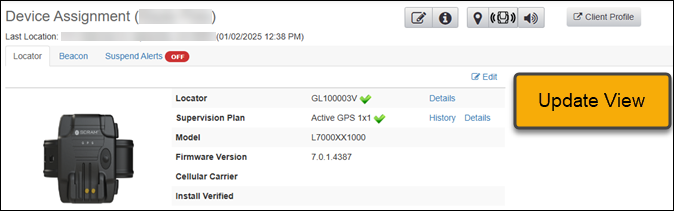
Device Assignment “Classic View” No Longer Available
To ensure SCRAMNET GPS supports both the Standard and GPS 9 Plus features, the “Classic View” will no longer be available on the Device Assignment page.