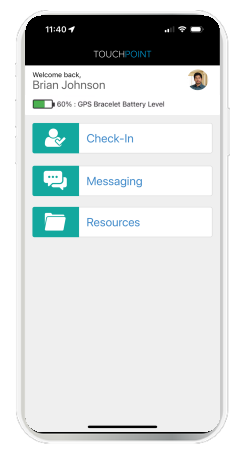
On March 12, 2026, SCRAM Systems will release an enhancement to your TouchPoint Monitoring program. For clients who are enabled for the SCRAM TouchPoint Location Tracking service, their smartphone’s location data will be captured and stored during periods without network or internet connectivity. Once service is restored, the stored data will be transmitted to the system.
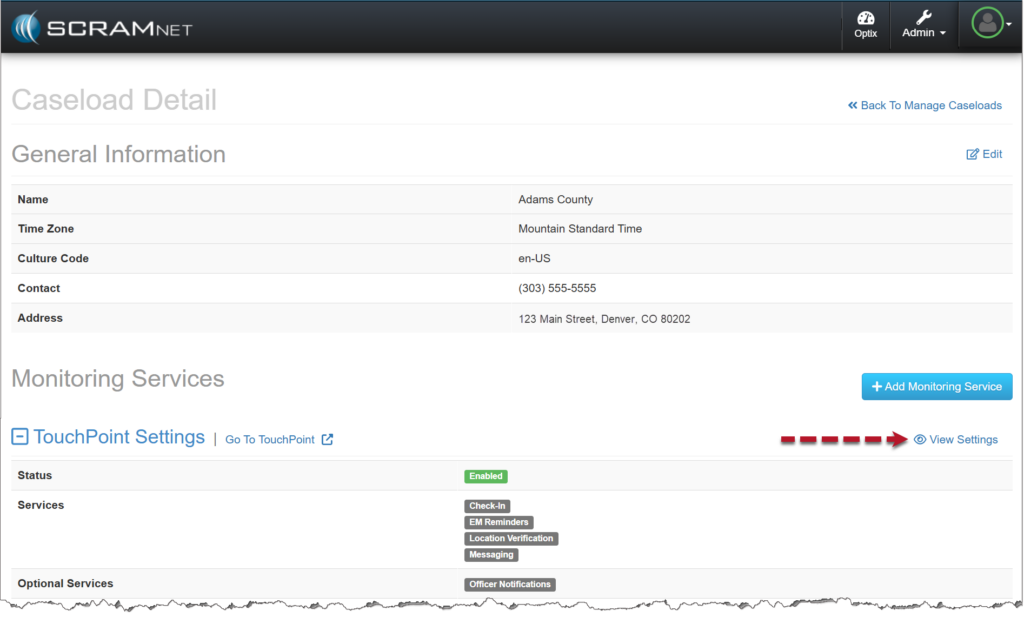
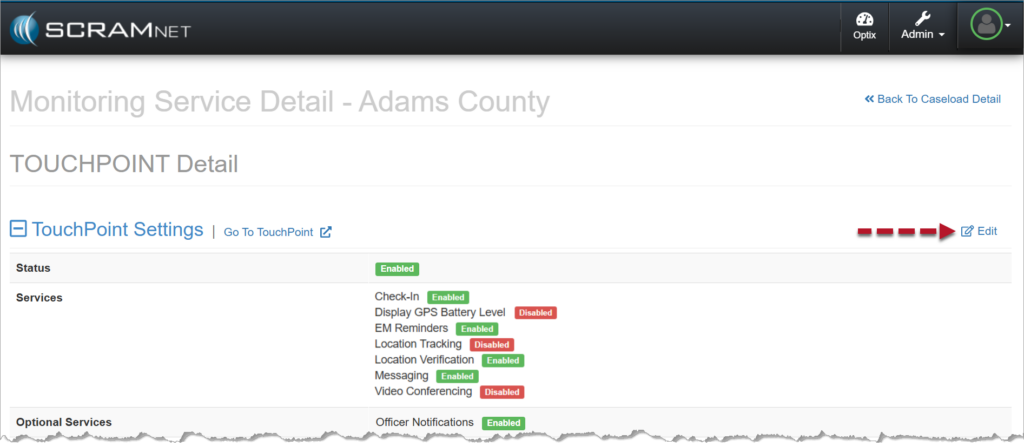
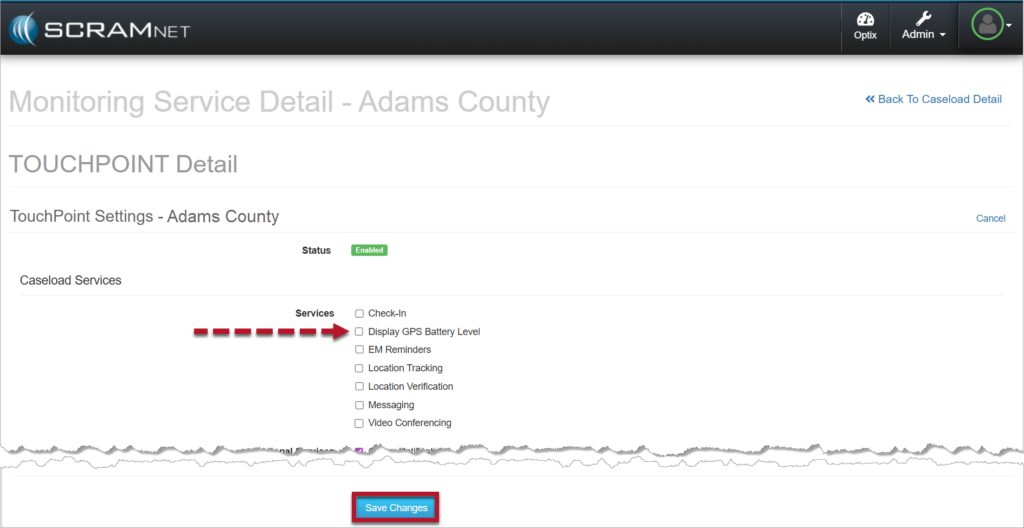
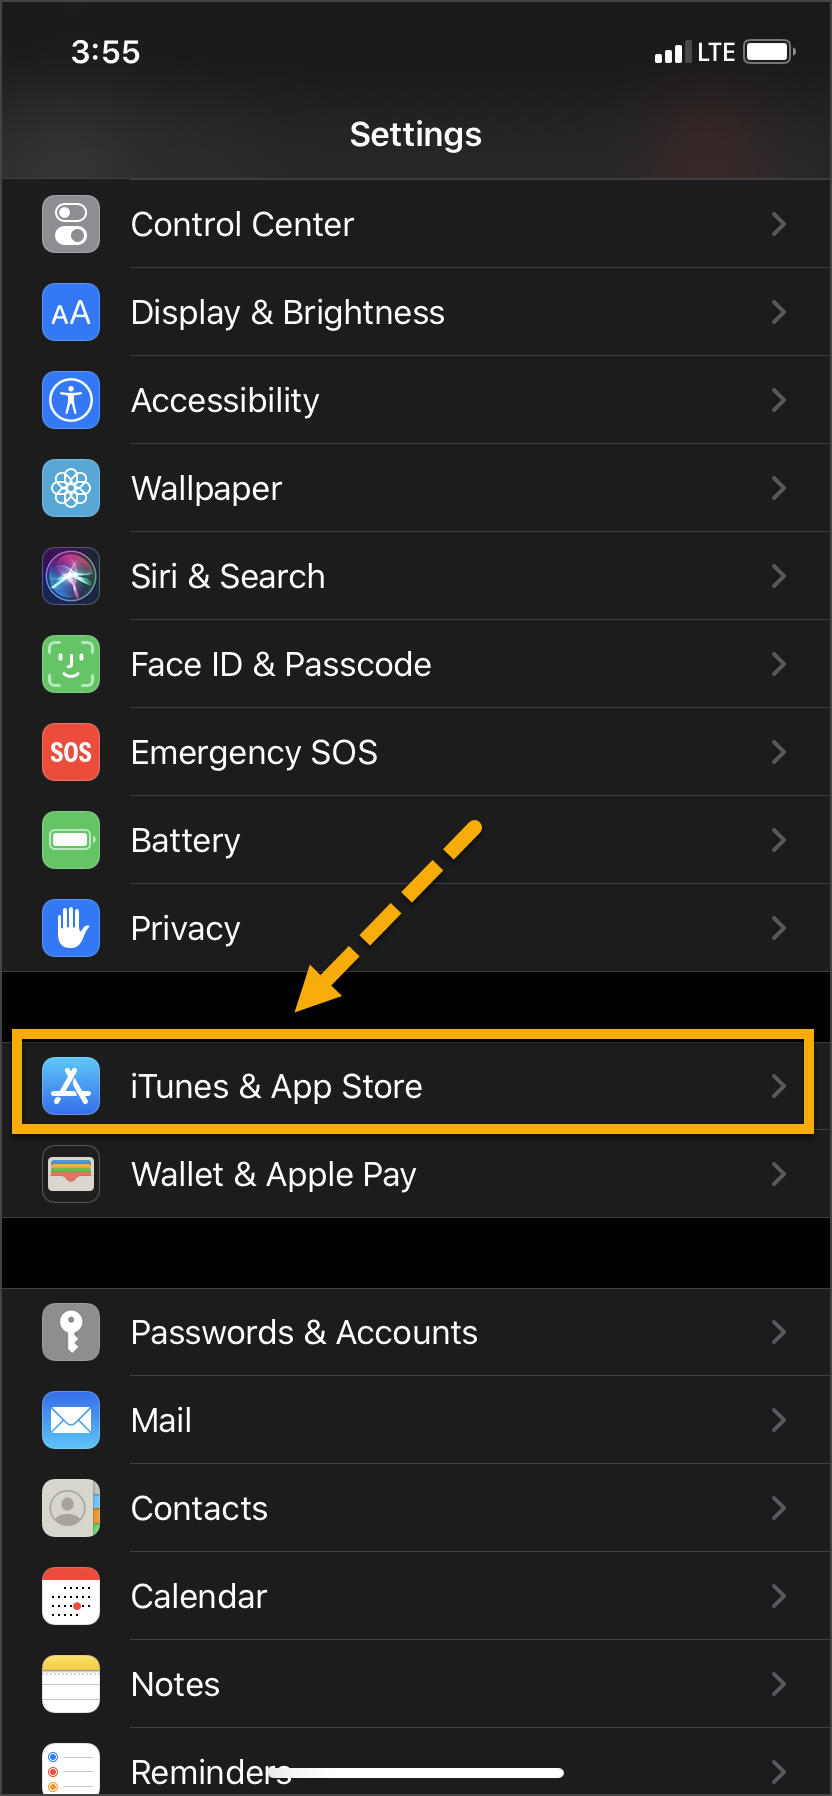
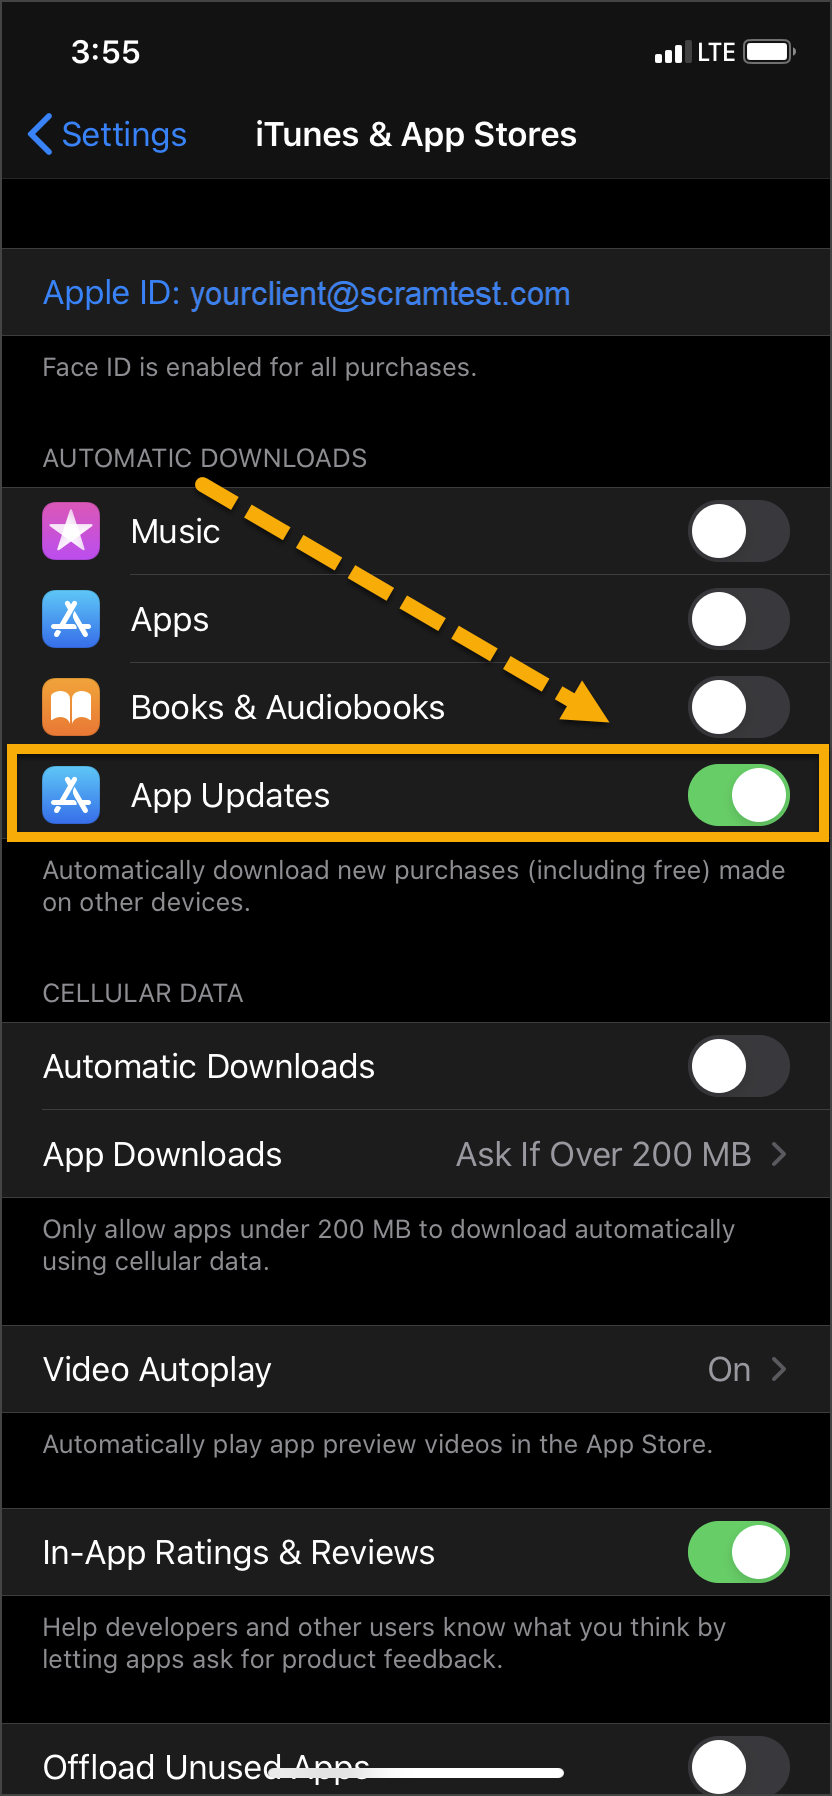
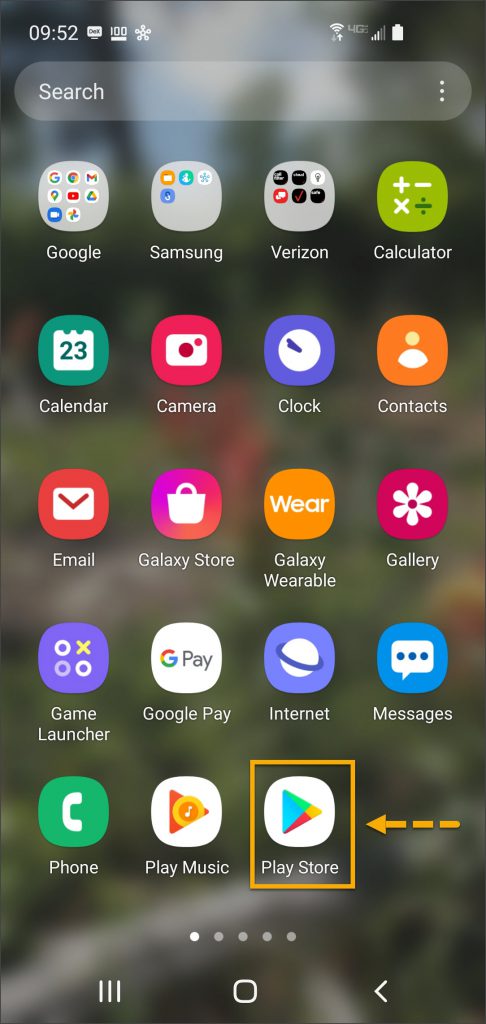
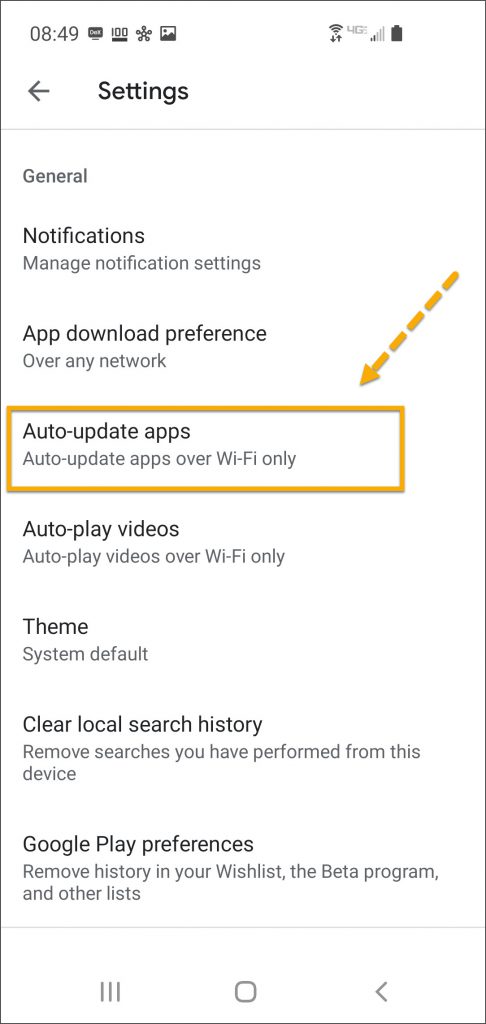
| Your account must be enabled for location tracking for these instructions to work. Contact your SCRAM Systems Account Representative if you are interested in activating this service. |
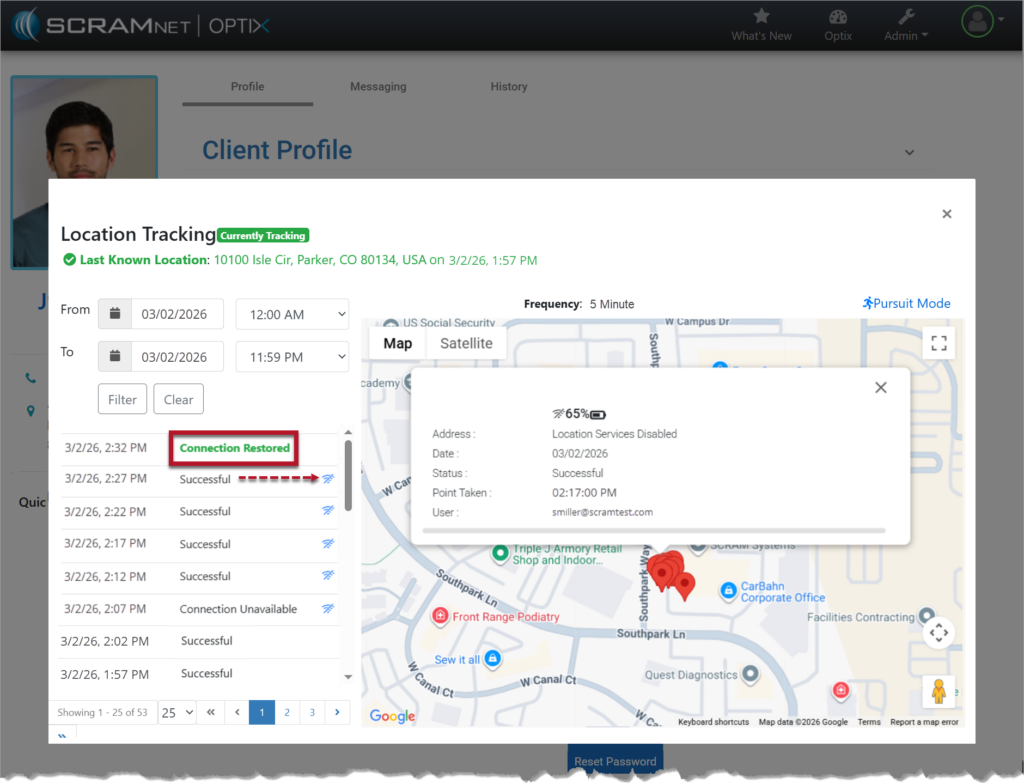
How It Works
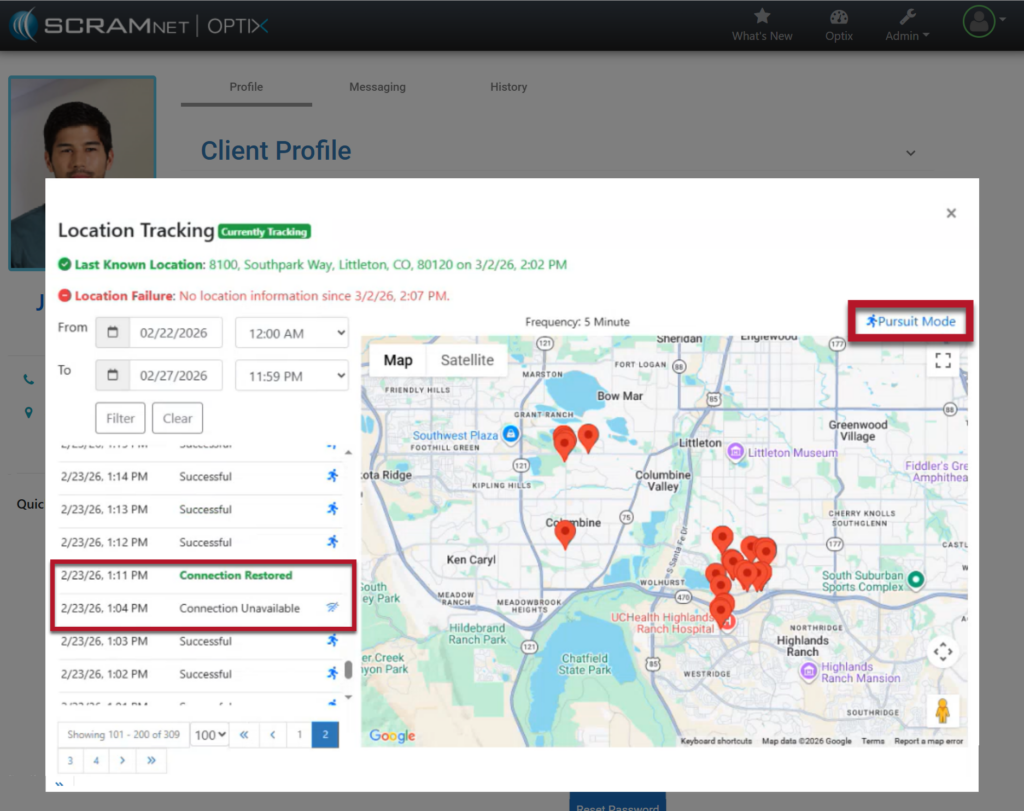
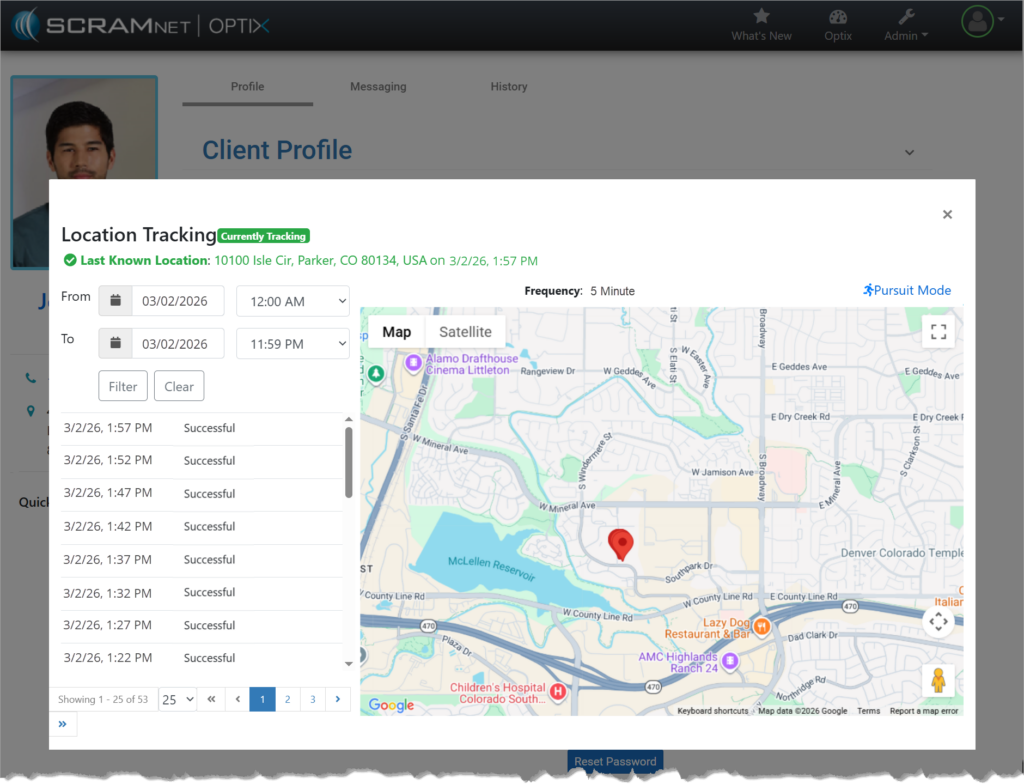
For this example, the client’s Location Tracking service is configured to collect location data every 5 minutes.
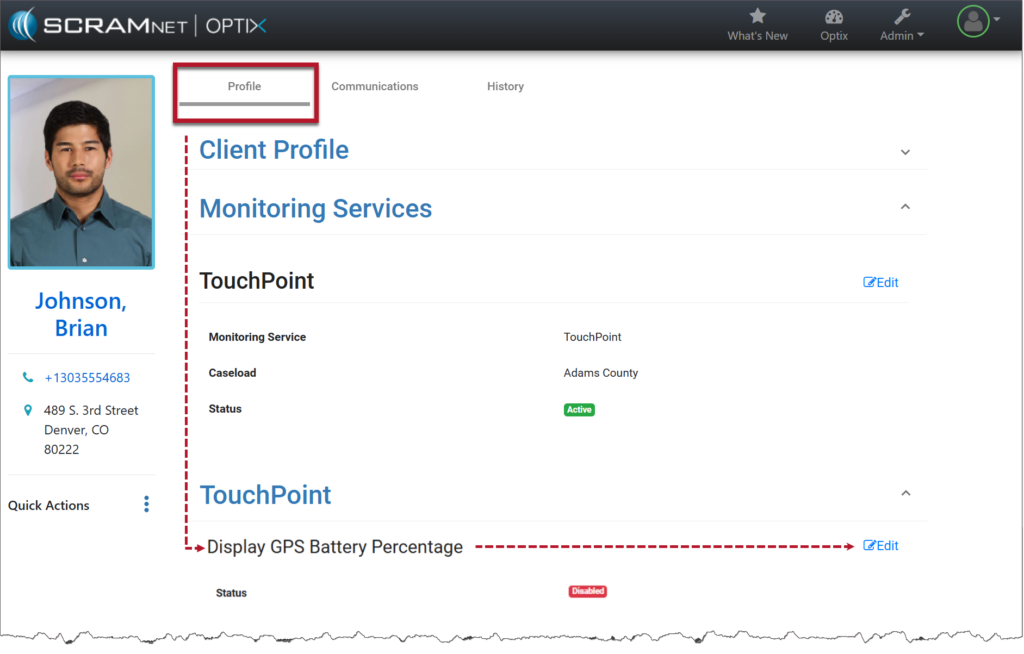
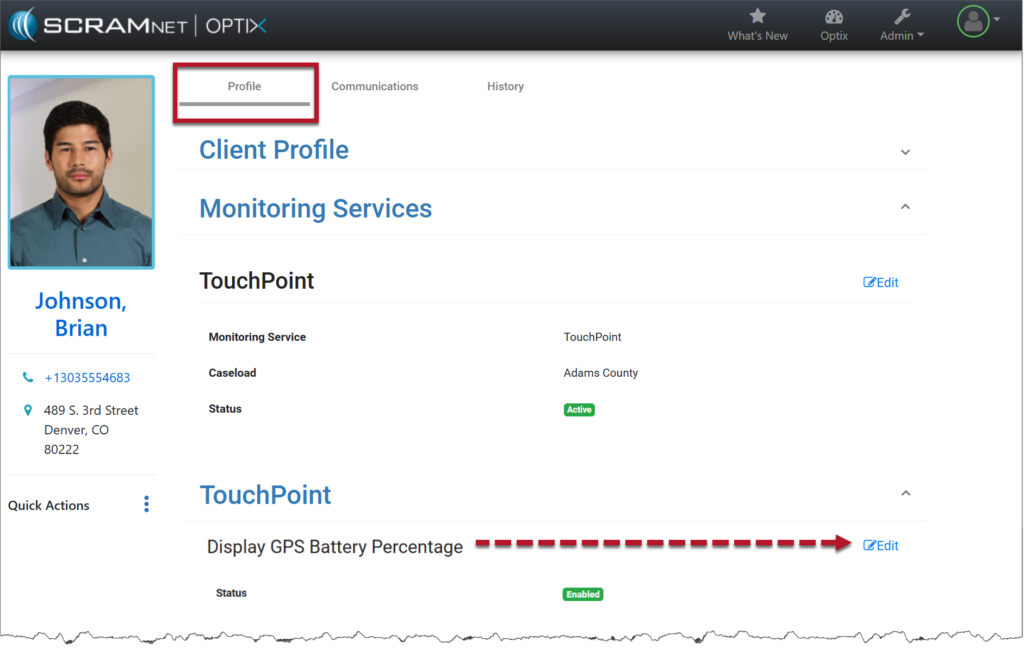
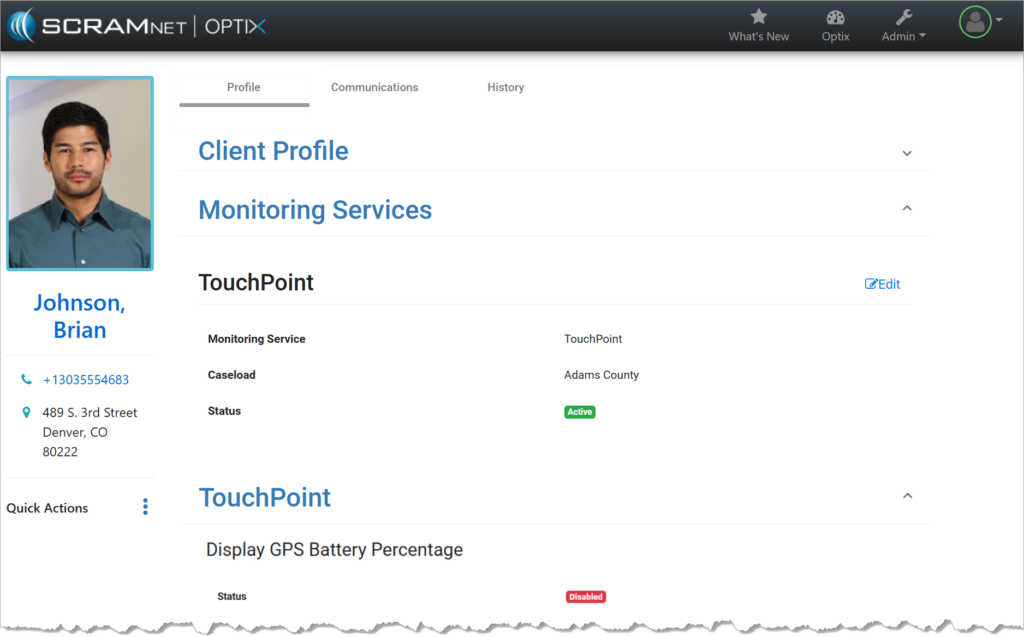
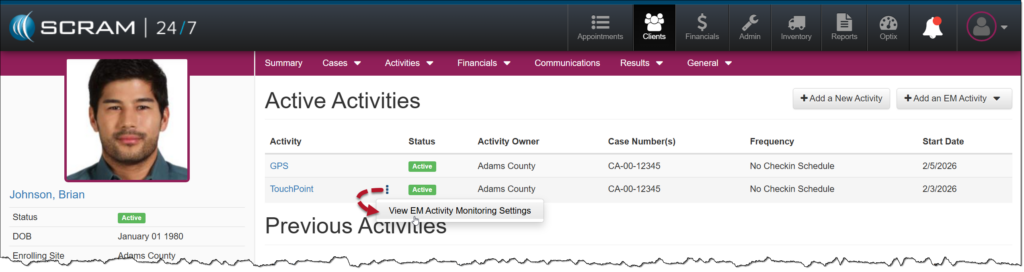
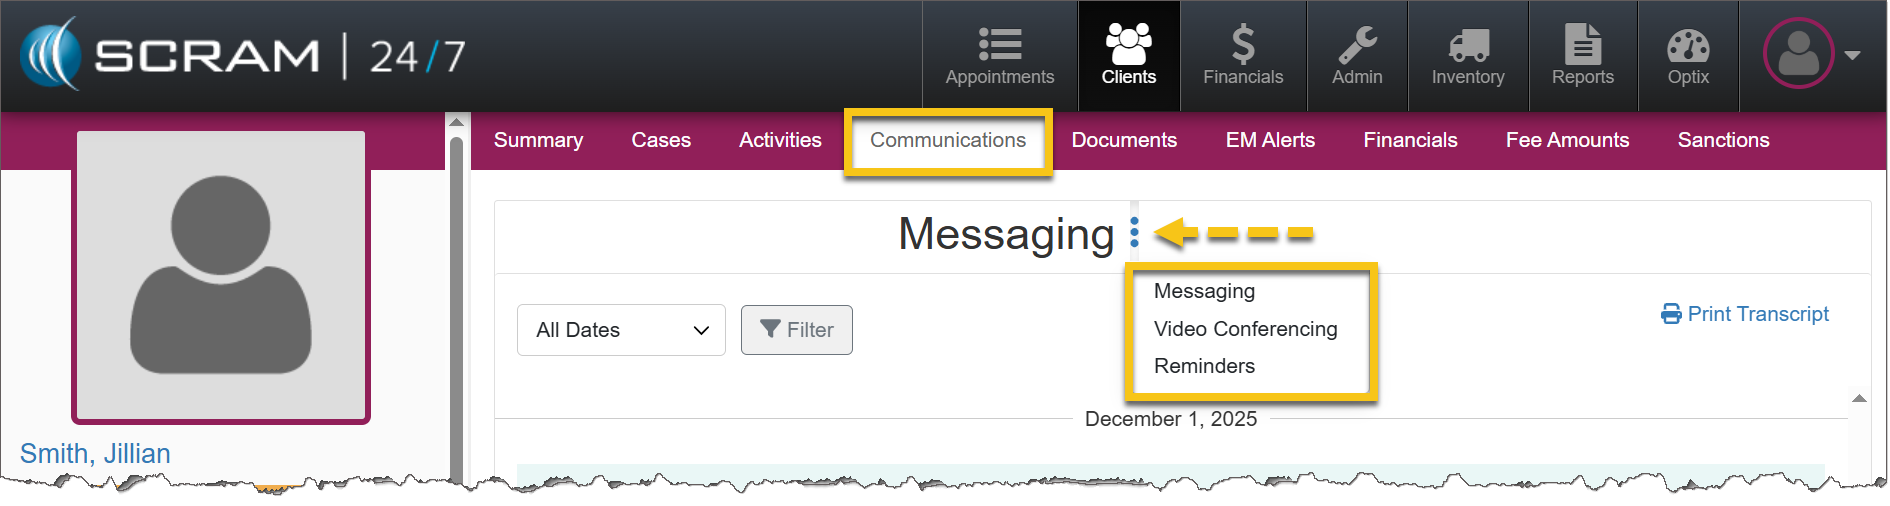
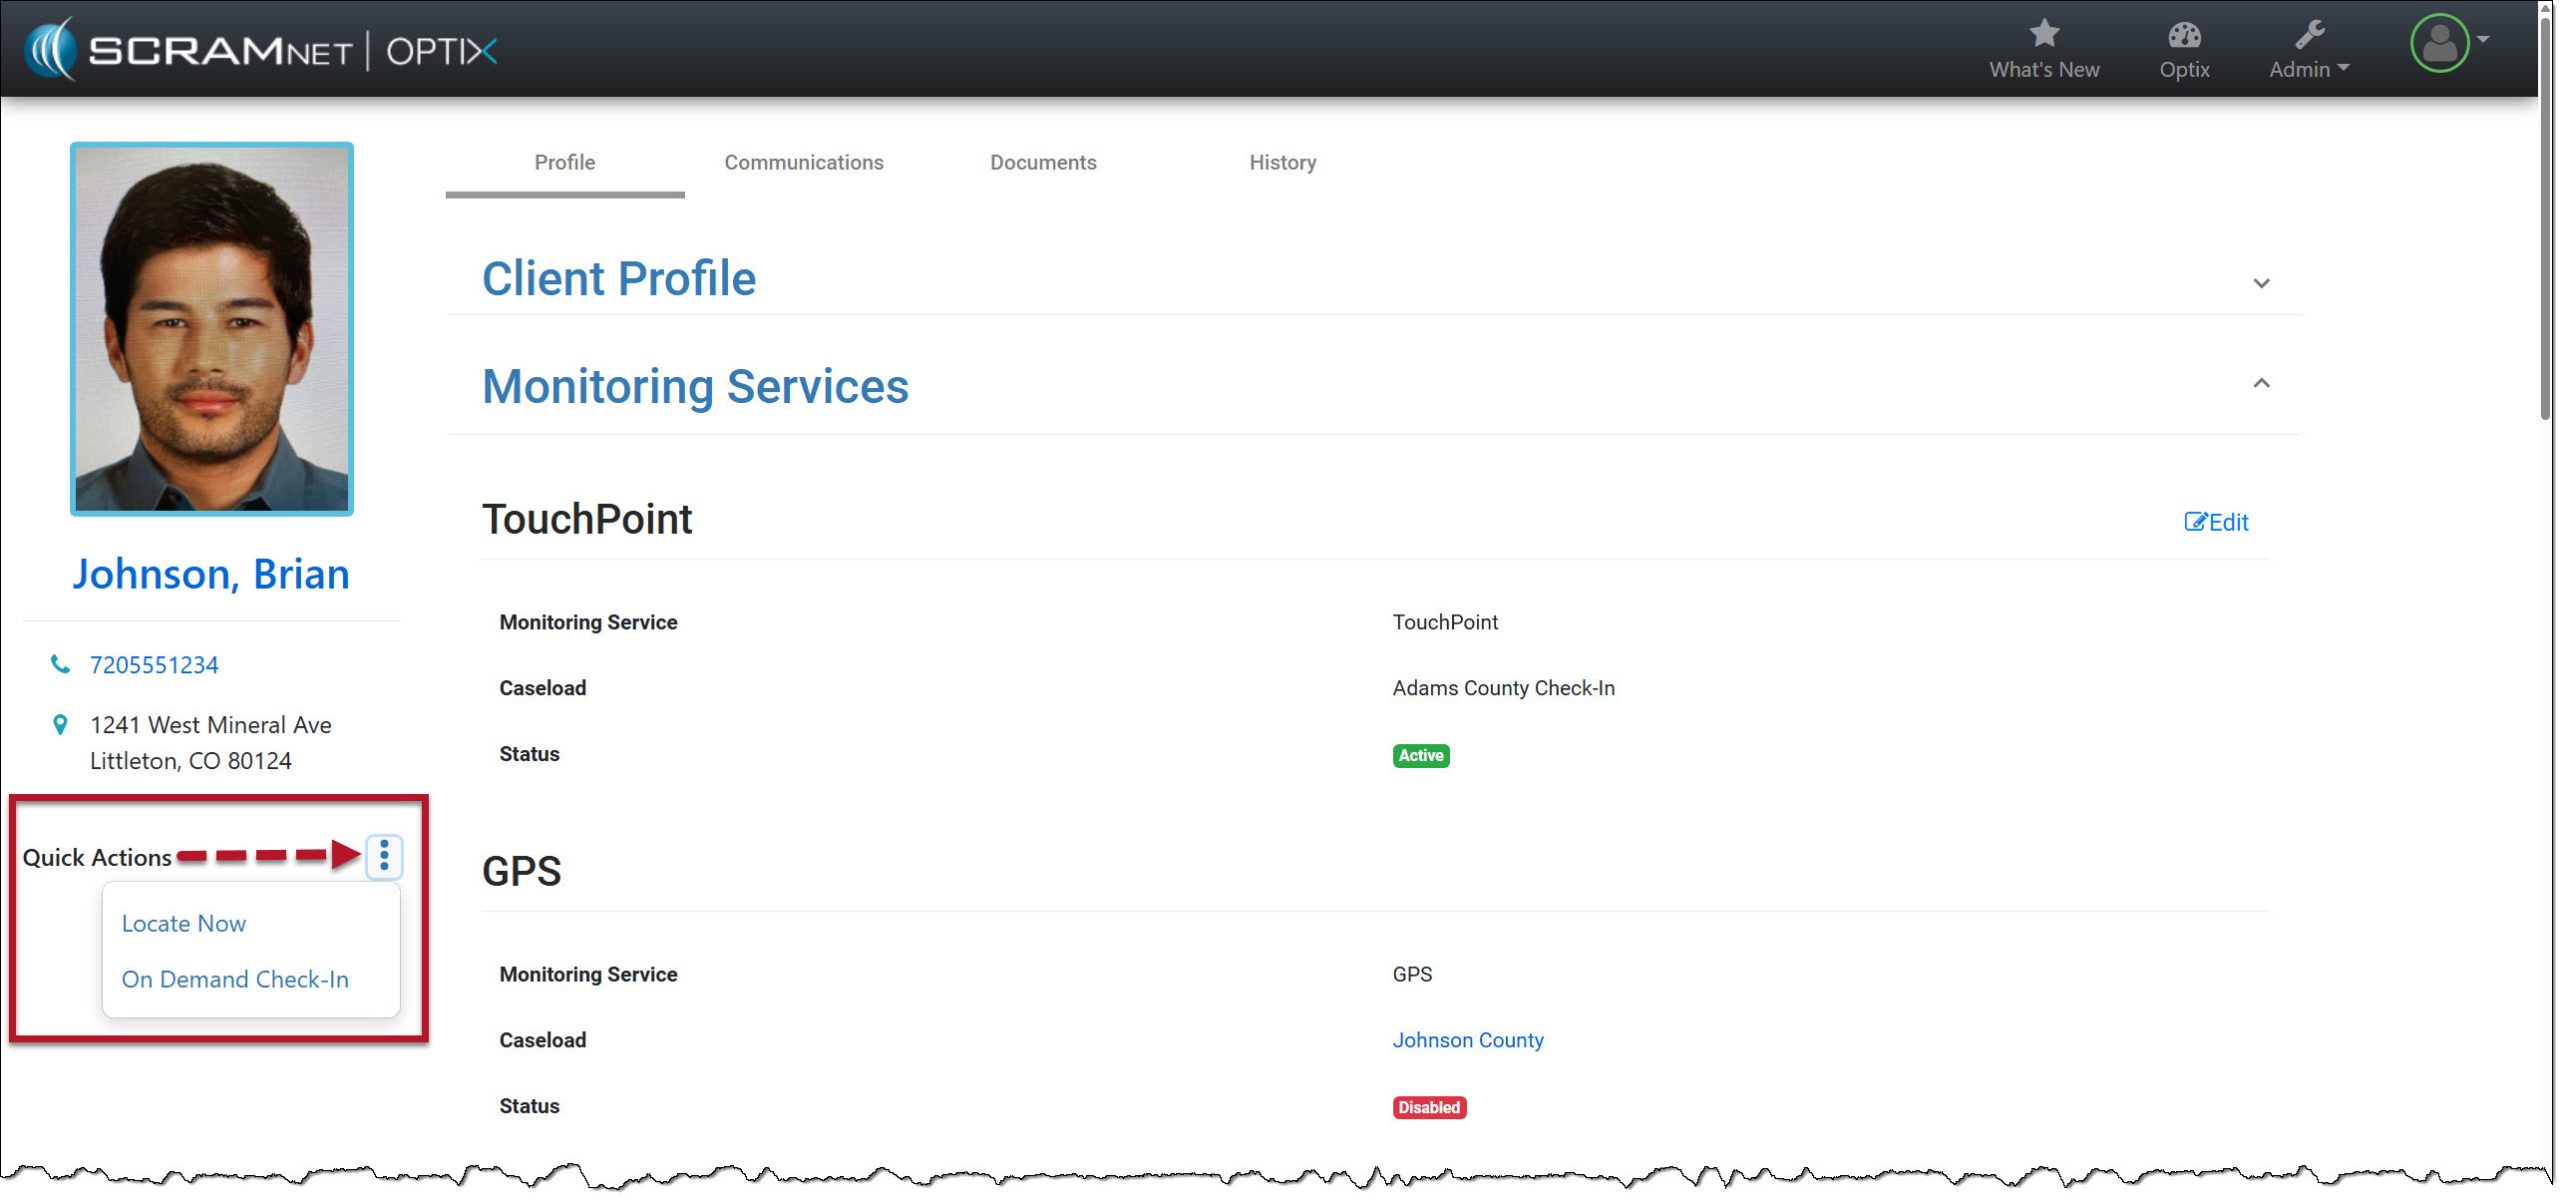
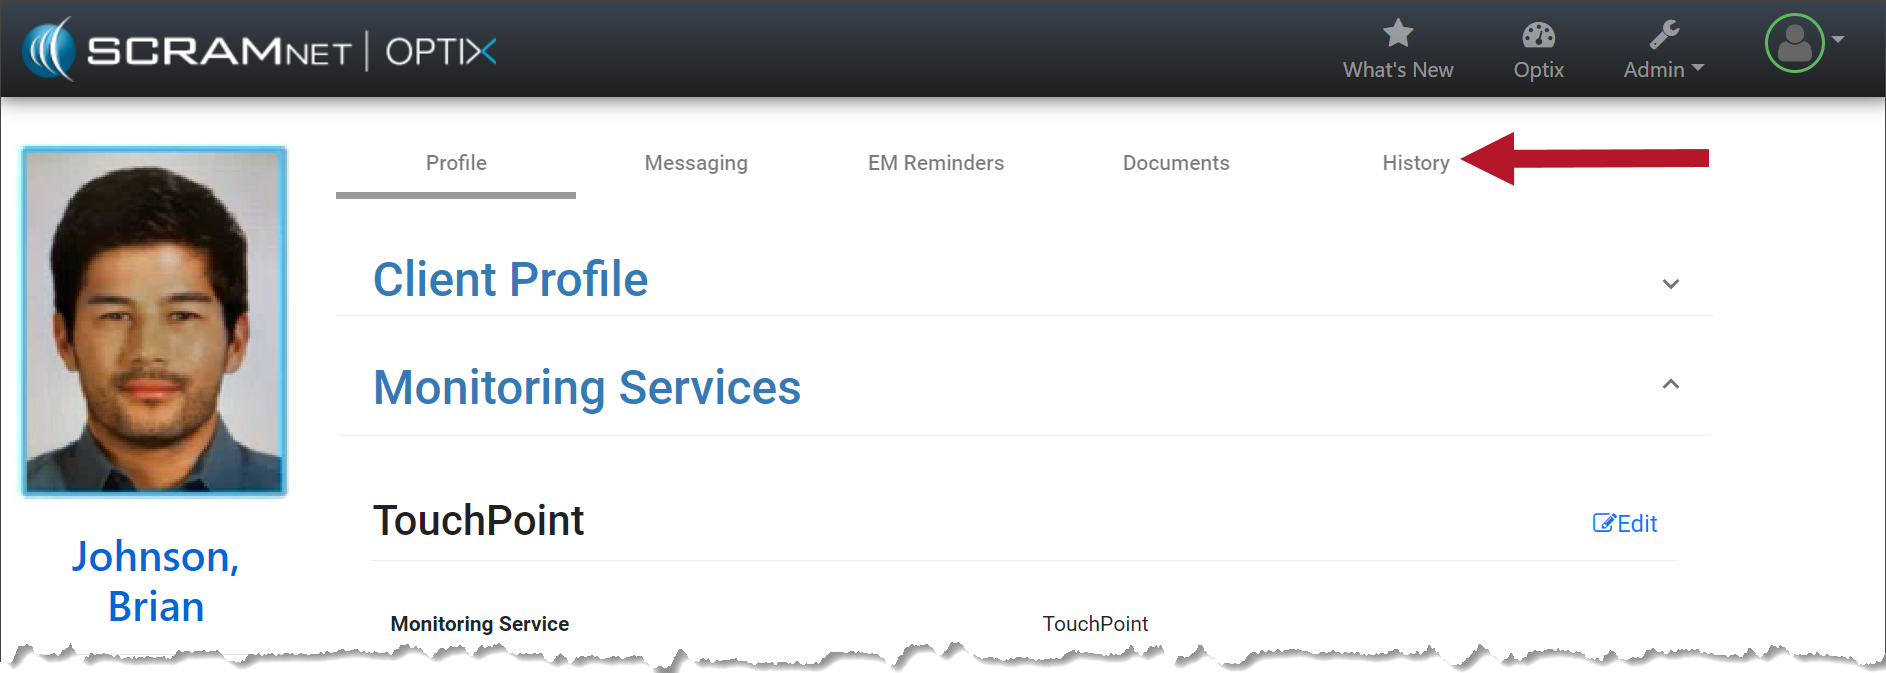
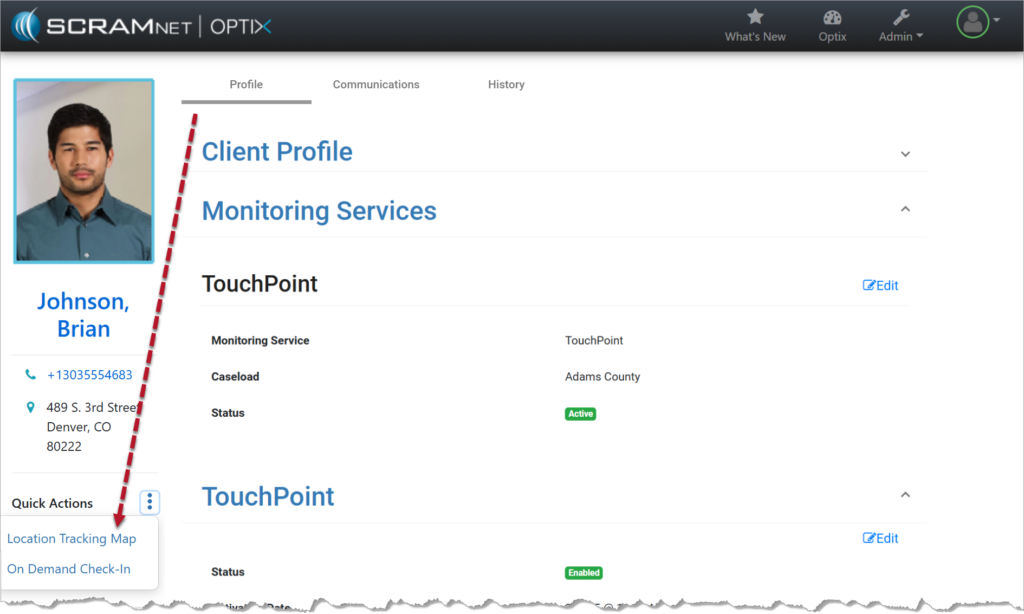
From the Client Profile page, select Location Tracking Map from the Quick Actions dropdown ellipsis menu.
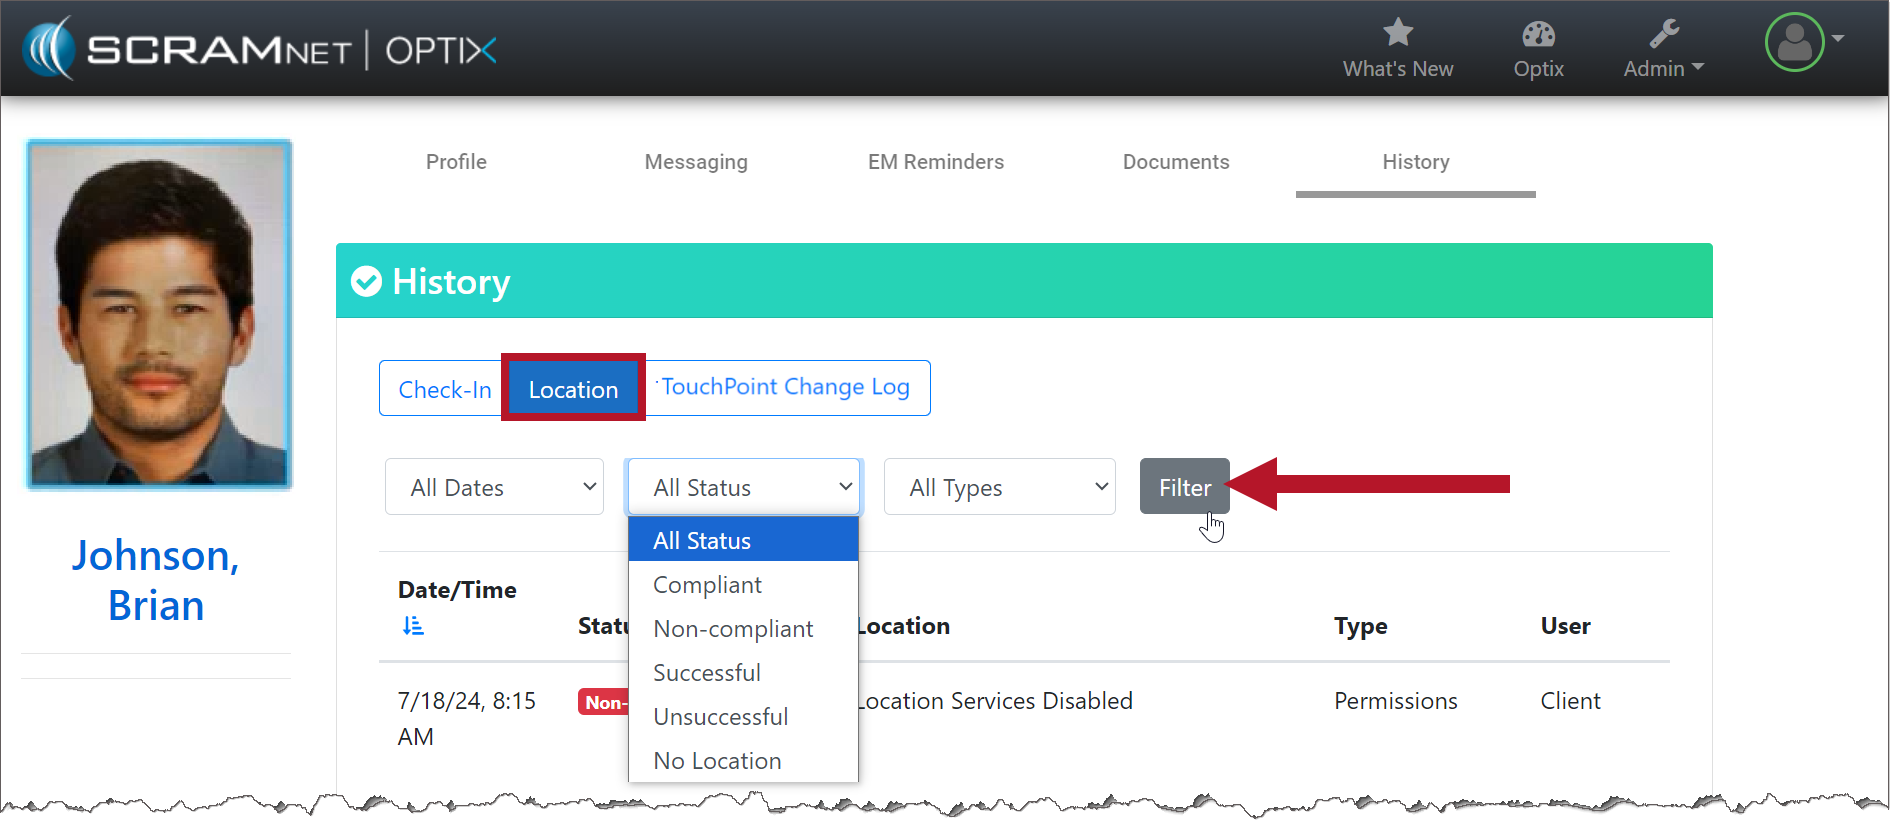
On the Location Tracking pop-up window:
When connectivity is available:
- The location points are plotted on the map.
- Each point is recorded as Successful.
- The Location Tracking pop-up window reflects normal communication.
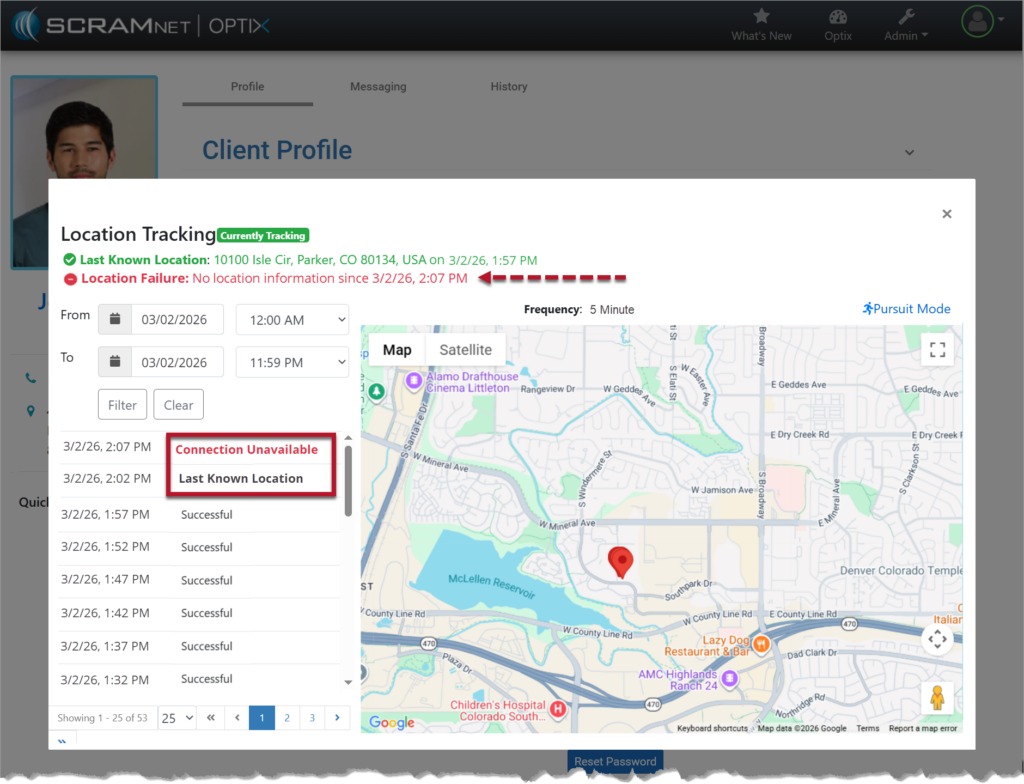
When connection is not available:
- The location table will not indicate the last known location in bold.
- At the next location interval, in this case the 5-minute interval, the location table will display Connection Unavailable in red.
- Additionally, a red Location Failure heading is displayed at the top of the pop-up window, displaying the last communication date and time.
Once the connection is reestablished:
- The location data will automatically update on the map and on the location table.
- The “Connection Unavailable” message will no longer display in bold or in red.
- A “Connection Restored” message will appear bolded and in green on the location table with the date and time stamp of when communication was restored.
| Status Updates: Location Tracking updates are tied to the frequency configured for the client. For example, location information is gathered and communicated every 5, 10, 15, 30, and 60 minutes. Any change in connectivity and location status will only display at the sent interval. |
Loss of Connectivity During Pursuit Mode
During the 15-minute Pursuit Mode window, if connectivity is lost the location table will display “Connection Unavailable,” and the red failure banner will display in the Location Tracking pop-up window.
If the device reconnects during the 15-minute Pursuit Mode session, location collection will resume automatically and continue at one-minute intervals for the remainder of the session.