SCRAM TouchPoint Location Tracking is a premium service that, when activated and enabled, provides monitoring agents with continuous tracking of a client’s smartphone location by requesting location points from the smartphone at a designated interval, from once every five minutes to once every two hours.
| Your account must be enabled for Location Tracking service for these instructions to work. Contact your SCRAM Systems Account Representative if you are interested in activating this service. Note that Location Tracking and Location Verification (“Locate Now”) cannot be enabled simultaneously. |
To Set Up Location Tracking at the Caseload Level:
- On the Optix Dashboard, select Go to TouchPoint:
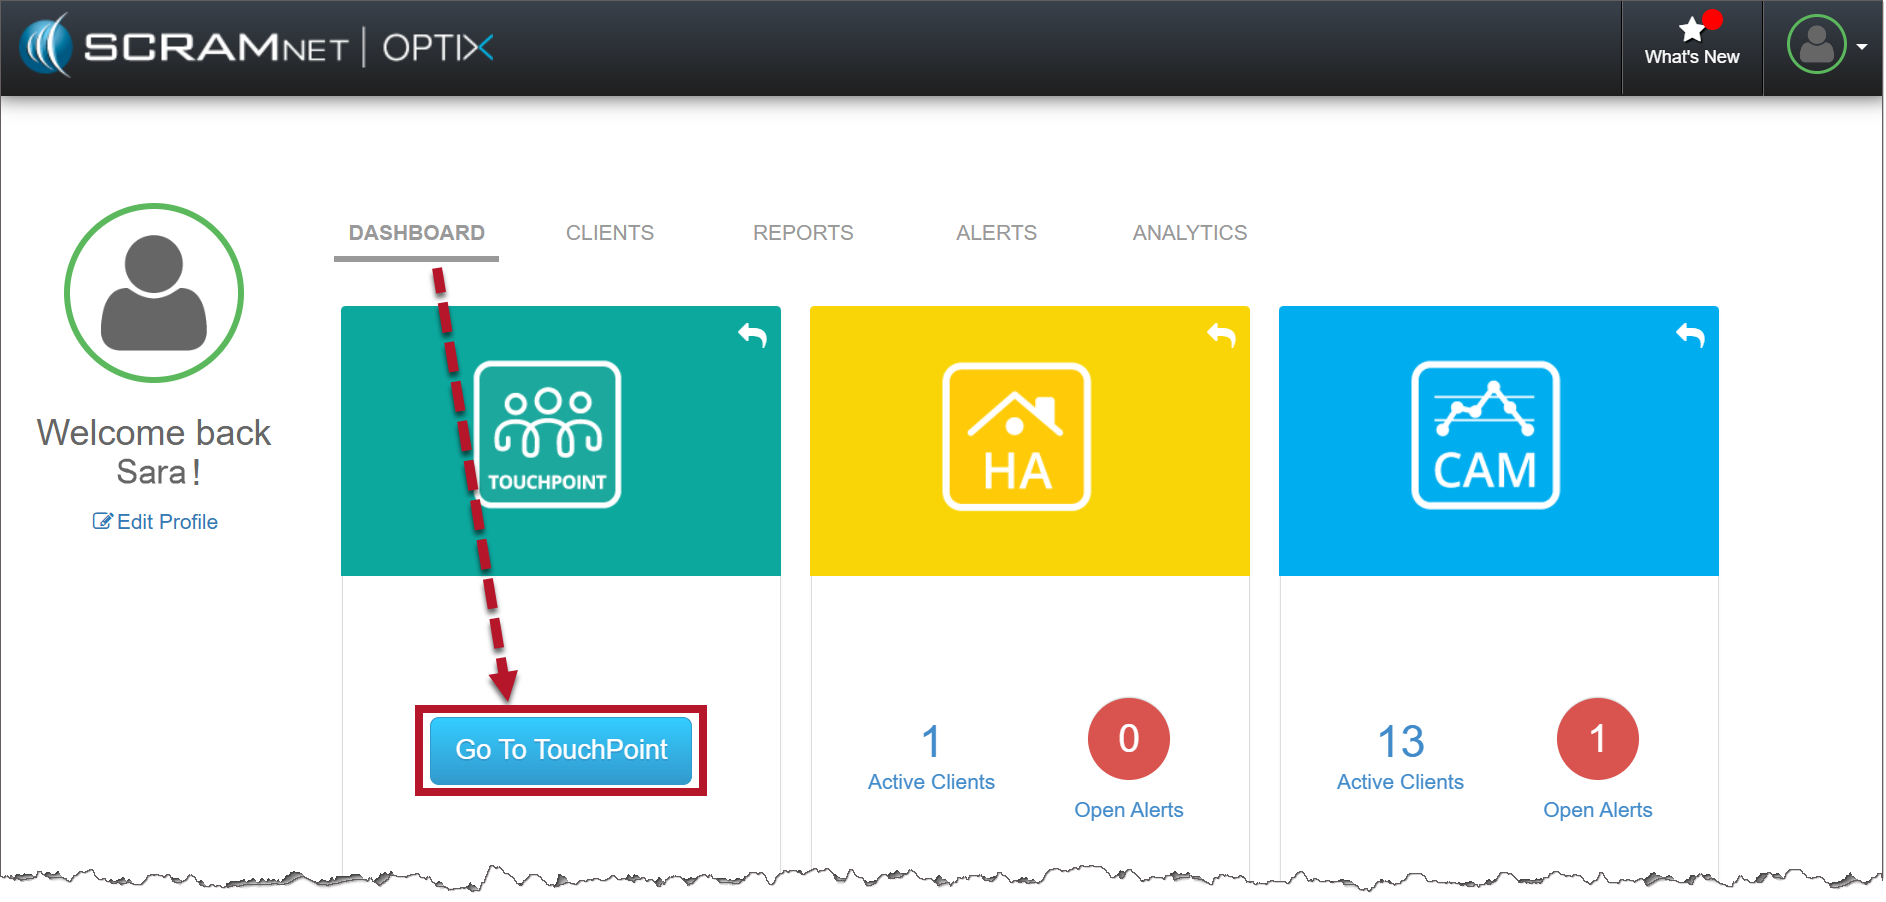
Optix Dashboard (click to enlarge)
- From the TouchPoint Check-In page, select the Admin dropdown menu, and choose Manage Caseloads.
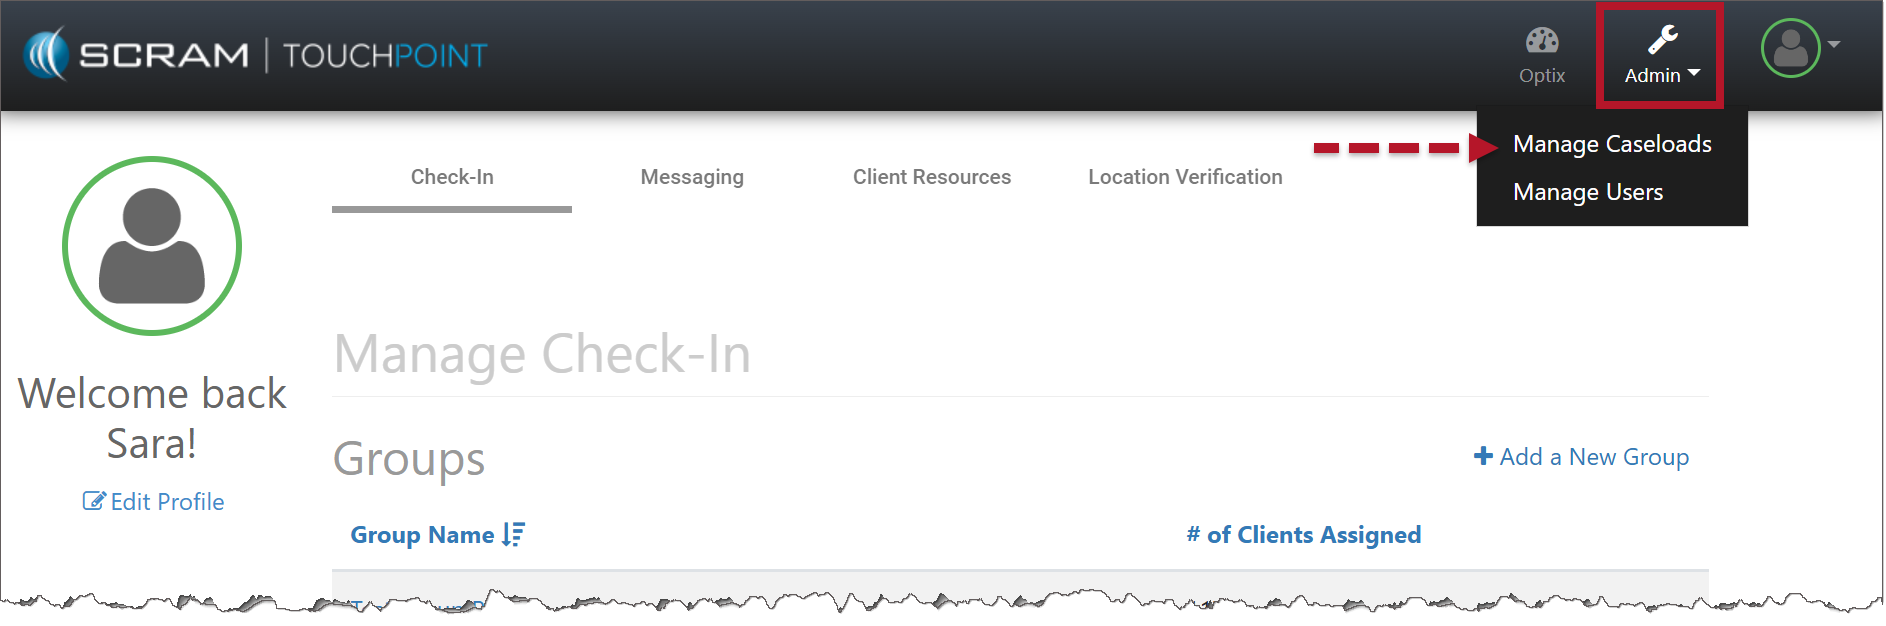
Manage Check-In Page (click to enlarge)
- Select the Add a New Caseload button to create a new caseload or select an existing caseload to add this feature.

Manage Caseloads page (click to enlarge)
- When adding a new Caseload or editing an existing Caseload, in the Monitoring Services section, select the checkbox next to the Location Tracking option located in the Caseload Services section.

When selecting the Caseload Services, Location Verification and Location Tracking cannot be enabled simultaneously. - To finish, select the Save TouchPoint Changes button.
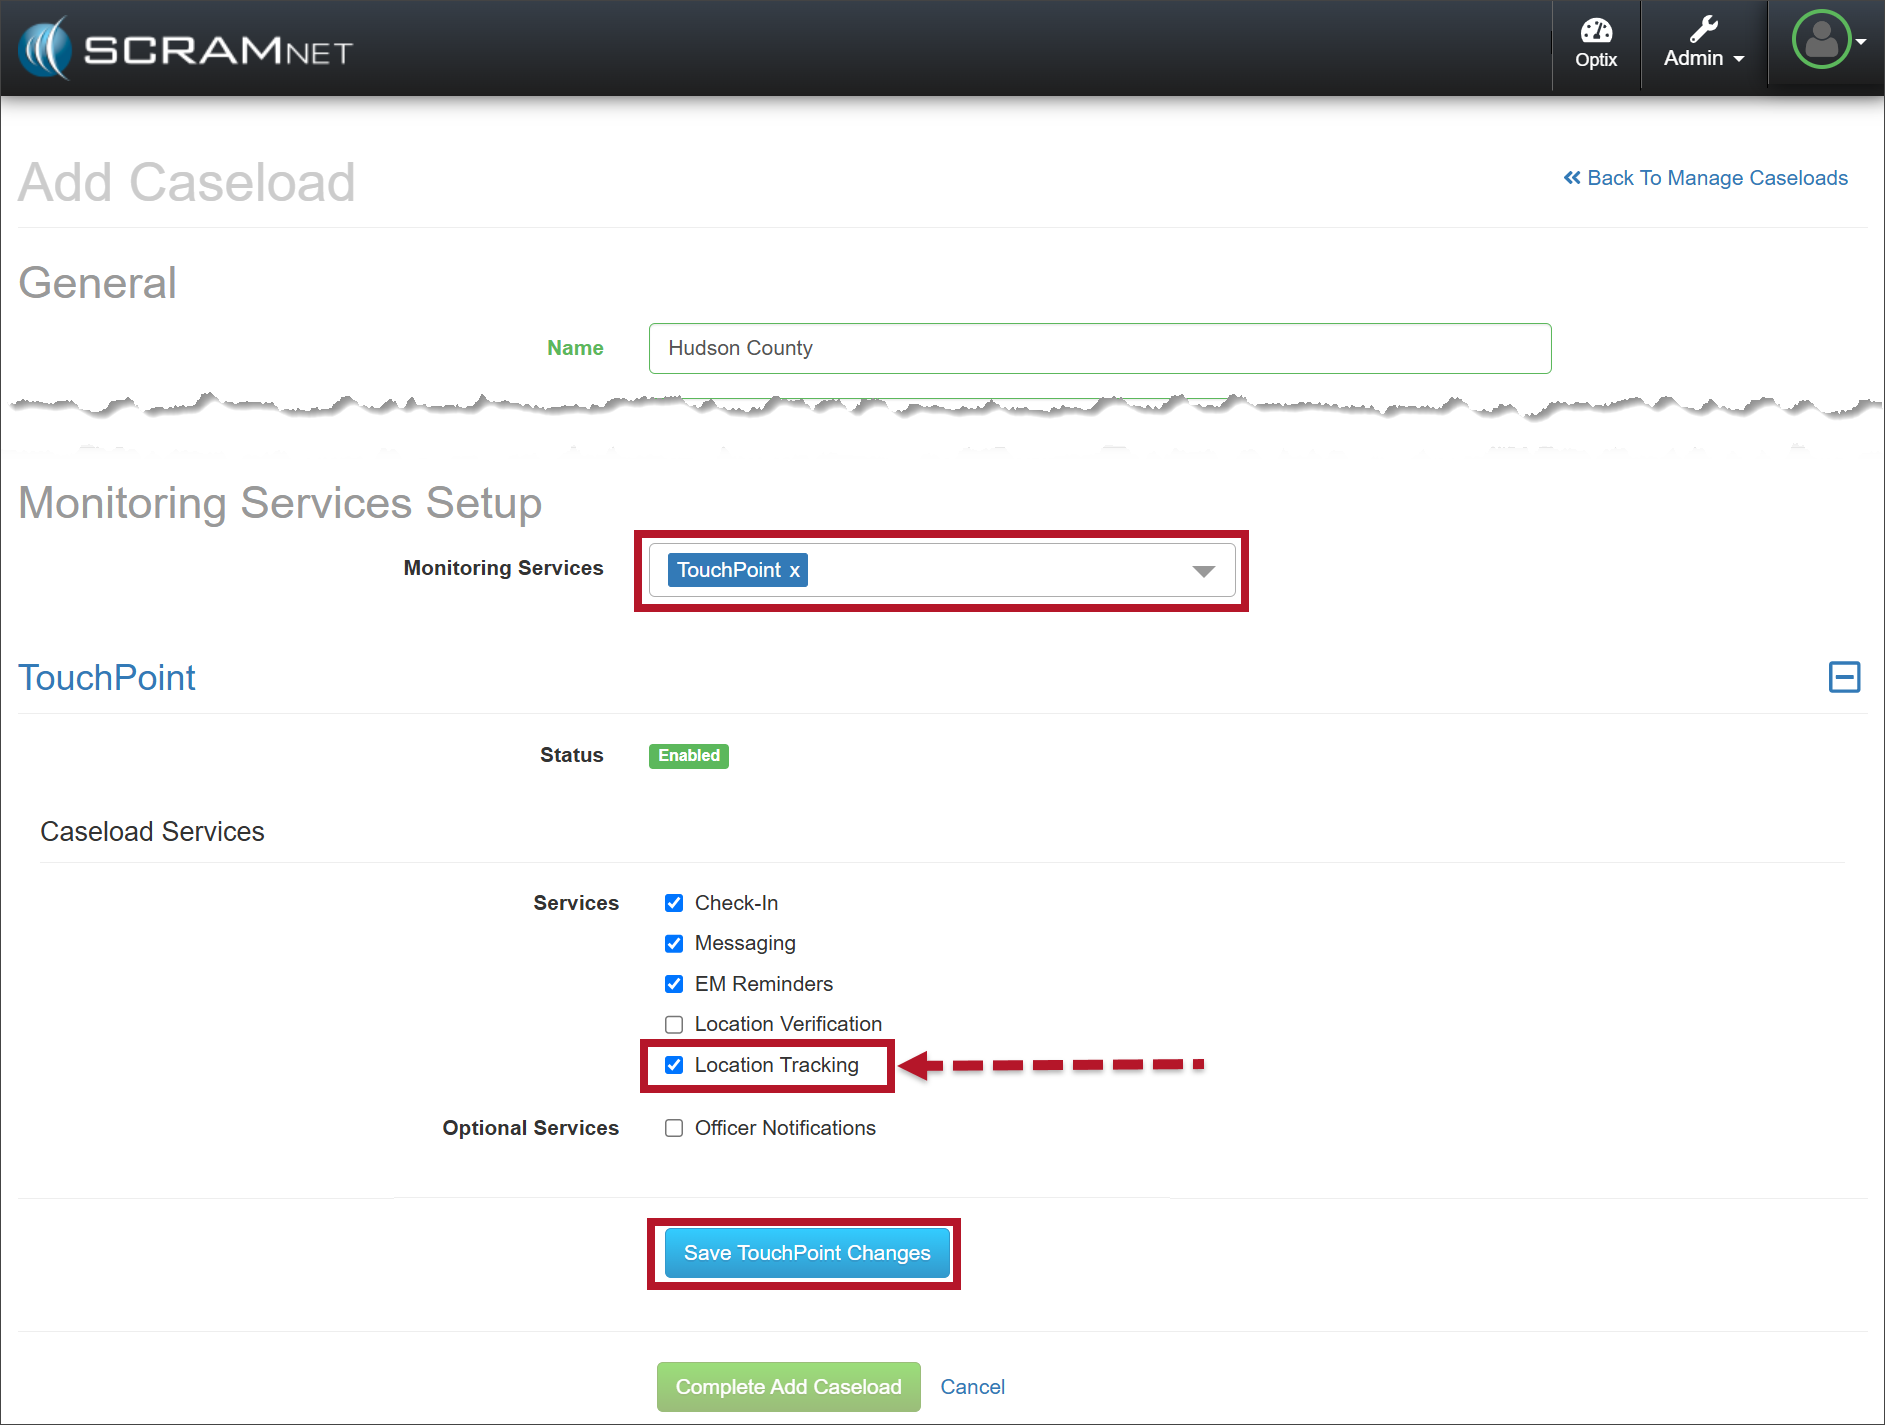
Monitoring Services Setup page (click to enlarge)
- Once saved, the Caseload Detail page will display the enabled services.
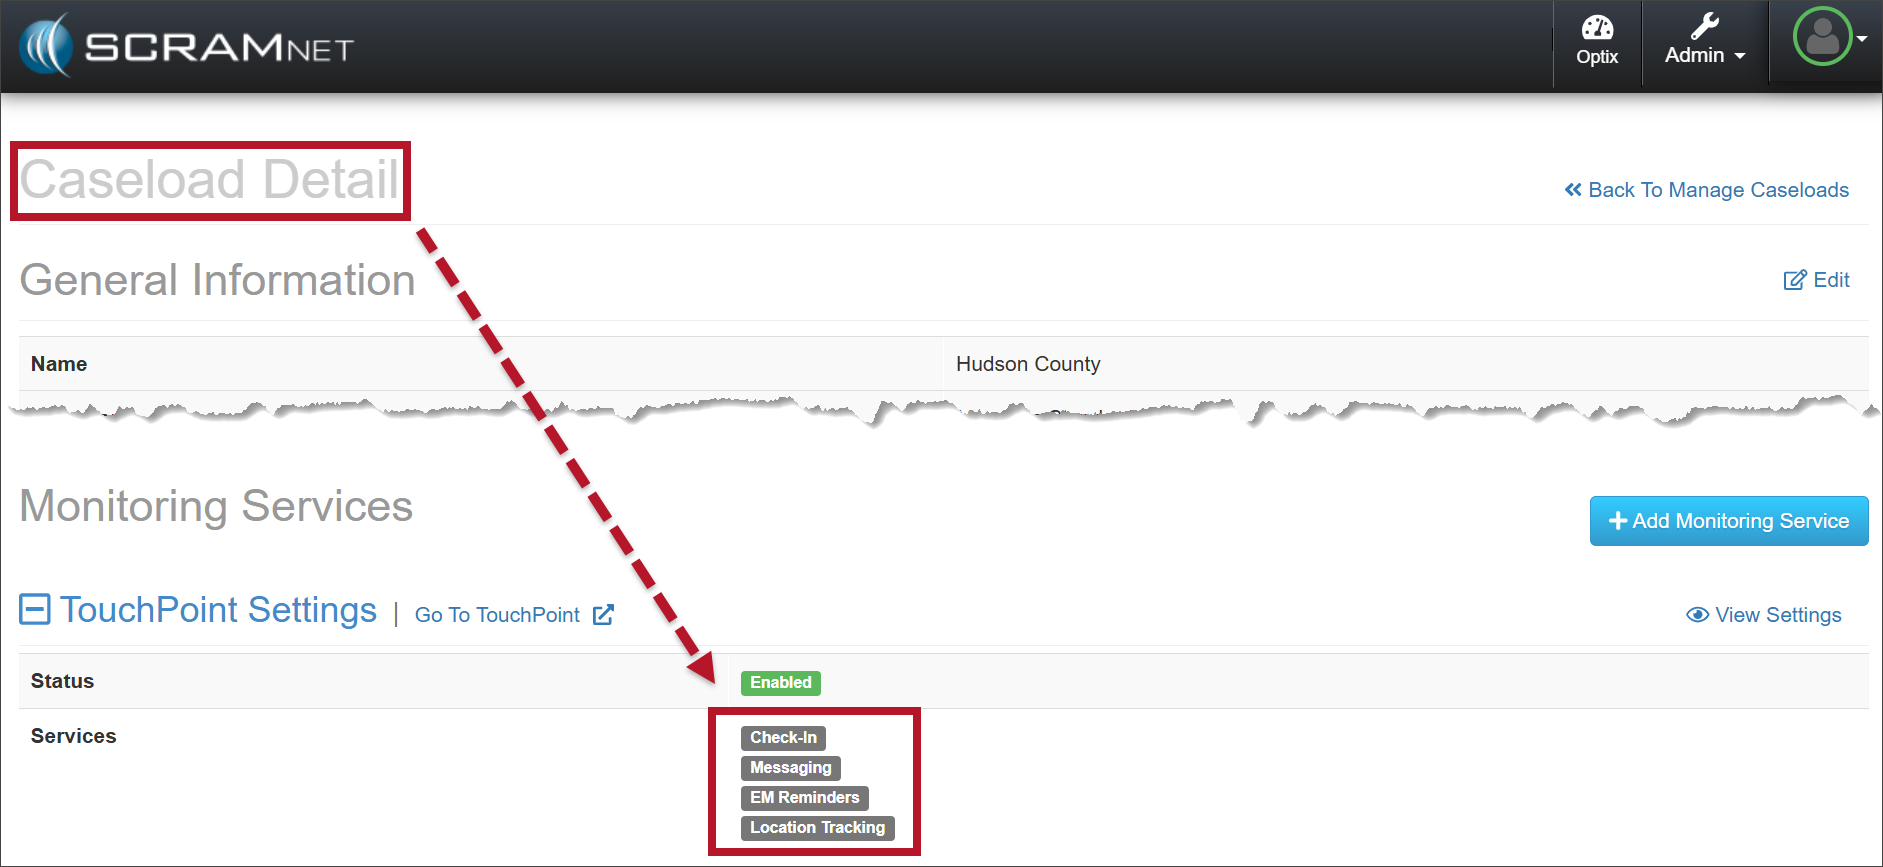
Caseload Details page (click to enlarge)
Enabling Location Tracking for Clients
- Once your Caseload is enabled for Location Tracking, you may enable this service for clients on their Client Profile page. For existing clients, on the Optix Clients page, select their name hyperlink.
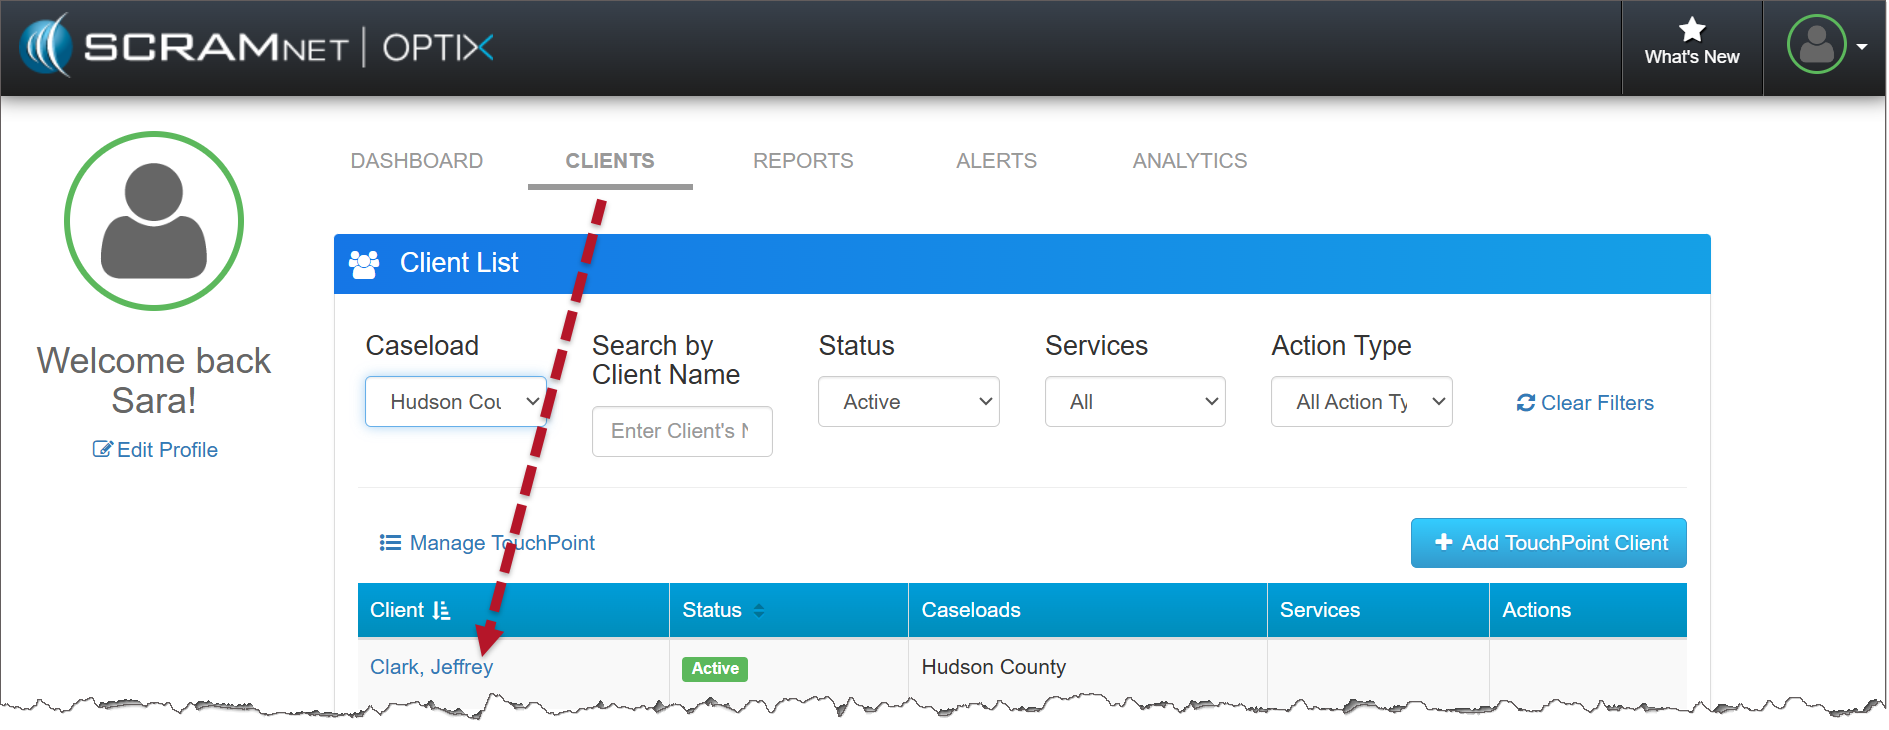
Optix Clients page (click to enlarge)
- In the Monitoring Services section, select the Edit hyperlink to the right of the Location Tracking monitoring service.
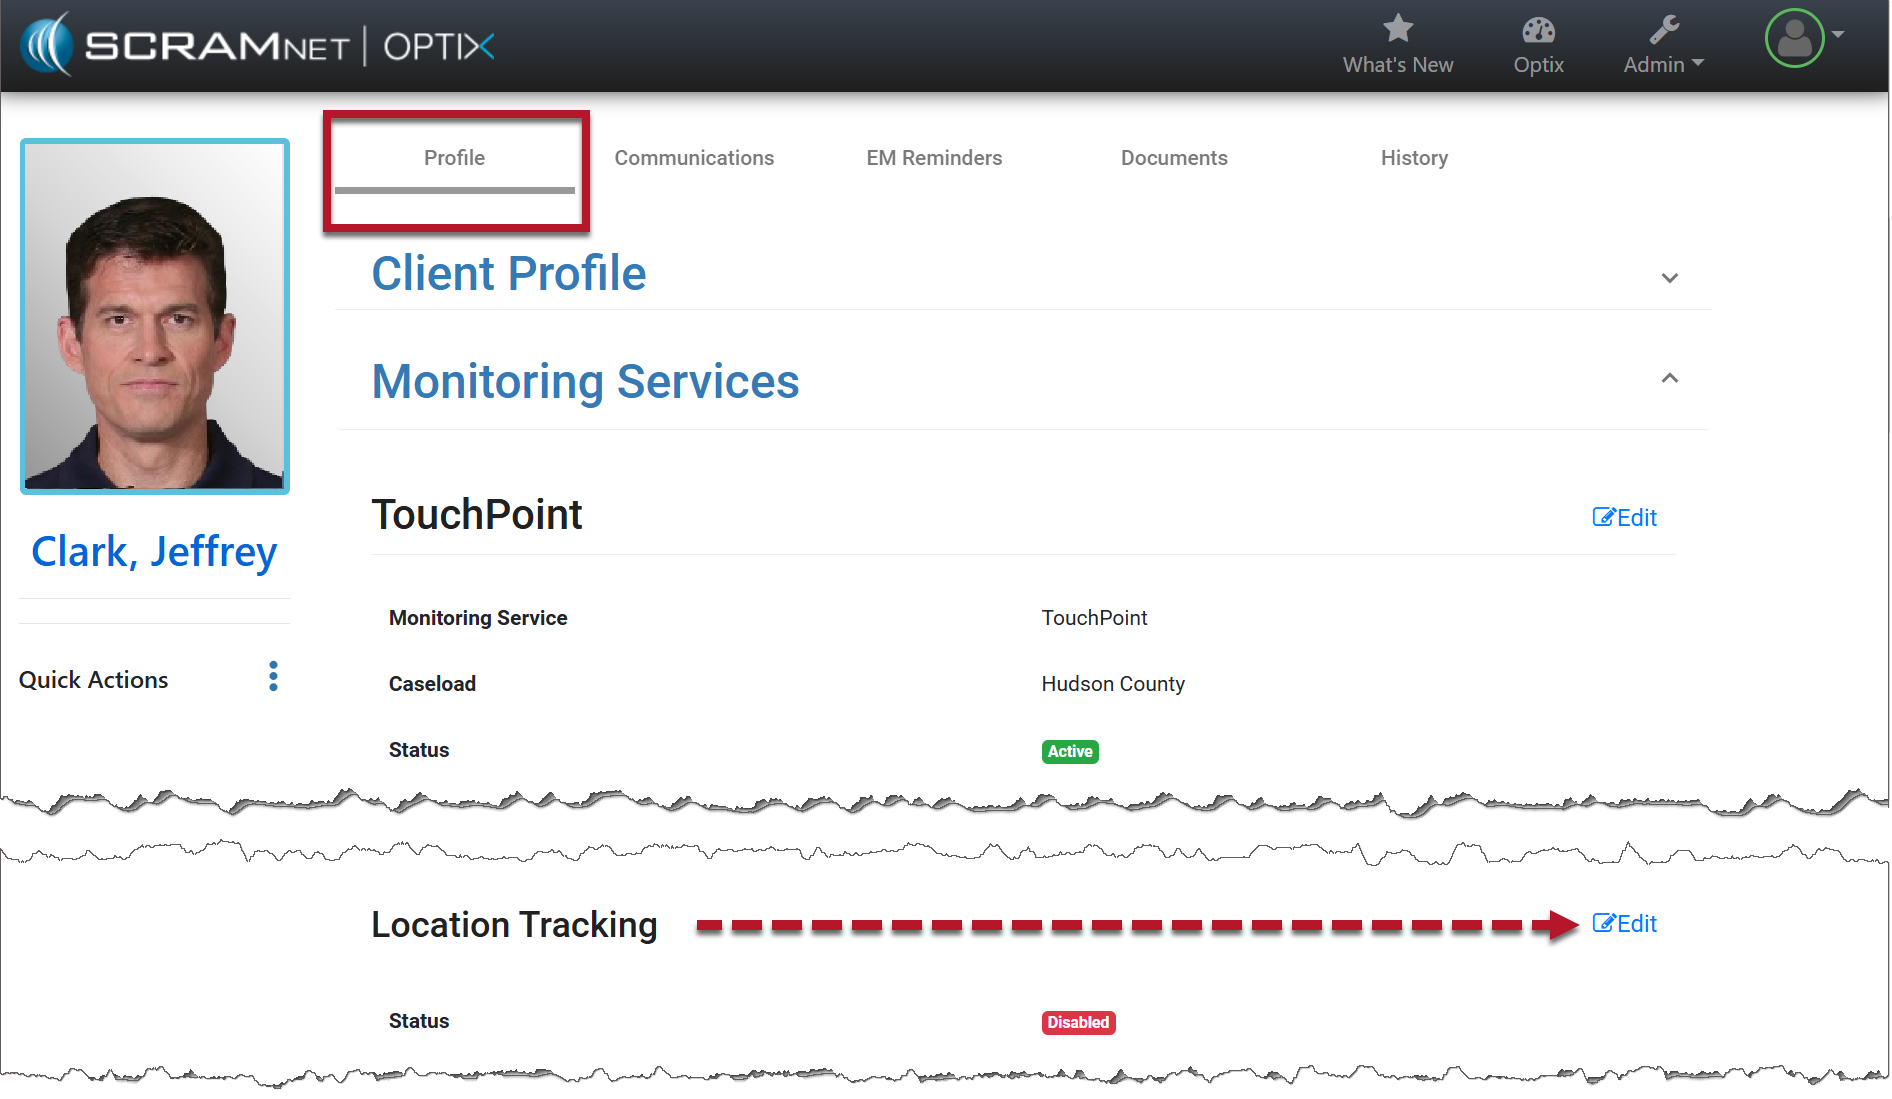
Monitoring Services on the Client Profile page (click to enlarge)
- Select the Enable button and then set the frequency – “how often” you want the client’s smartphone to provide a location point.
- Select the Save button.
Location Tracking Options (click to enlarge)
Once saved, a pop-up verifying the Location Tracking setting was successfully enabled for the client will display on the page.
Location Tracking Added Successfully (click to enlarge)
Accessing the Location Tracking Information
To access the location tracking information, navigate to the client’s Profile page, open the Quick Actions ellipsis menu, and select the Location Tracking Map hyperlink.
Link to Location Tracking Map (click to enlarge)
On the Location Tracking pop-up window:
- The client’s last known location is displayed.
- The “From” and “To” calendar and time fields allow you to customize the location information displayed on the pop-up. You are limited to a seven-day selection.
- Select a specific date and time from the list to bring that location point into focus on the map.
- Hover over the location point on the map to view the location’s details. This includes the location’s address, status, phone battery strength, and user name assigned to the client.
Location Tracking Pop-Up Window
| Push notifications must remain enabled on the client’s phone for Location Tracking to work correctly. If notifications are turned off, the system cannot collect location data. |
Pursuit Mode Feature
In some scenarios, real-time tracking of a client may be needed. “Pursuit Mode” temporarily overrides the saved location frequency for the client and updates the frequency to one location point every minute. The system will continue to gather a location point every minute for a total duration of 15 minutes or until manually ended by selecting the Stop Pursuit Mode option.
As the location information is received, the map and location data are updated in real-time on the pop-up window.
Location Tracking Pop-Up Window