Add a TouchPoint Client
A TouchPoint client is required to have either an Apple or Android smartphone and a unique email address to be eligible for TouchPoint services.
For a list of supported smartphones with biometric verification features (Face ID and Fingerprint), review this flyer.
Getting Started
When adding TouchPoint to a client who will also be monitored by one of our EM products, navigate to the appropriate system and add the client’s EM profile and equipment first. If you are unsure how to proceed, contact Customer Service.
Whether the client is currently being monitored on one of SCRAM’s EM products or will only be utilizing the TouchPoint app for monitoring only, the set-up process to add one or more of the TouchPoint services is the same.
From the Optix Dashboard, click the Clients tab.
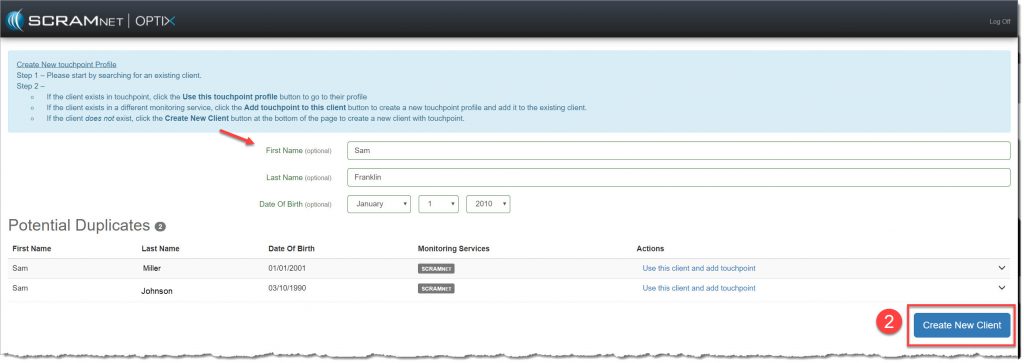
- On the Clients page click the +Add New TouchPoint Client button to be navigated to the Create New TouchPoint Profile page.
- Enter in the client’s name and date of birth.
-
- If the client’s information does not appear in the Potential Duplicates list, select the Create New Client button. SHOW ME!

TouchPoint Add New Client page (click to enlarge)
-
- If the client’s information appears under the Potential Duplicates list, select the Use this client and add TouchPoint hyperlink. SHOW ME!

TouchPoint Add a New Client page
-
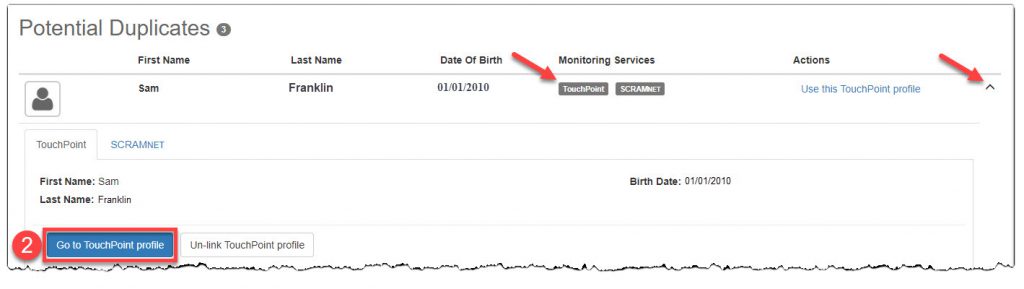
- If TouchPoint is showing as a monitoring service for the client, expand the node and click the Go To TouchPoint Profile button to view or edit the services. SHOW ME!

TouchPoint Add a New Client page (click to enlarge)
-
- Complete the Add TouchPoint Client profile. All fields are required unless marked optional.
- Enter a valid email address. An email containing an email verification link will be sent to the client.
- Click the Create New Client button.

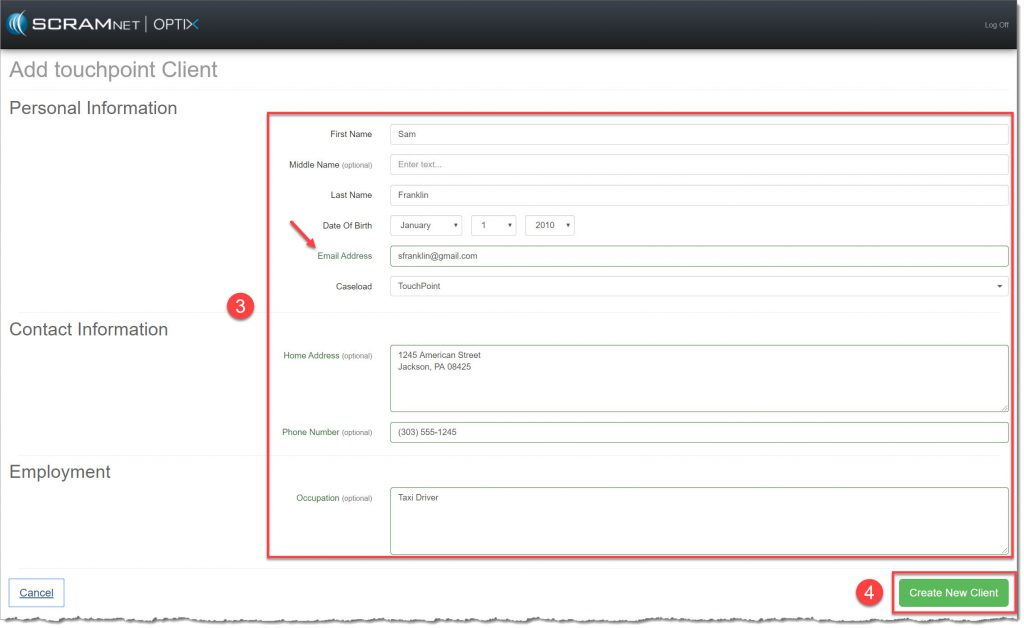
TouchPoint Add TouchPoint Client page (click to enlarge)
You now have the option to Add Another Client to TouchPoint and be navigated to the Create New TouchPoint Profile page or continue setting up the current client for TouchPoint by selecting the Configure TouchPoint Services button.
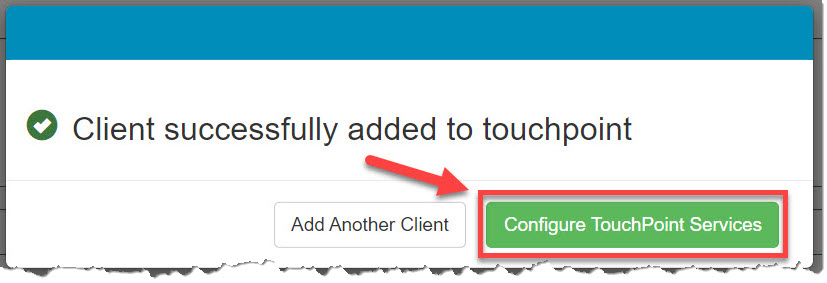
TouchPoint Client Successfully added pop-up (click to enlarge)
Once you have clicked the Configure TouchPoint Services button, you are navigated to the Client Profile page in Optix for that client. Here you can enable all desired TouchPoint features.