On, October 18, 2023, SCRAM Systems will release an enhancement to the SCRAM TouchPoint application username requirement for your client’s supervision plan. This enhancement enables you to create a unique username for the client to access the application instead of requiring an email address. This enhancement is helpful when a client’s supervision plan includes a restriction from using email or accessing the internet.
 |
|
New TouchPoint Client
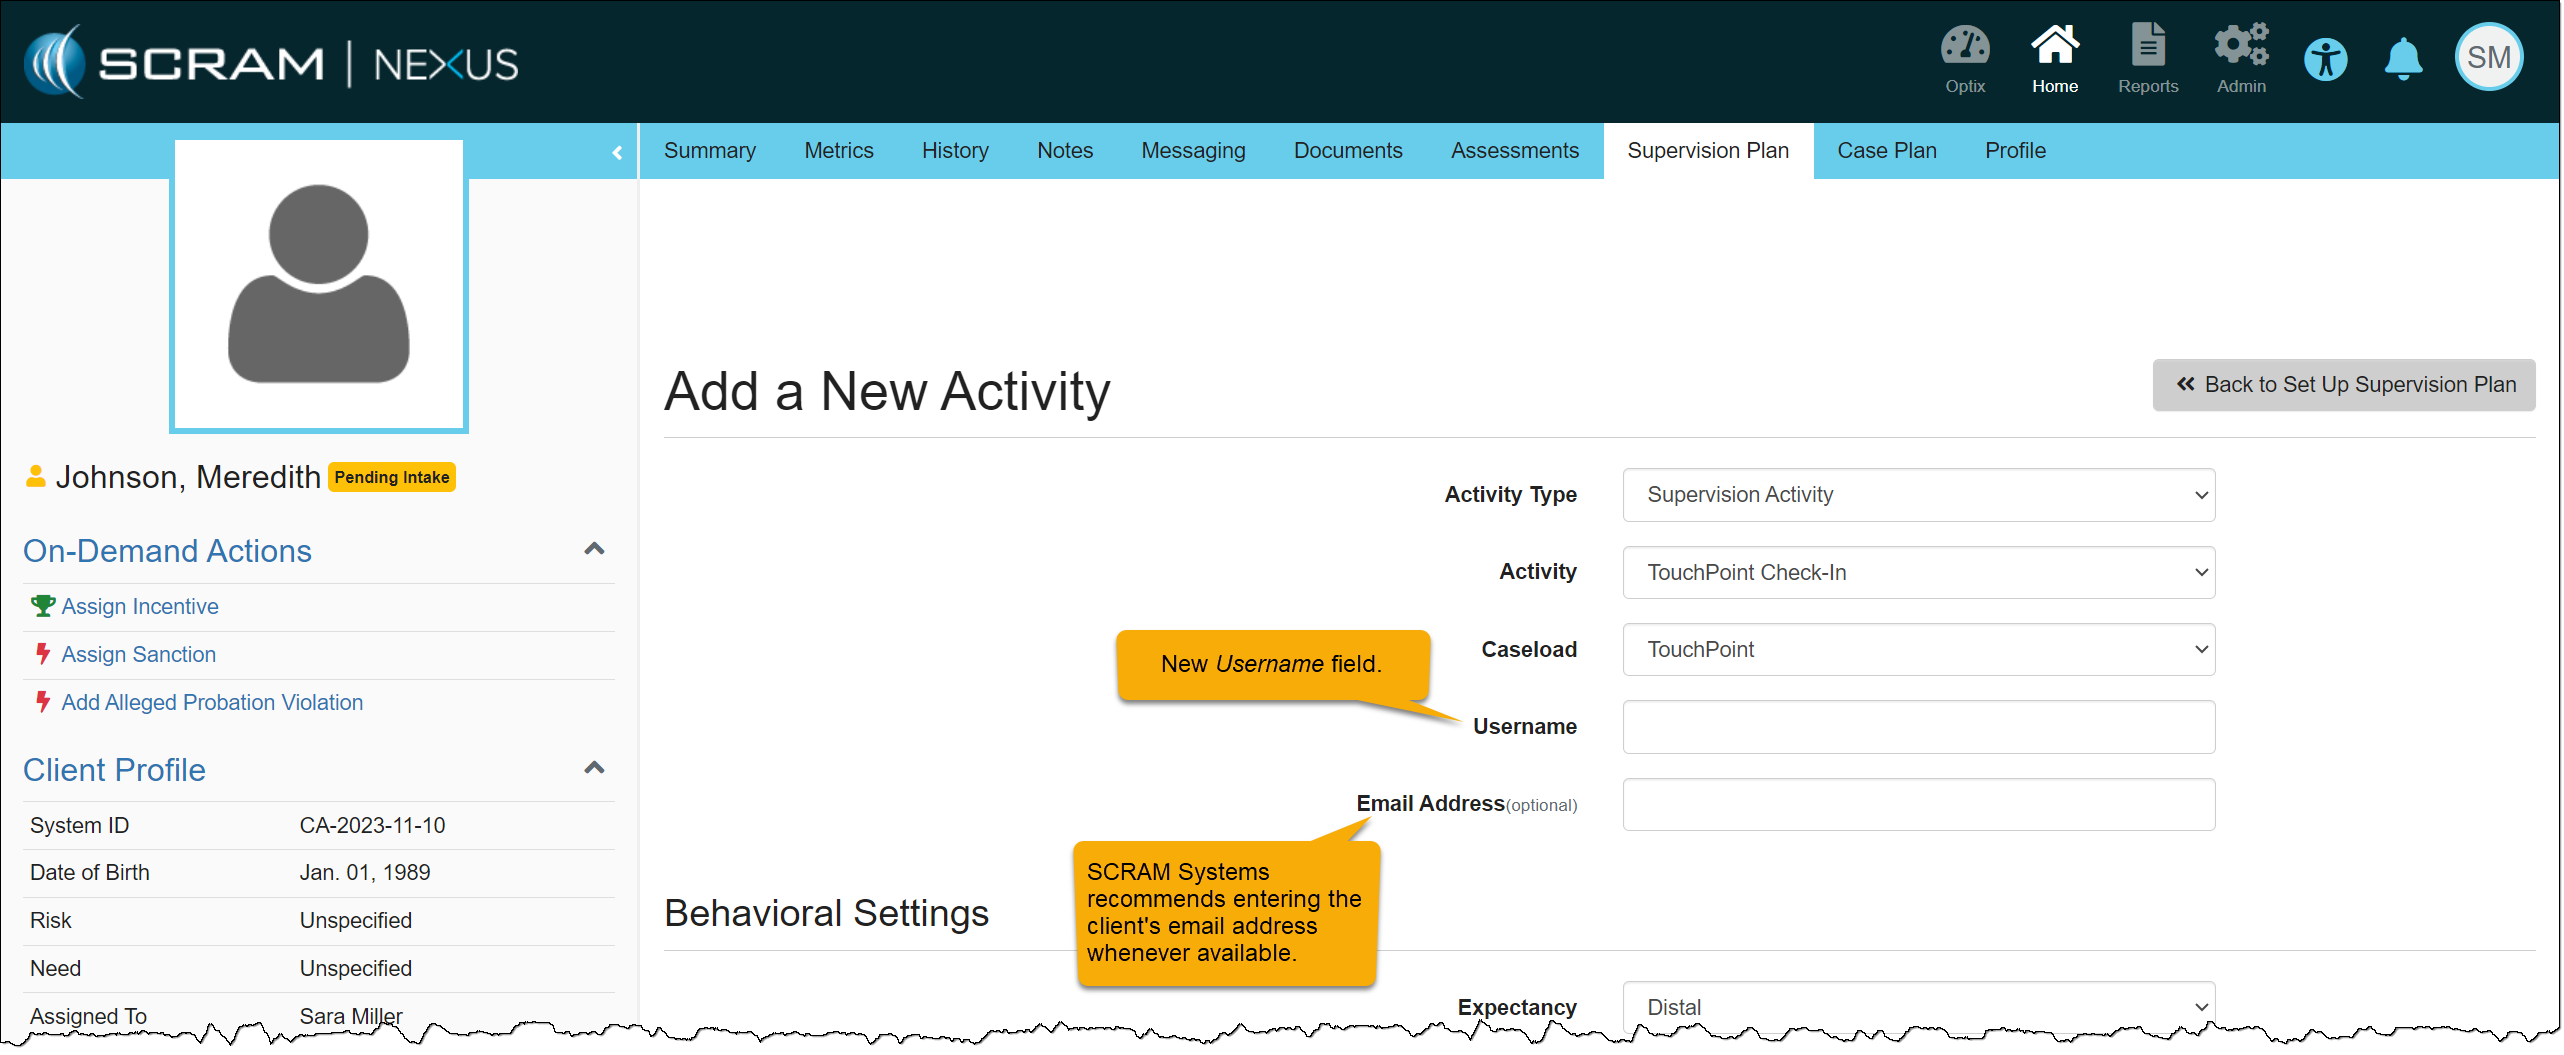
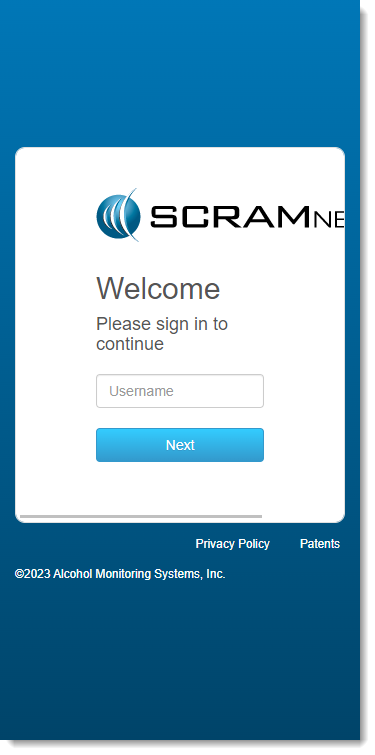
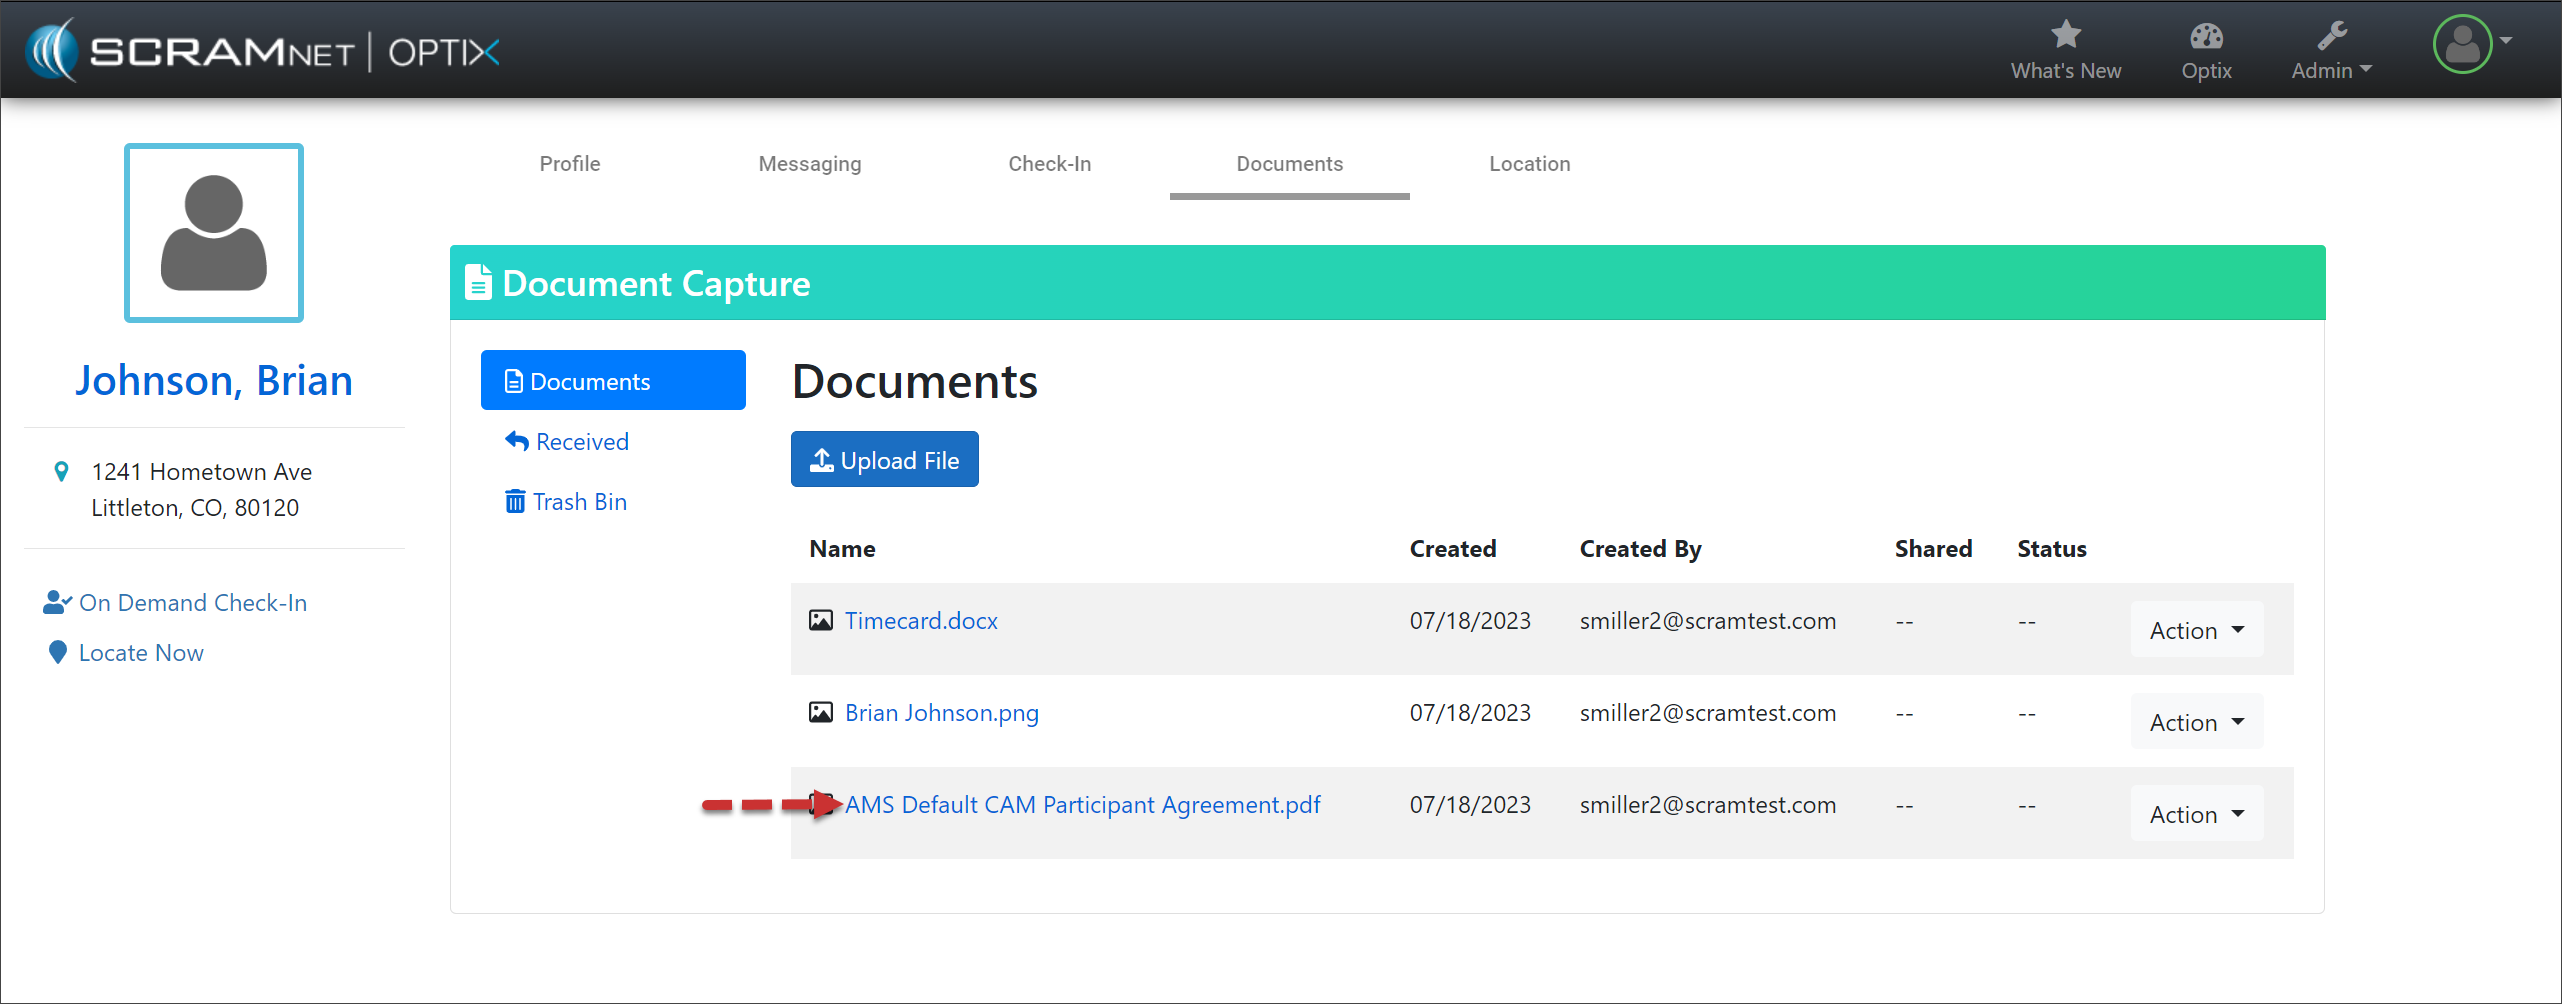
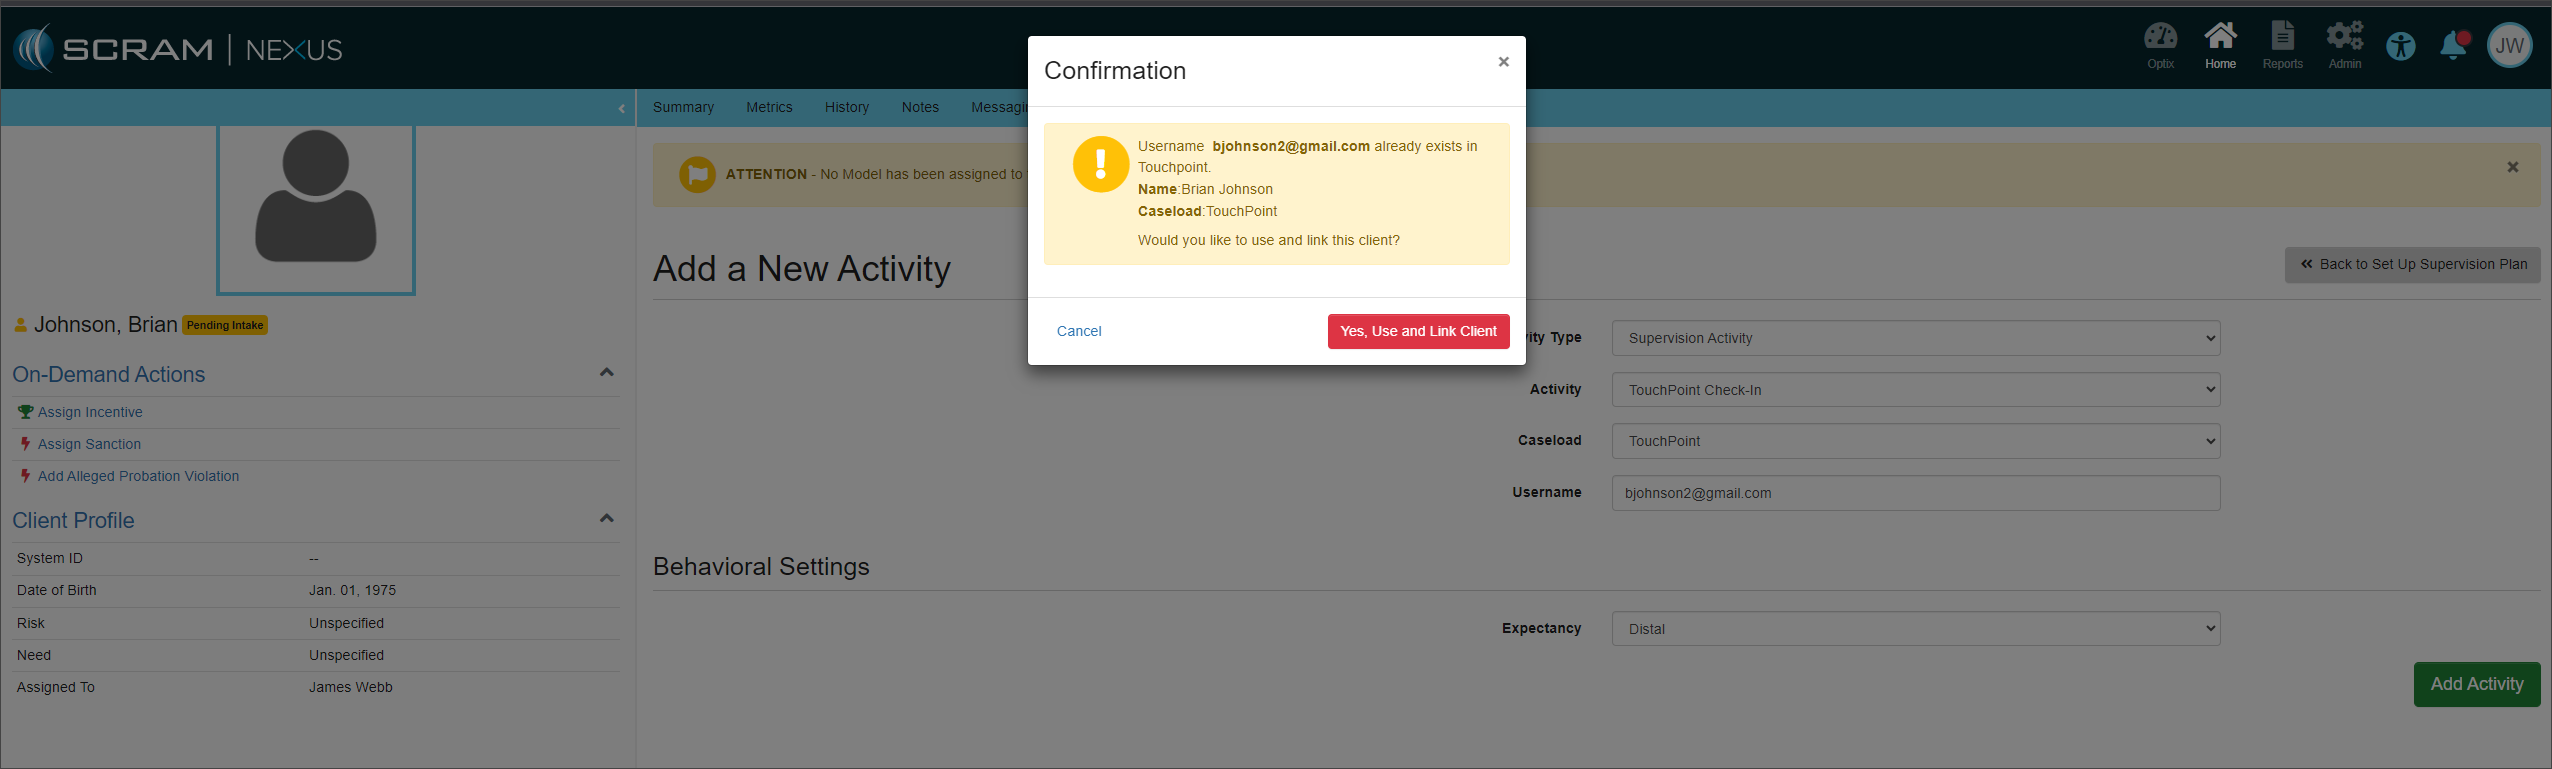
For new TouchPoint clients, you will enter the Username the client will use to log into the application on their smartphone in the Personal Information section. Their Username must be unique.

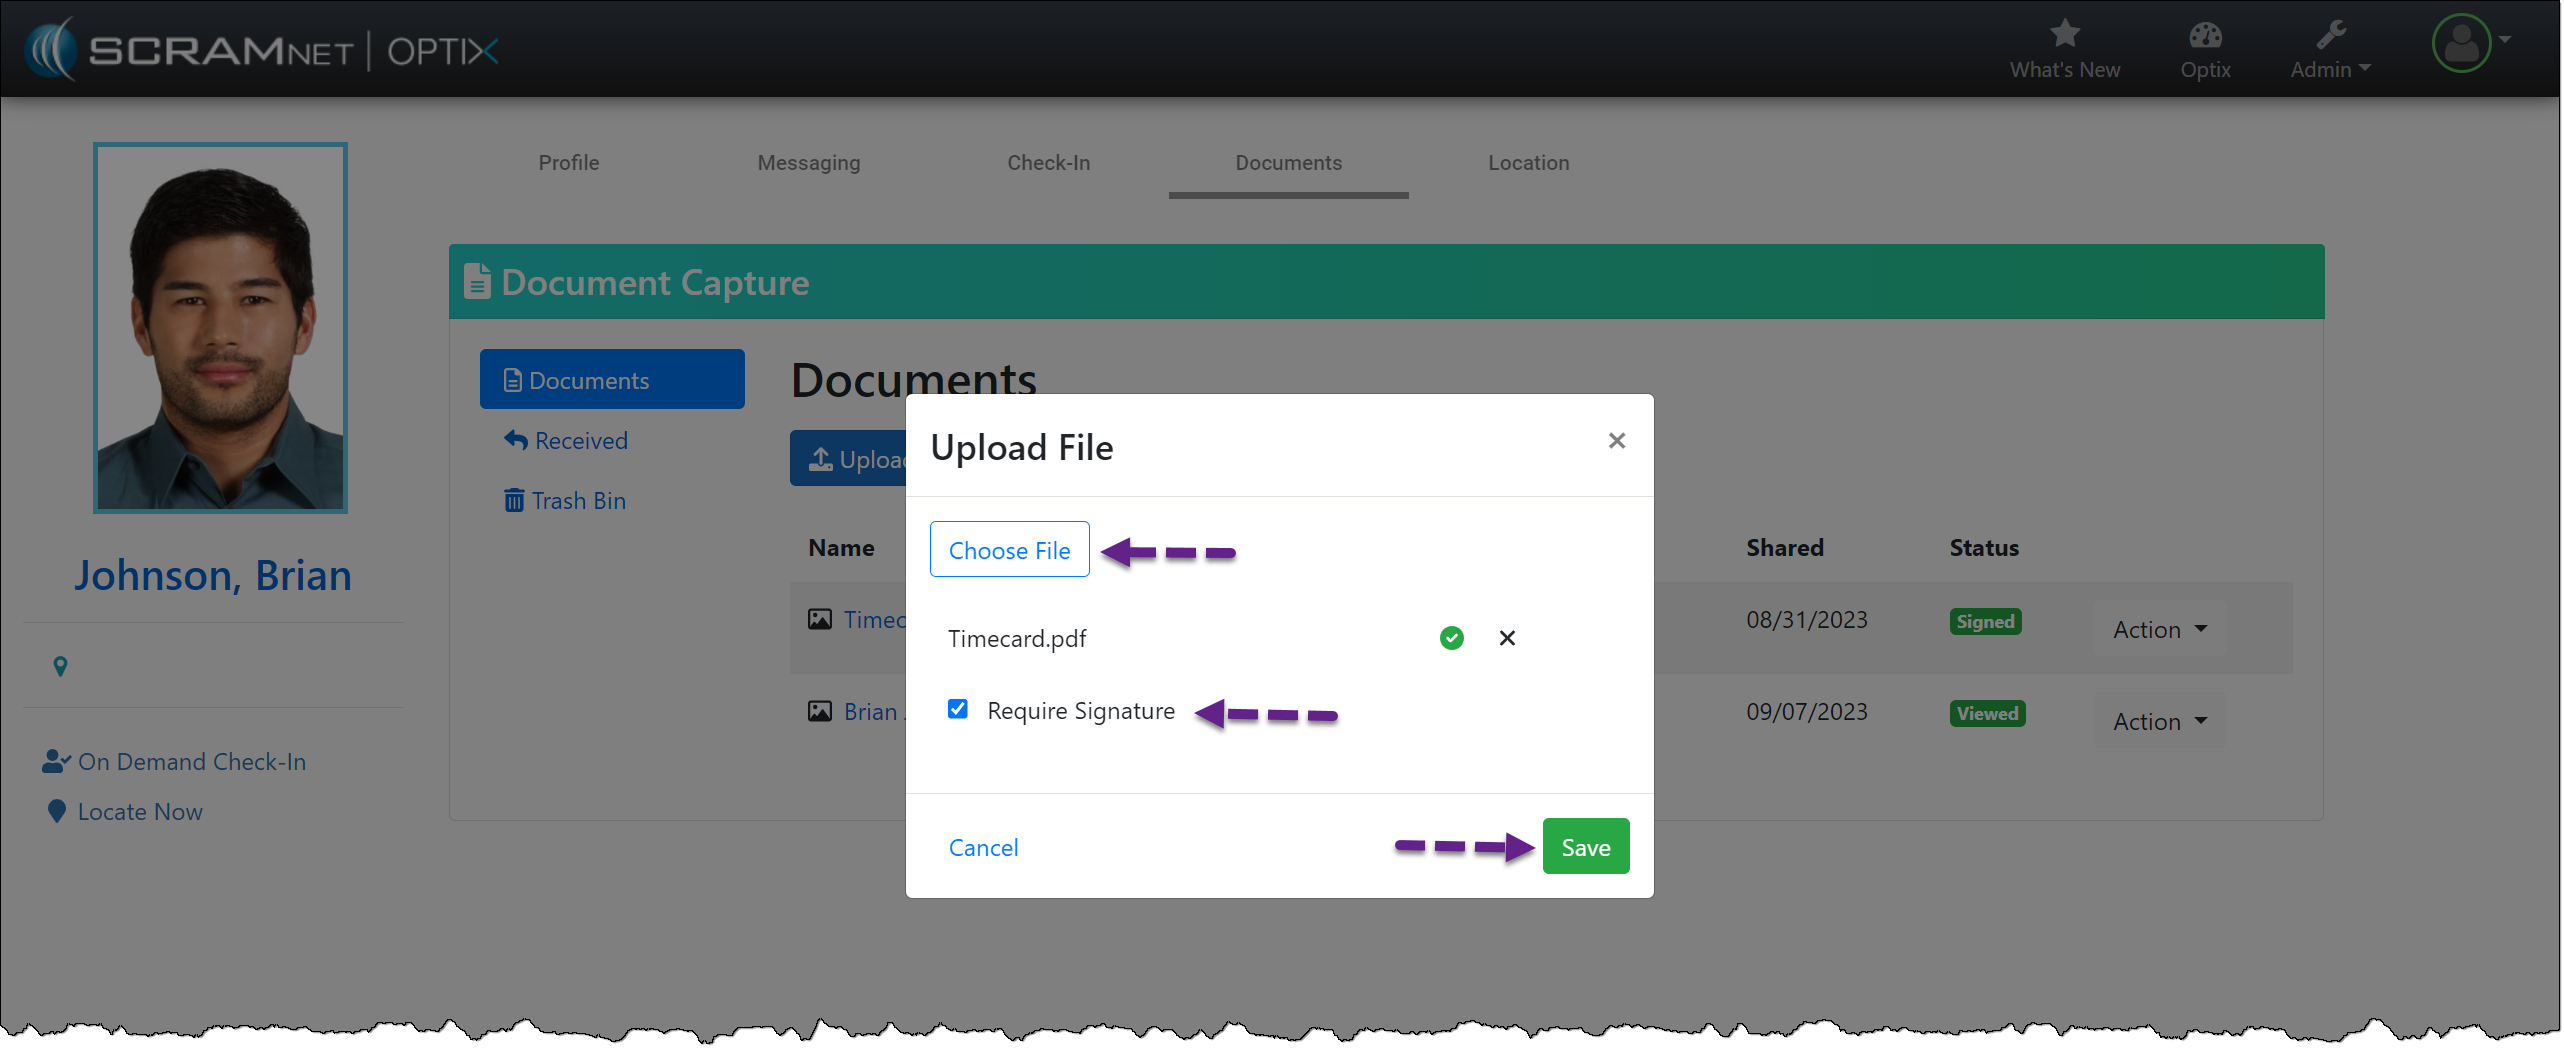
| SCRAM Systems recommends entering the client’s email address in the Email Address (optional) field whenever possible. This will ensure the client may complete a password reset independently within the TouchPoint application when needed. |
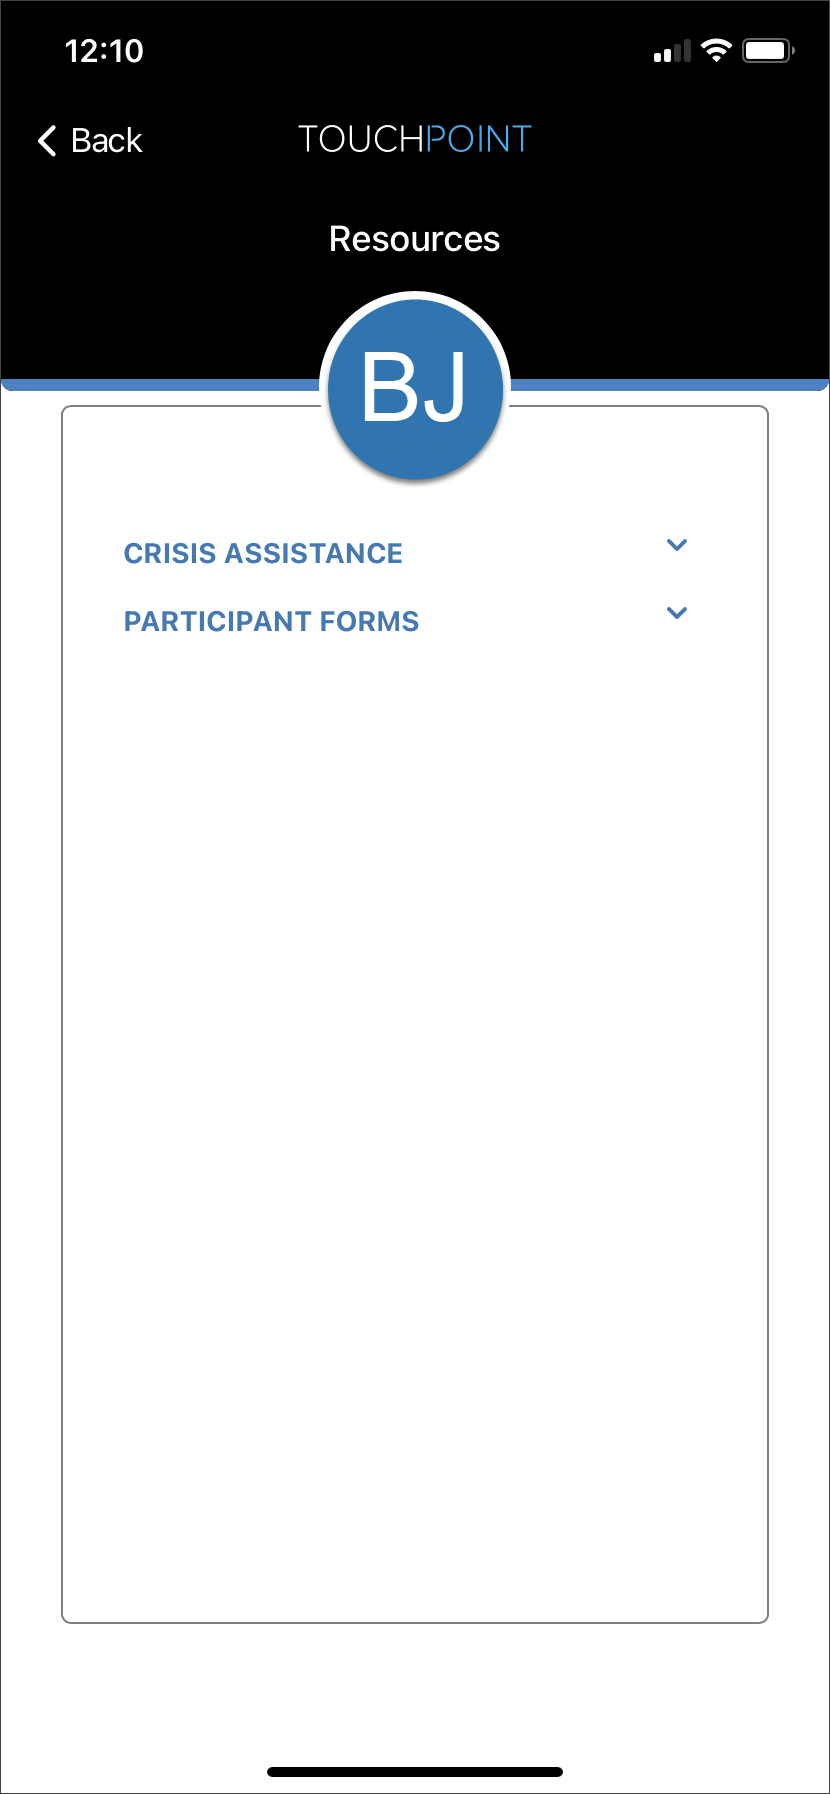
TouchPoint Password Reset
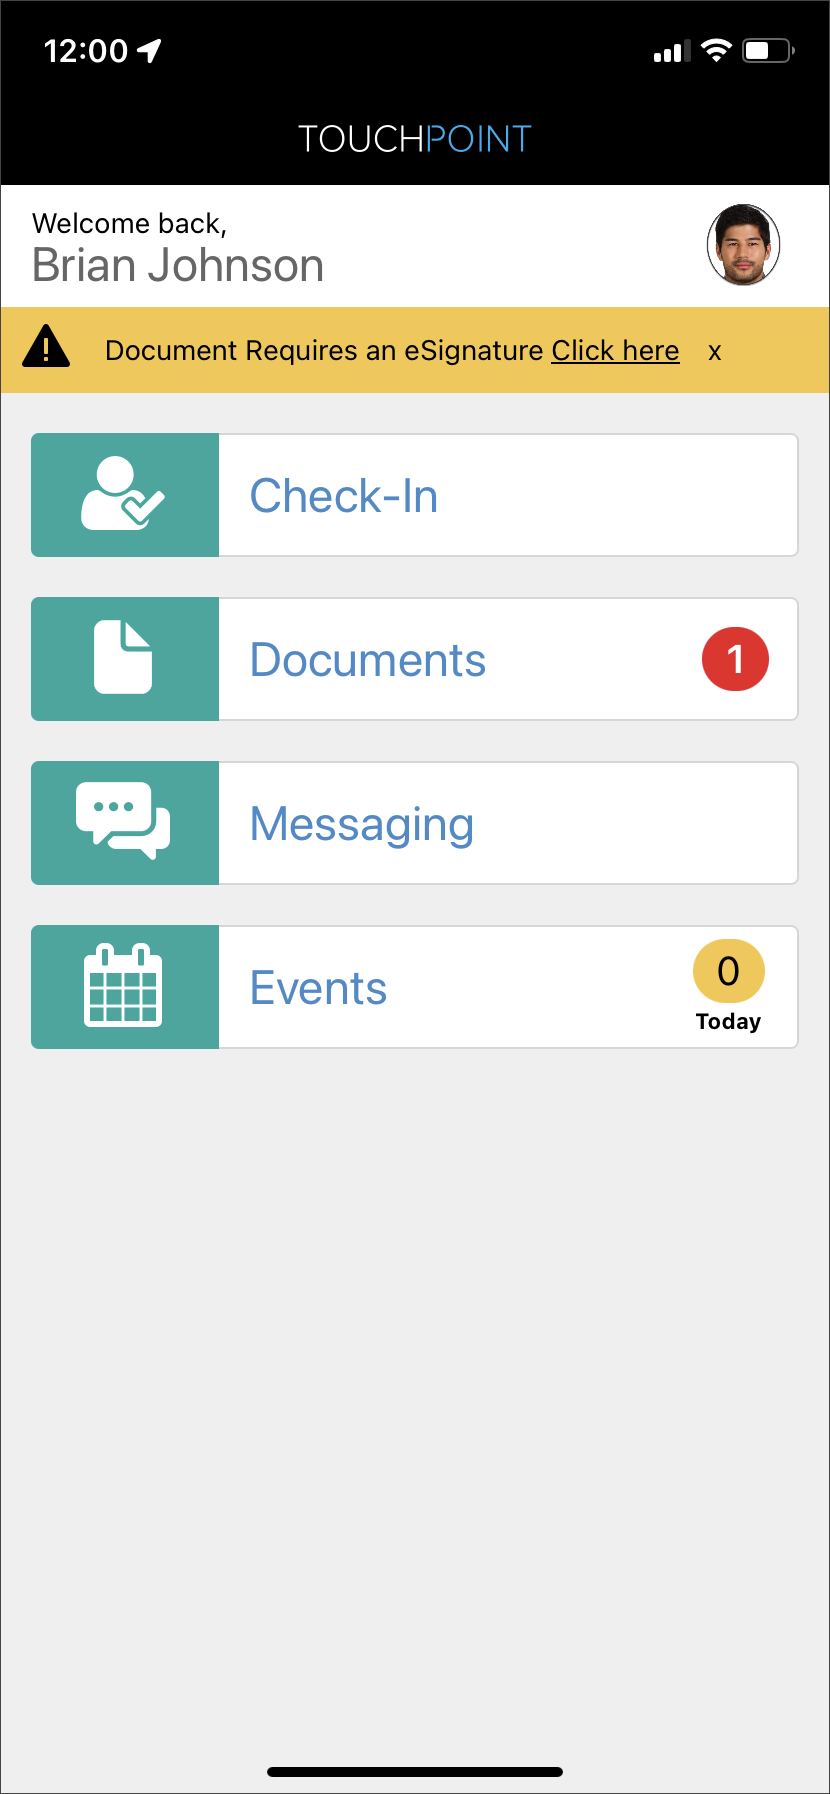
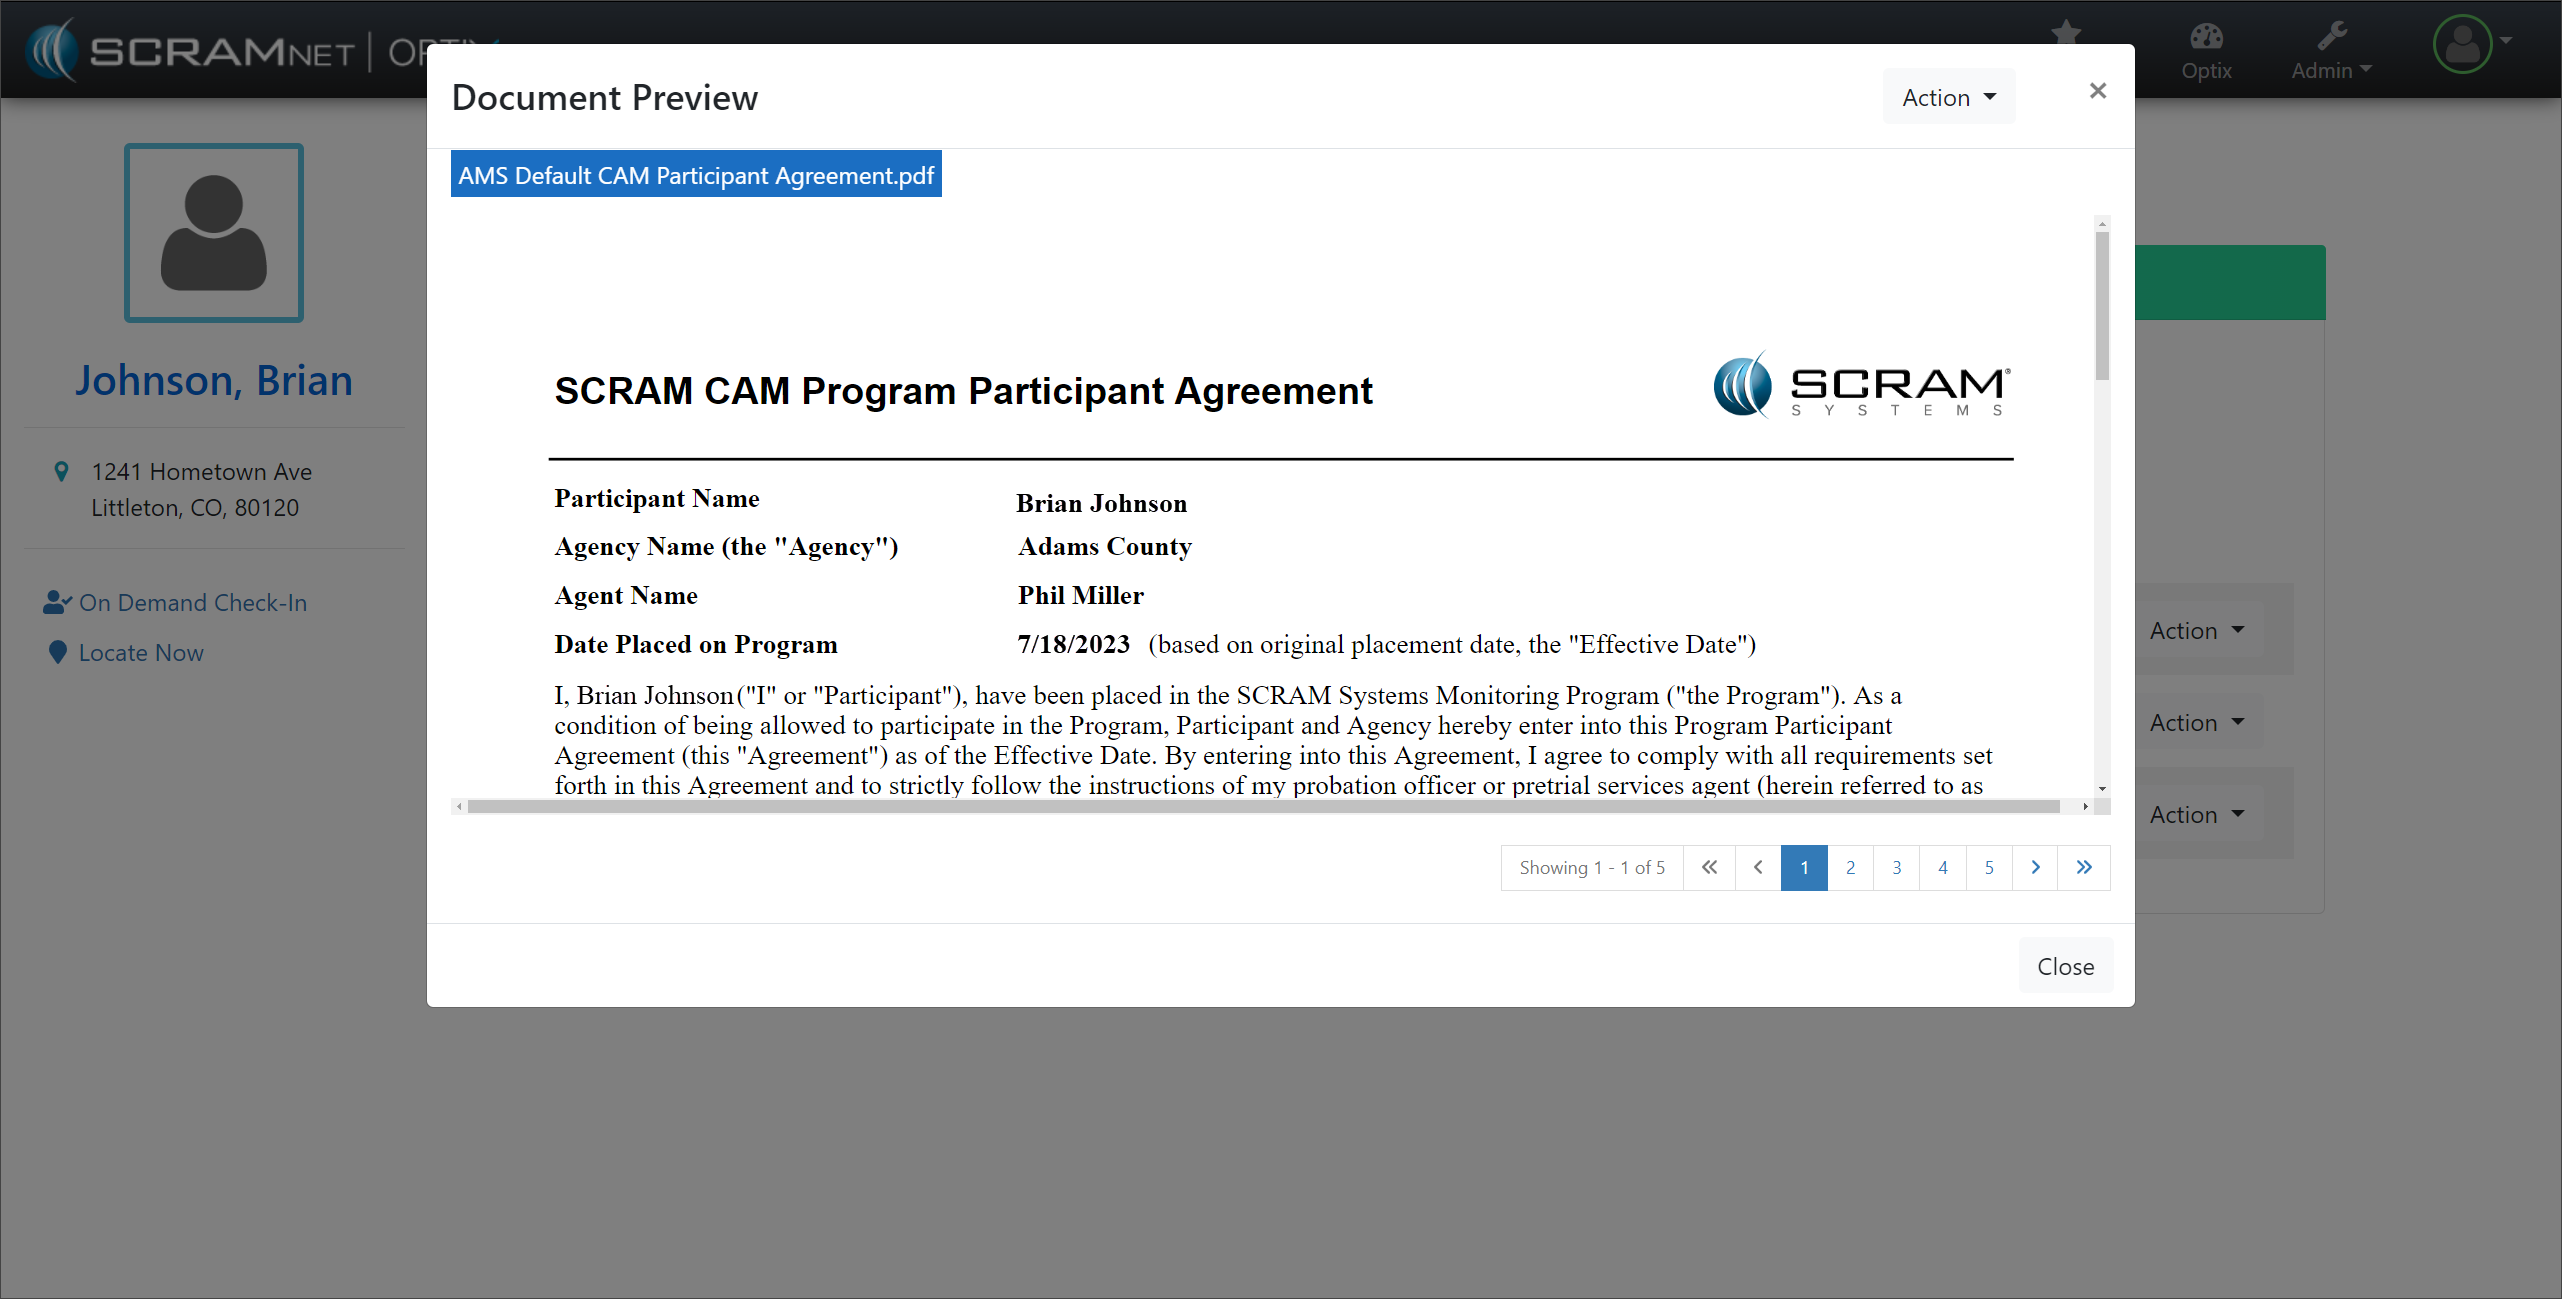
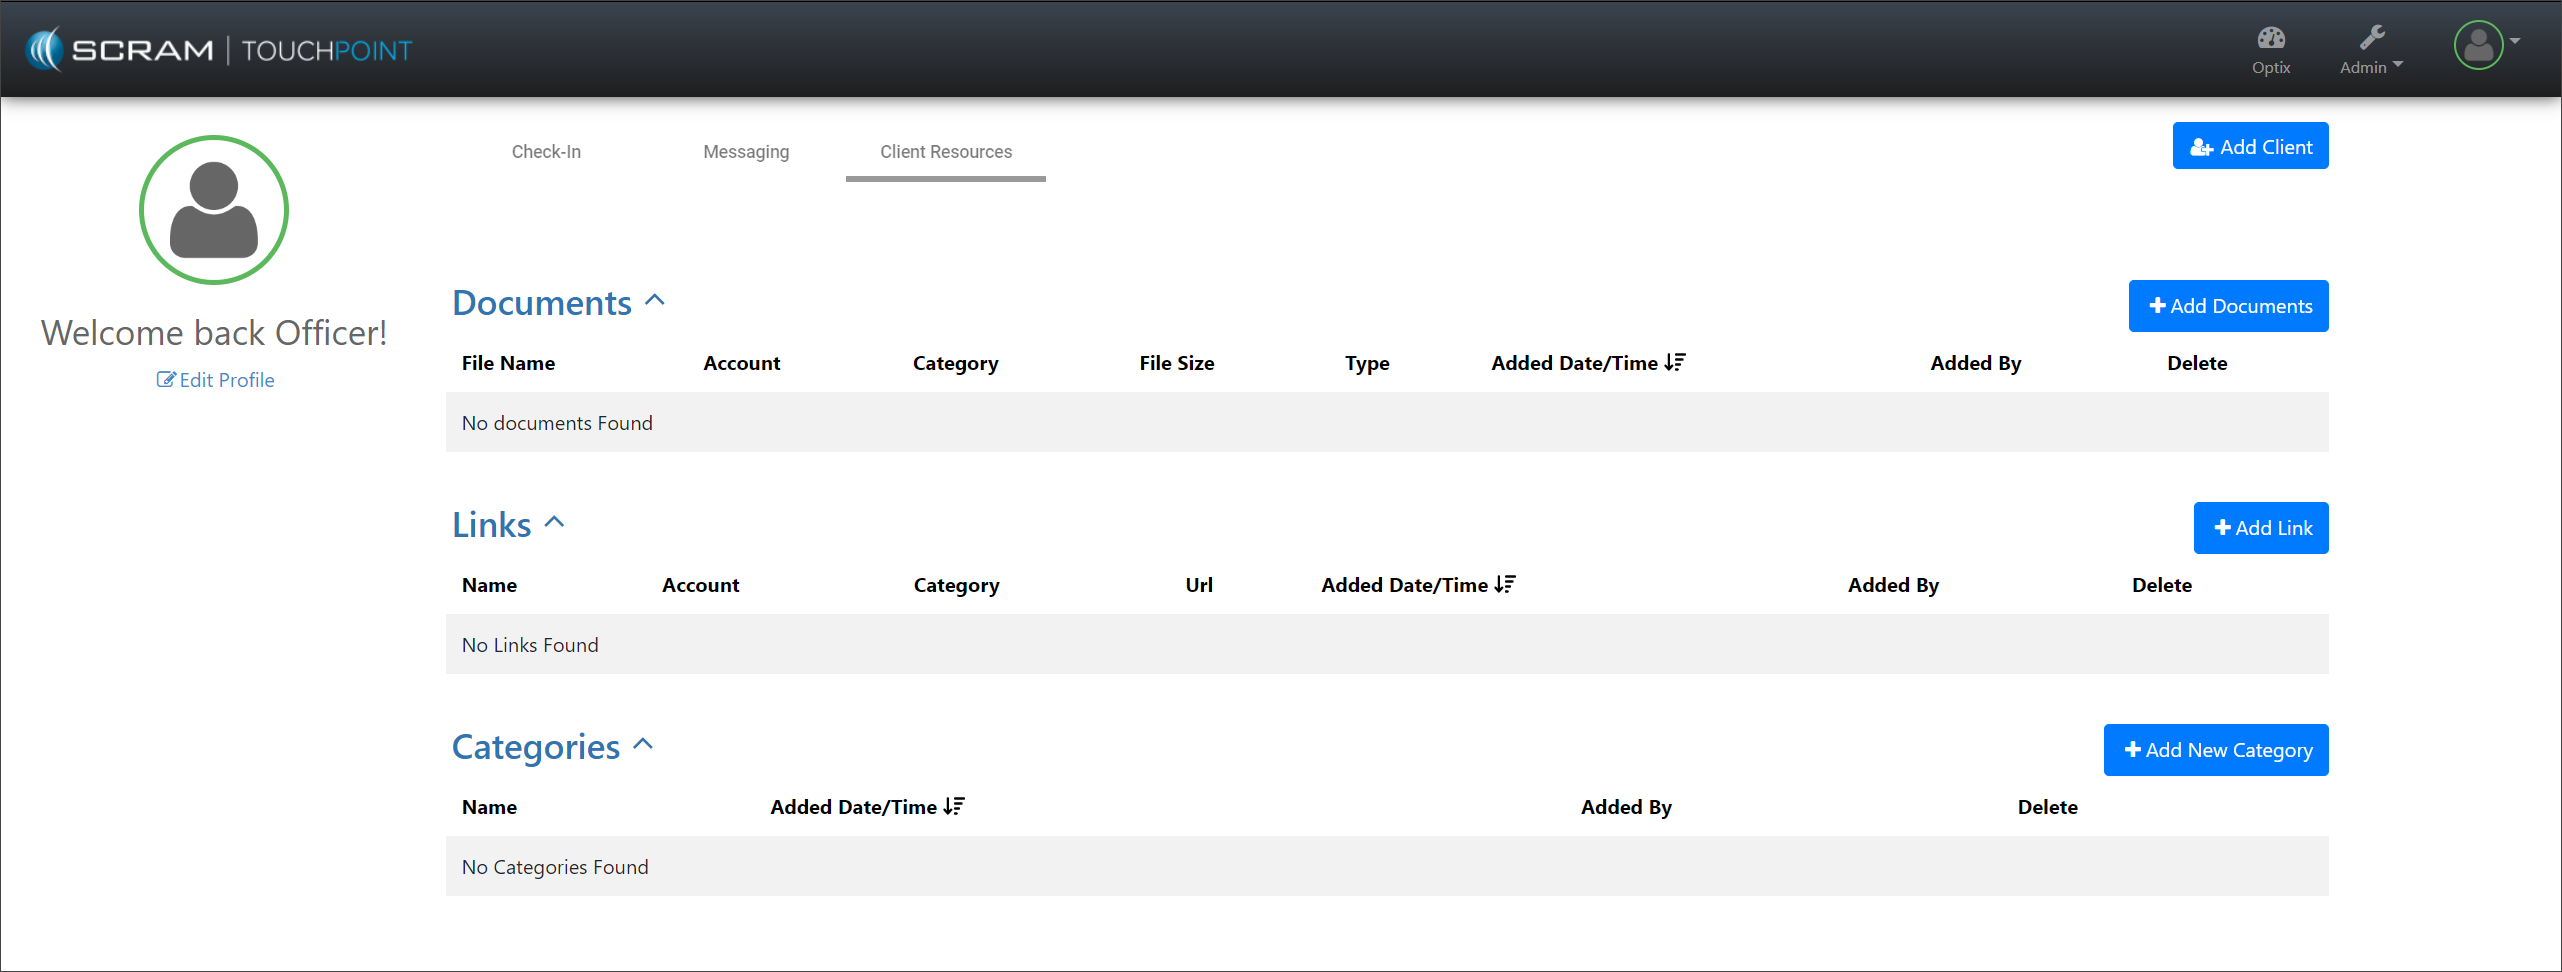
When an email is not listed for the client in the Email Address (optional) field, the client is instructed to contact the supervising authority when a password reset is needed. As the supervising authority, you must access the client’s TouchPoint profile in the system and create a new password for the client to use.
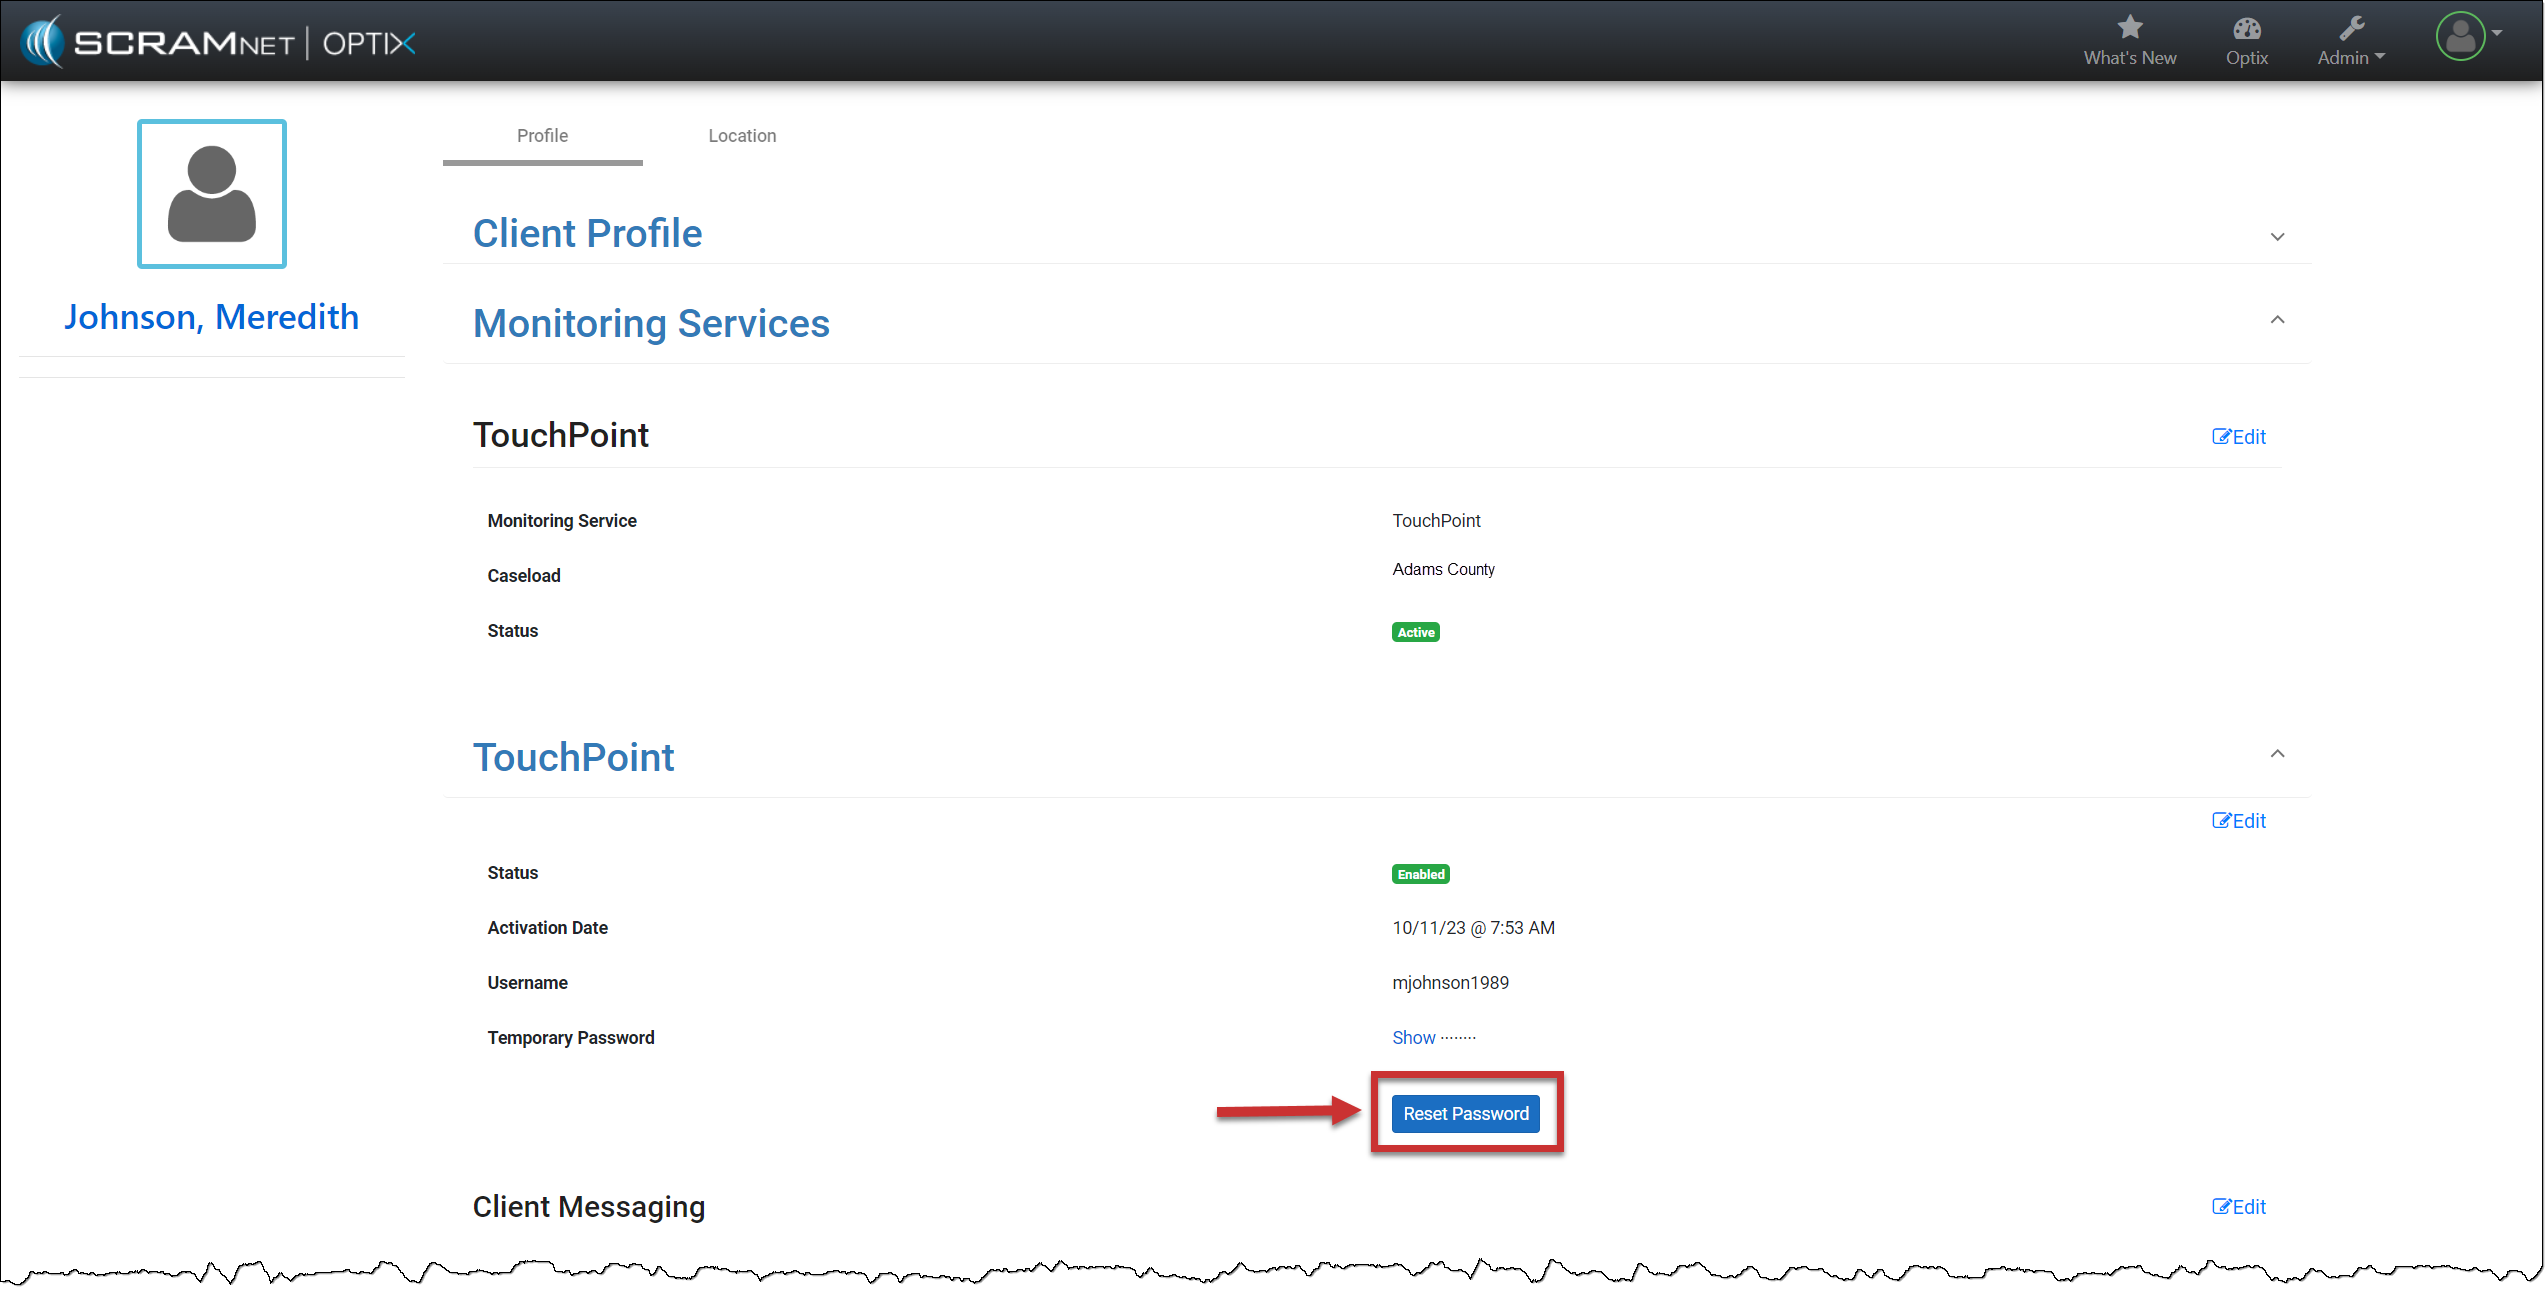
When creating a new password for the client, the password must be at least eight (8) characters. The password must contain at least one upper-case and one lower-case letter and include either a number (1,2,3, etc.) or a special symbol (~!@#$, etc.).
Current TouchPoint Client
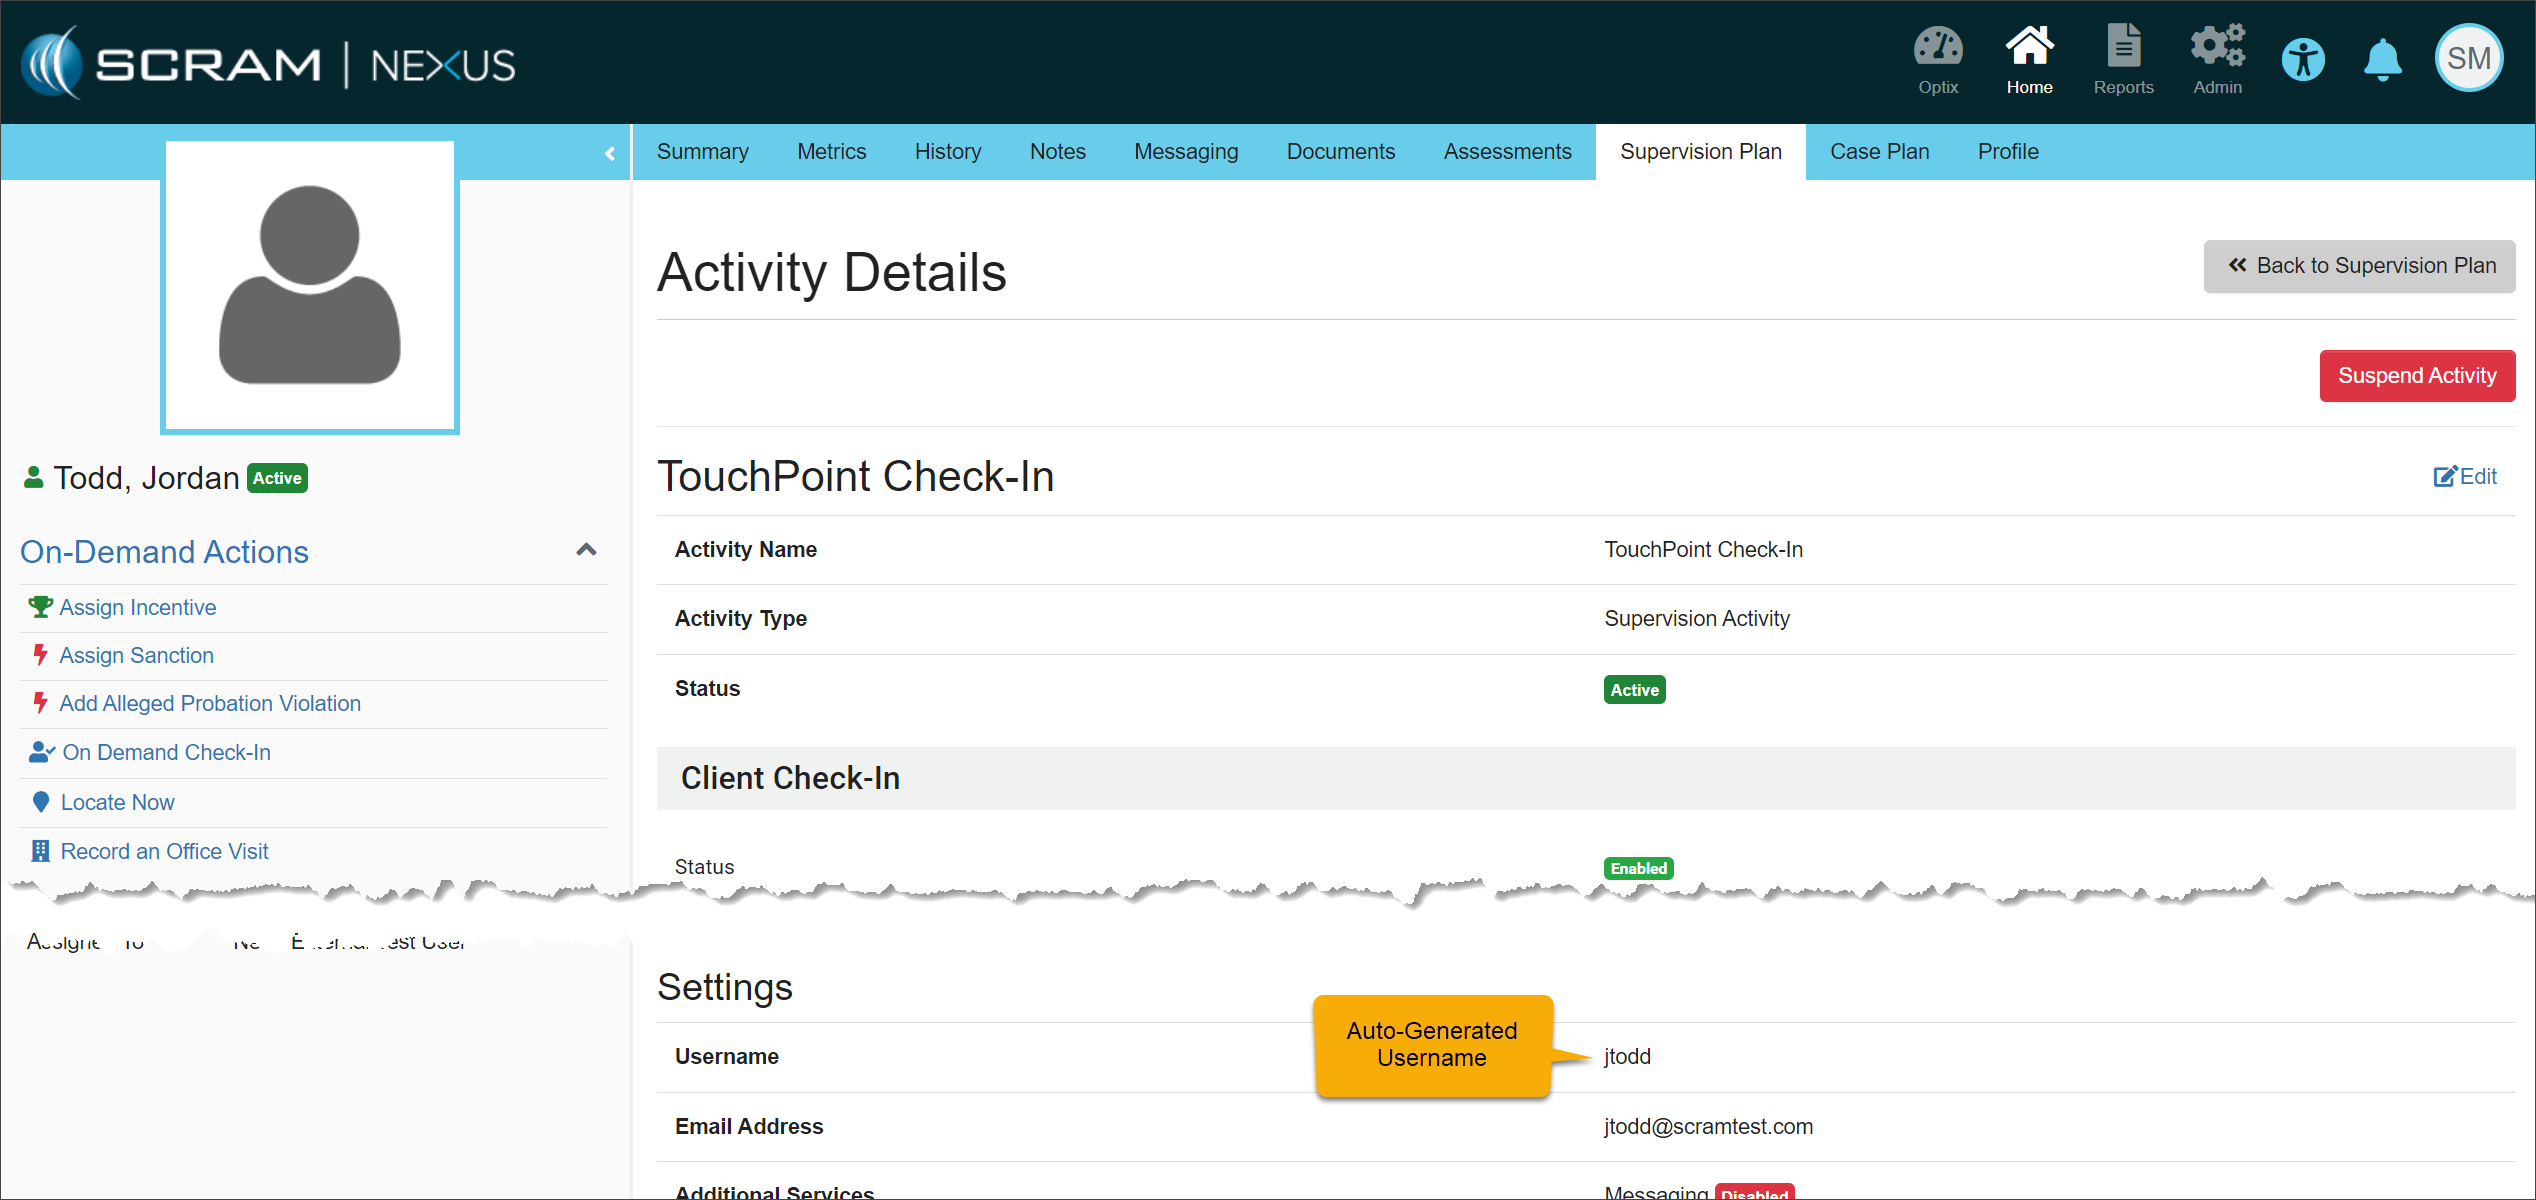
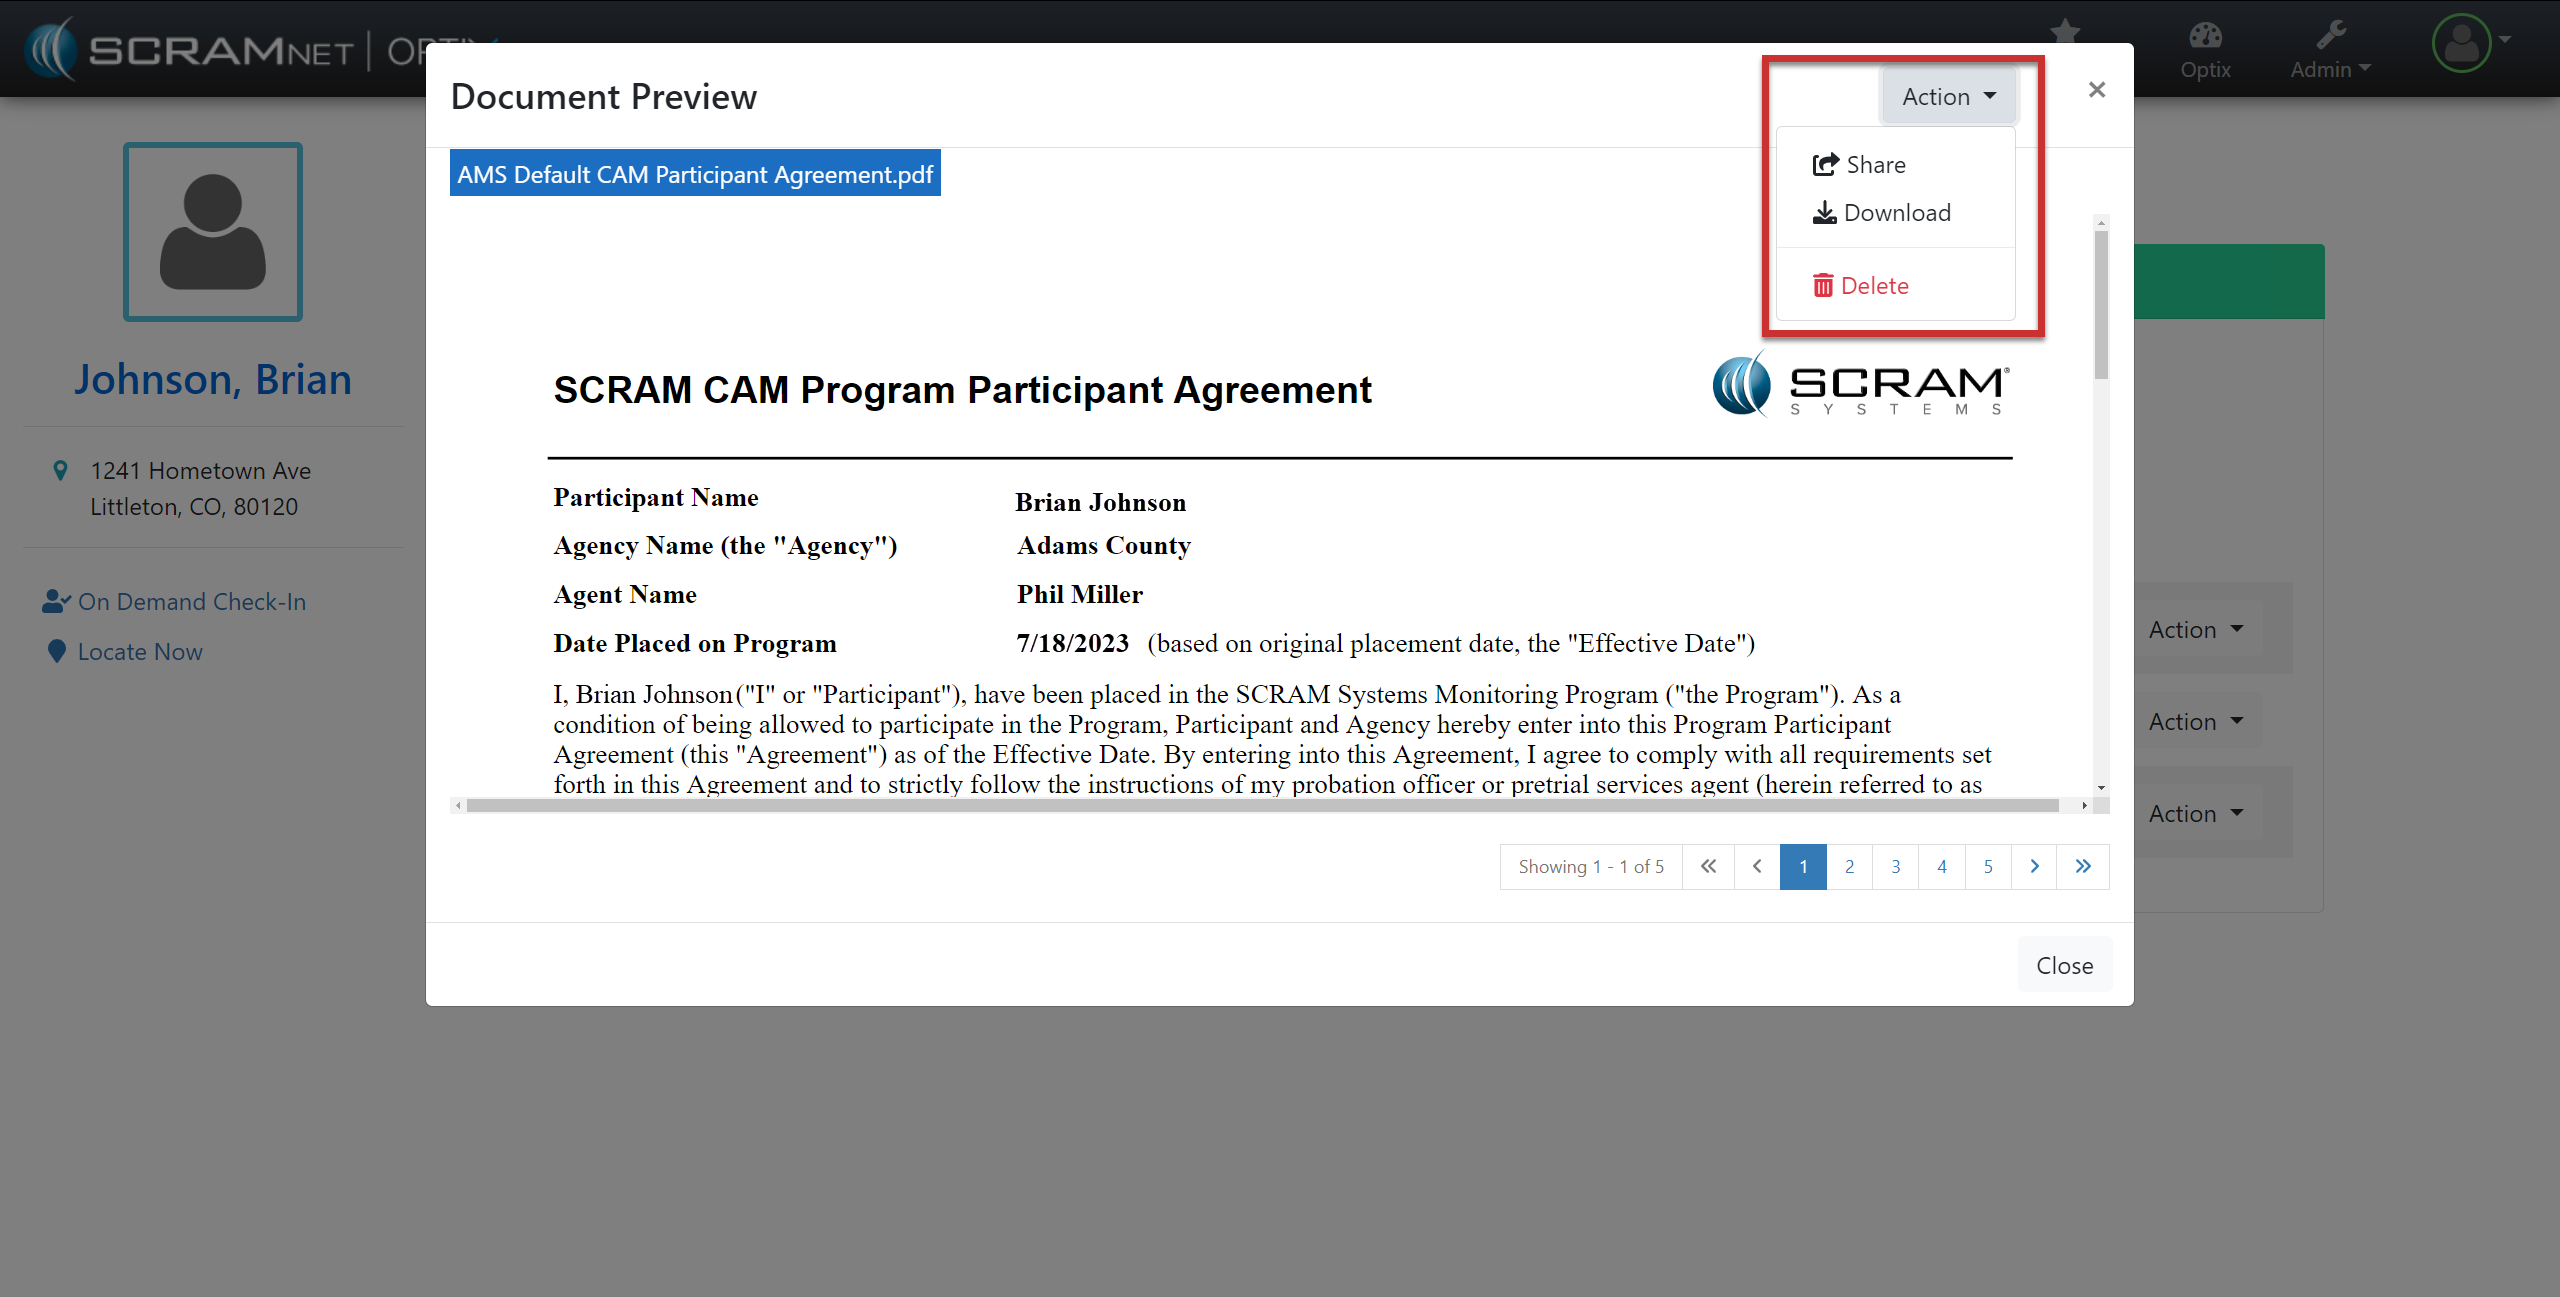
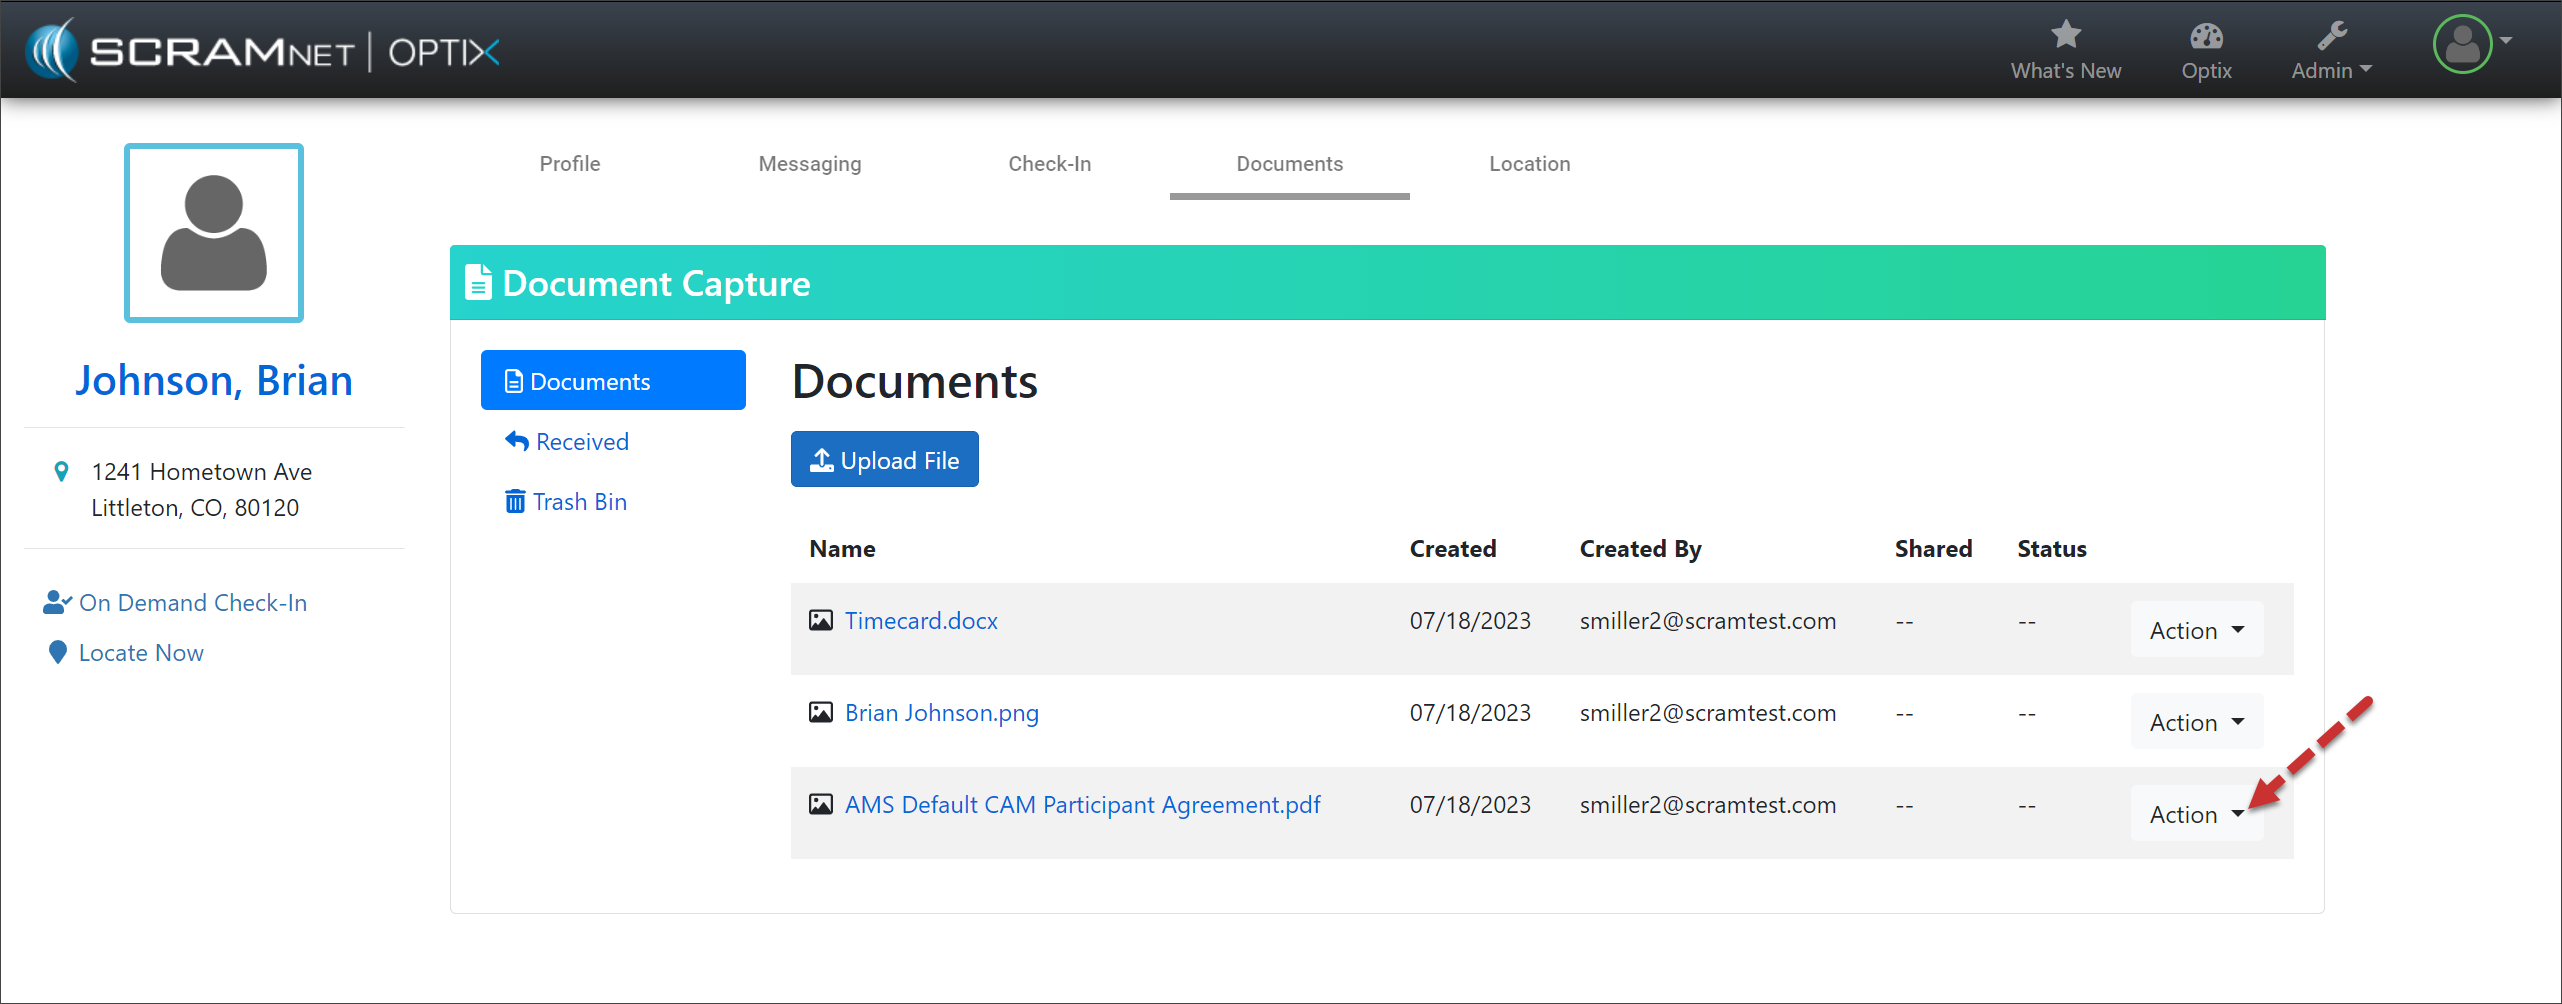
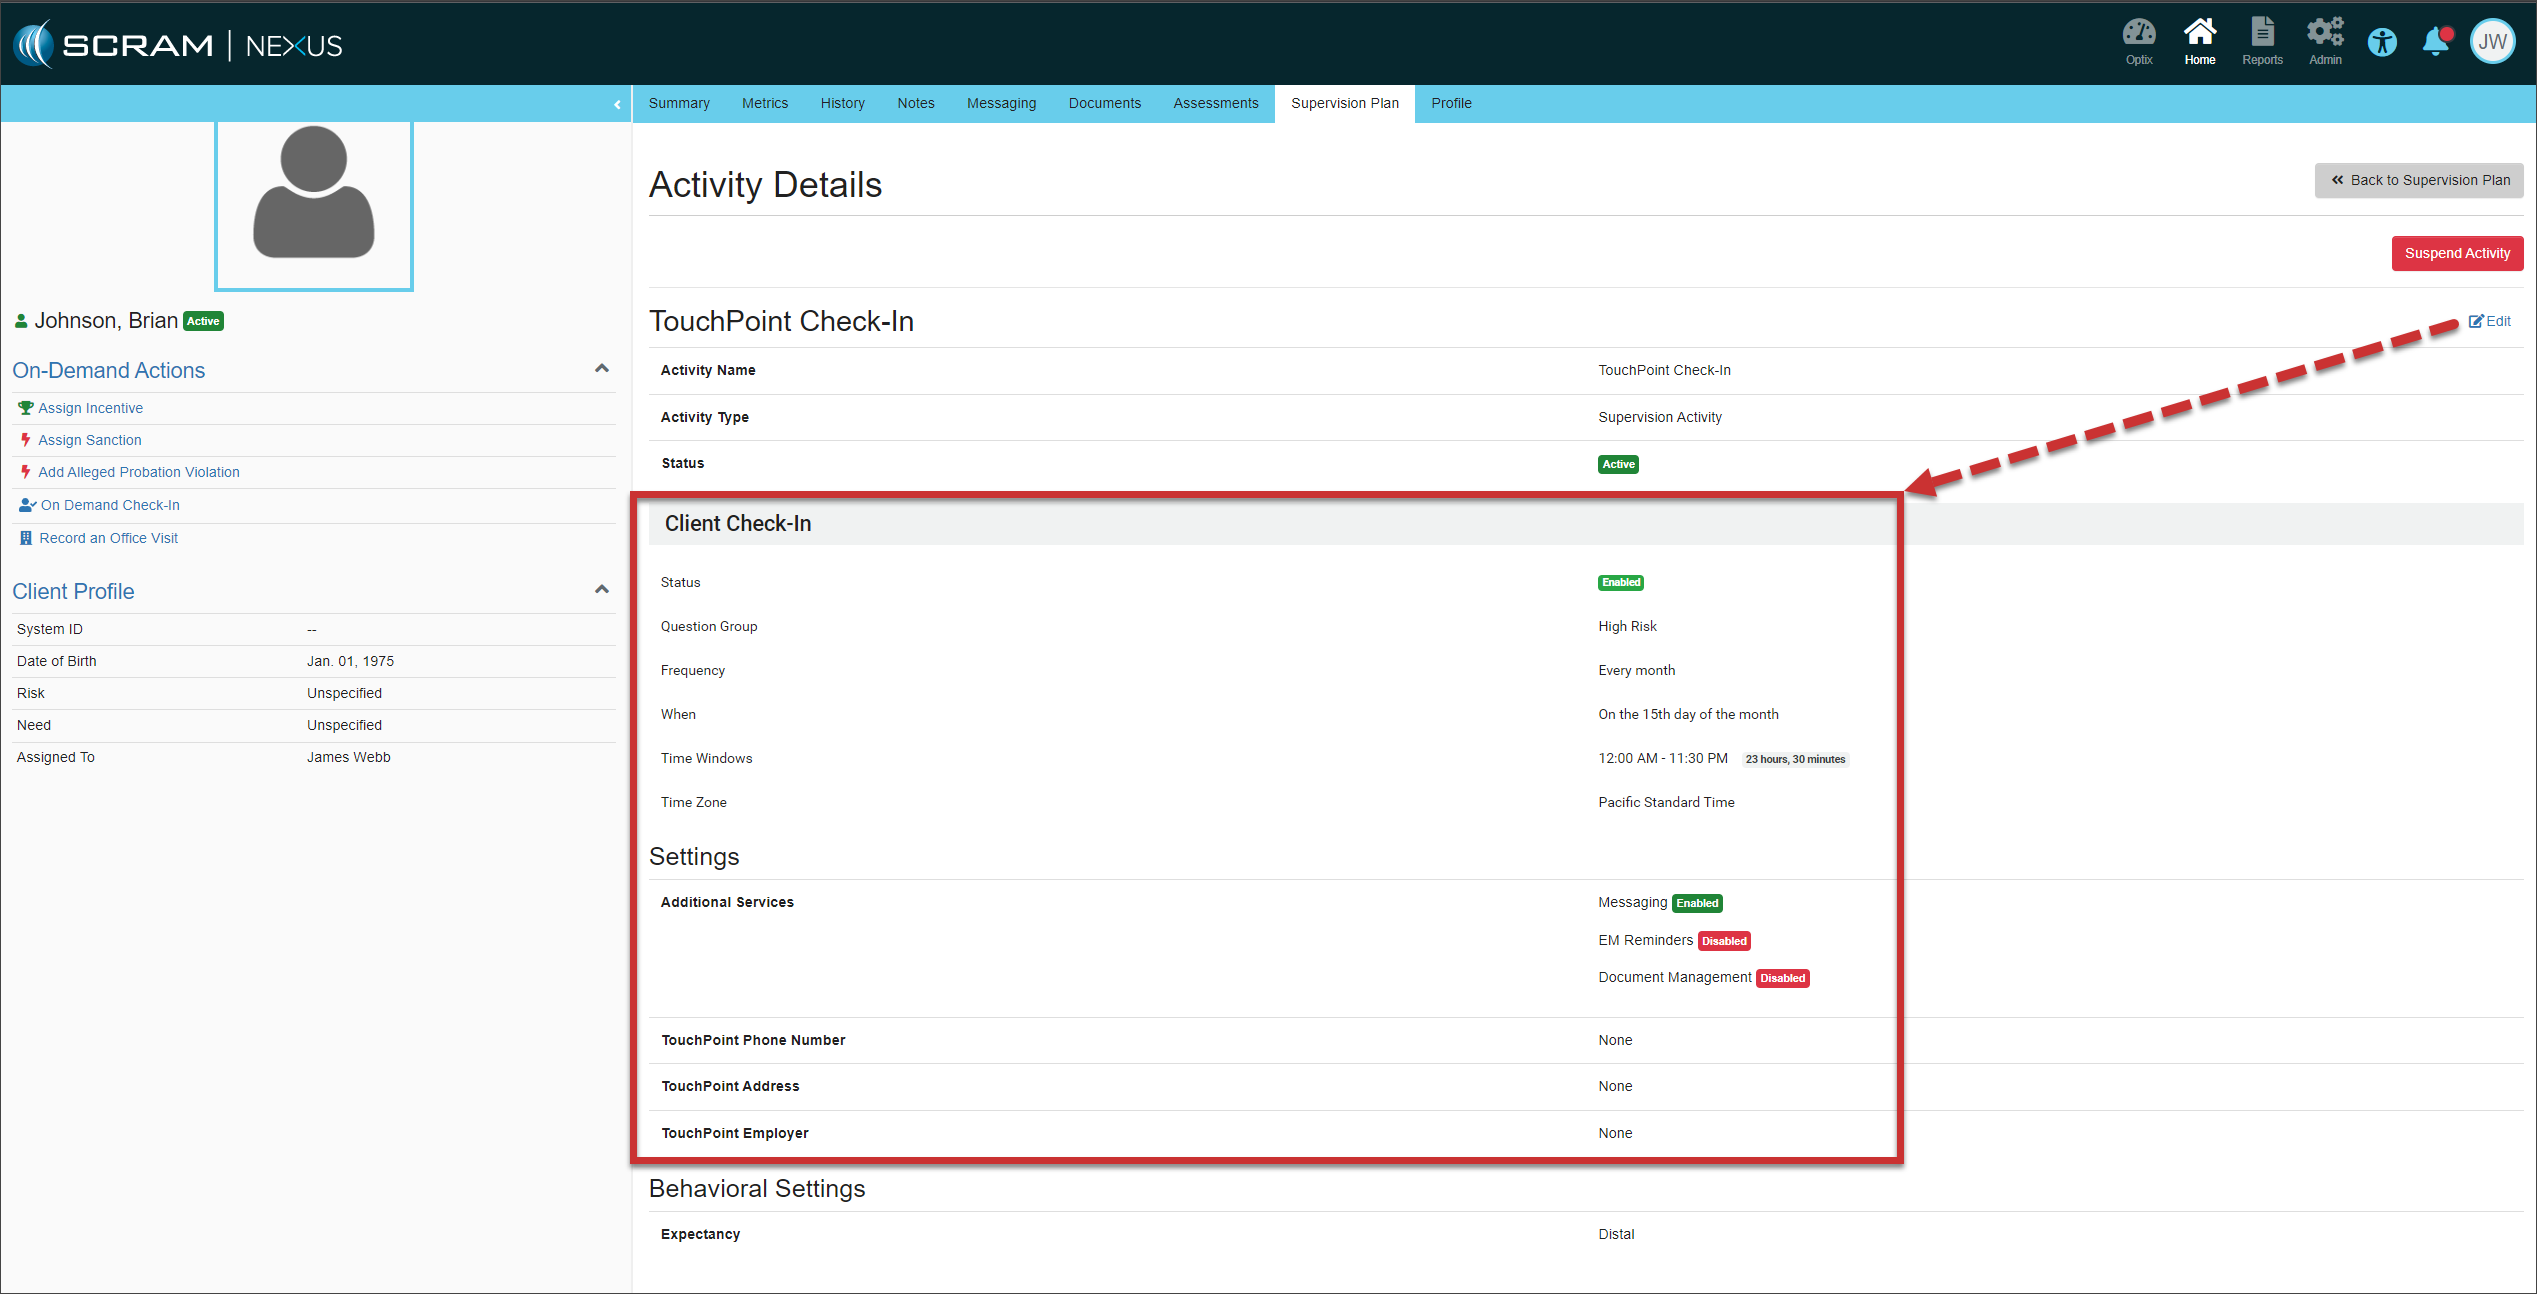
You do not need to take any actions for your current active TouchPoint client caseloads. Your clients may continue to log in using their email addresses. In the system, you will notice that SCRAM Systems has auto-generated the username field for each TouchPoint client.
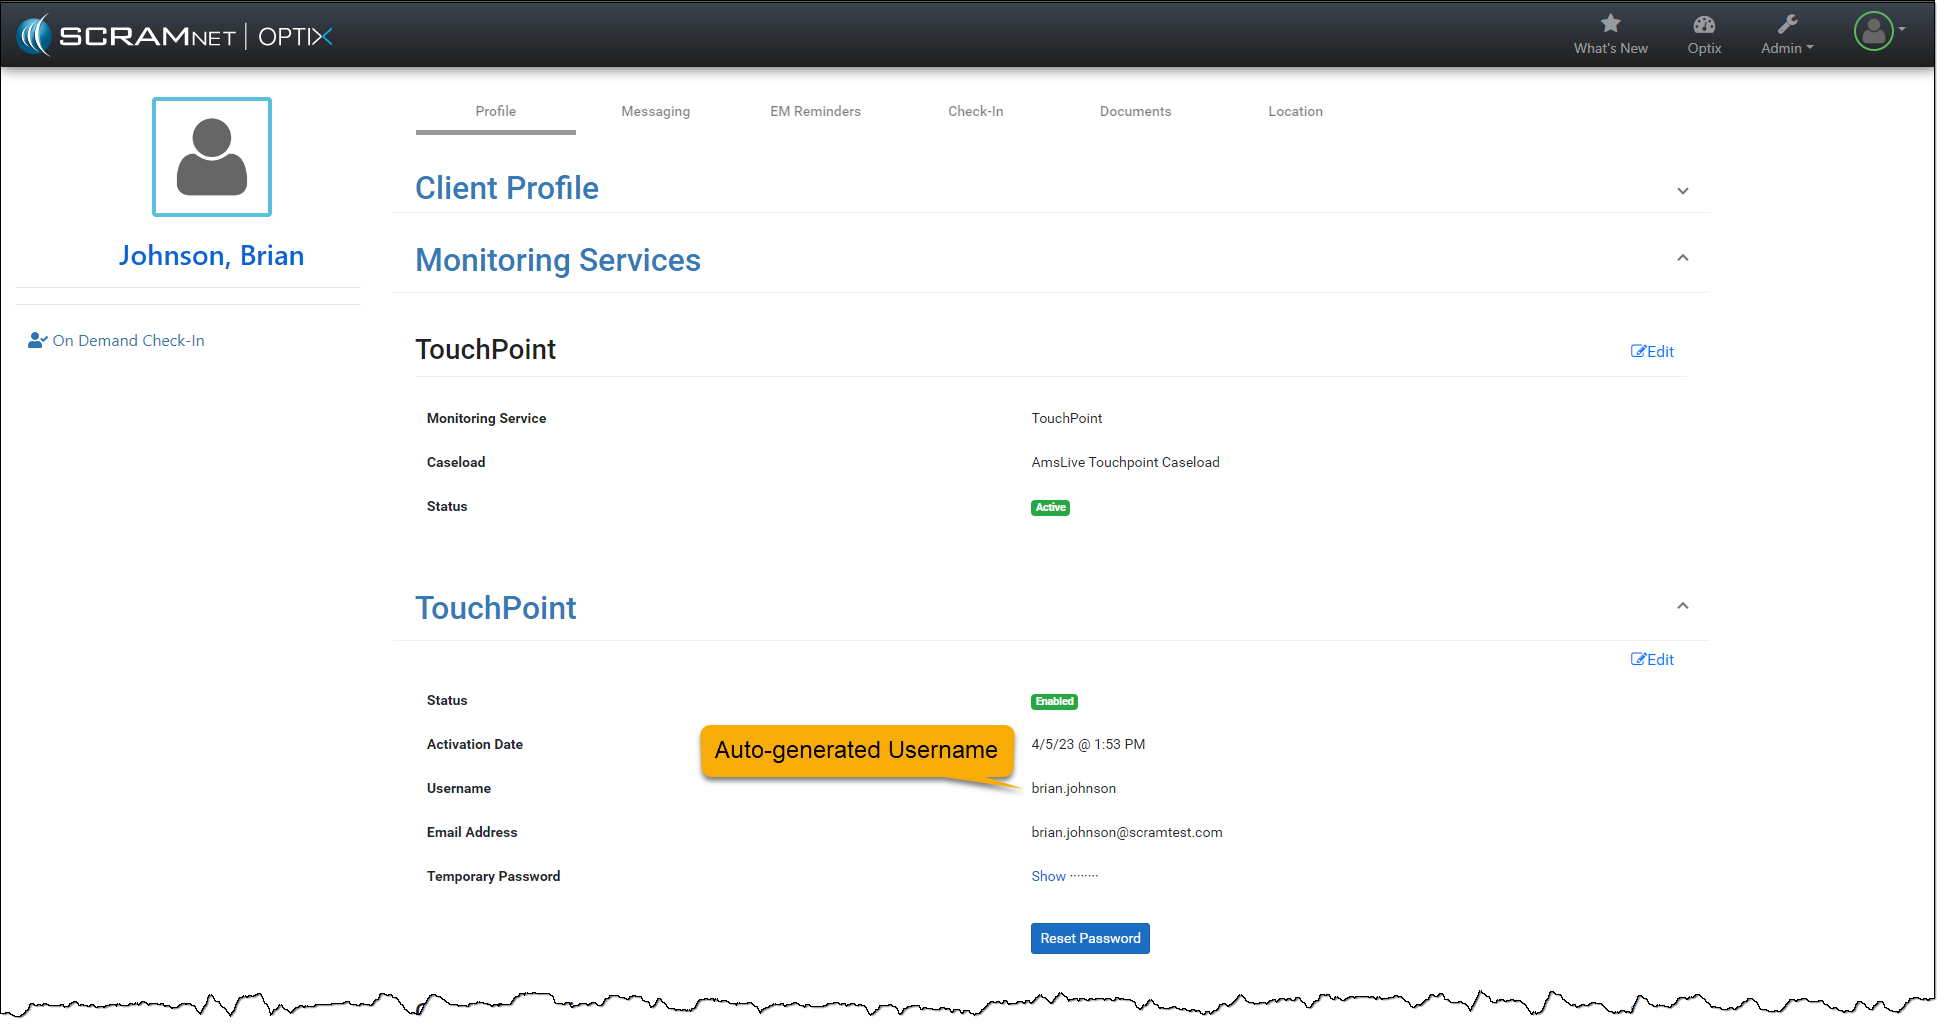
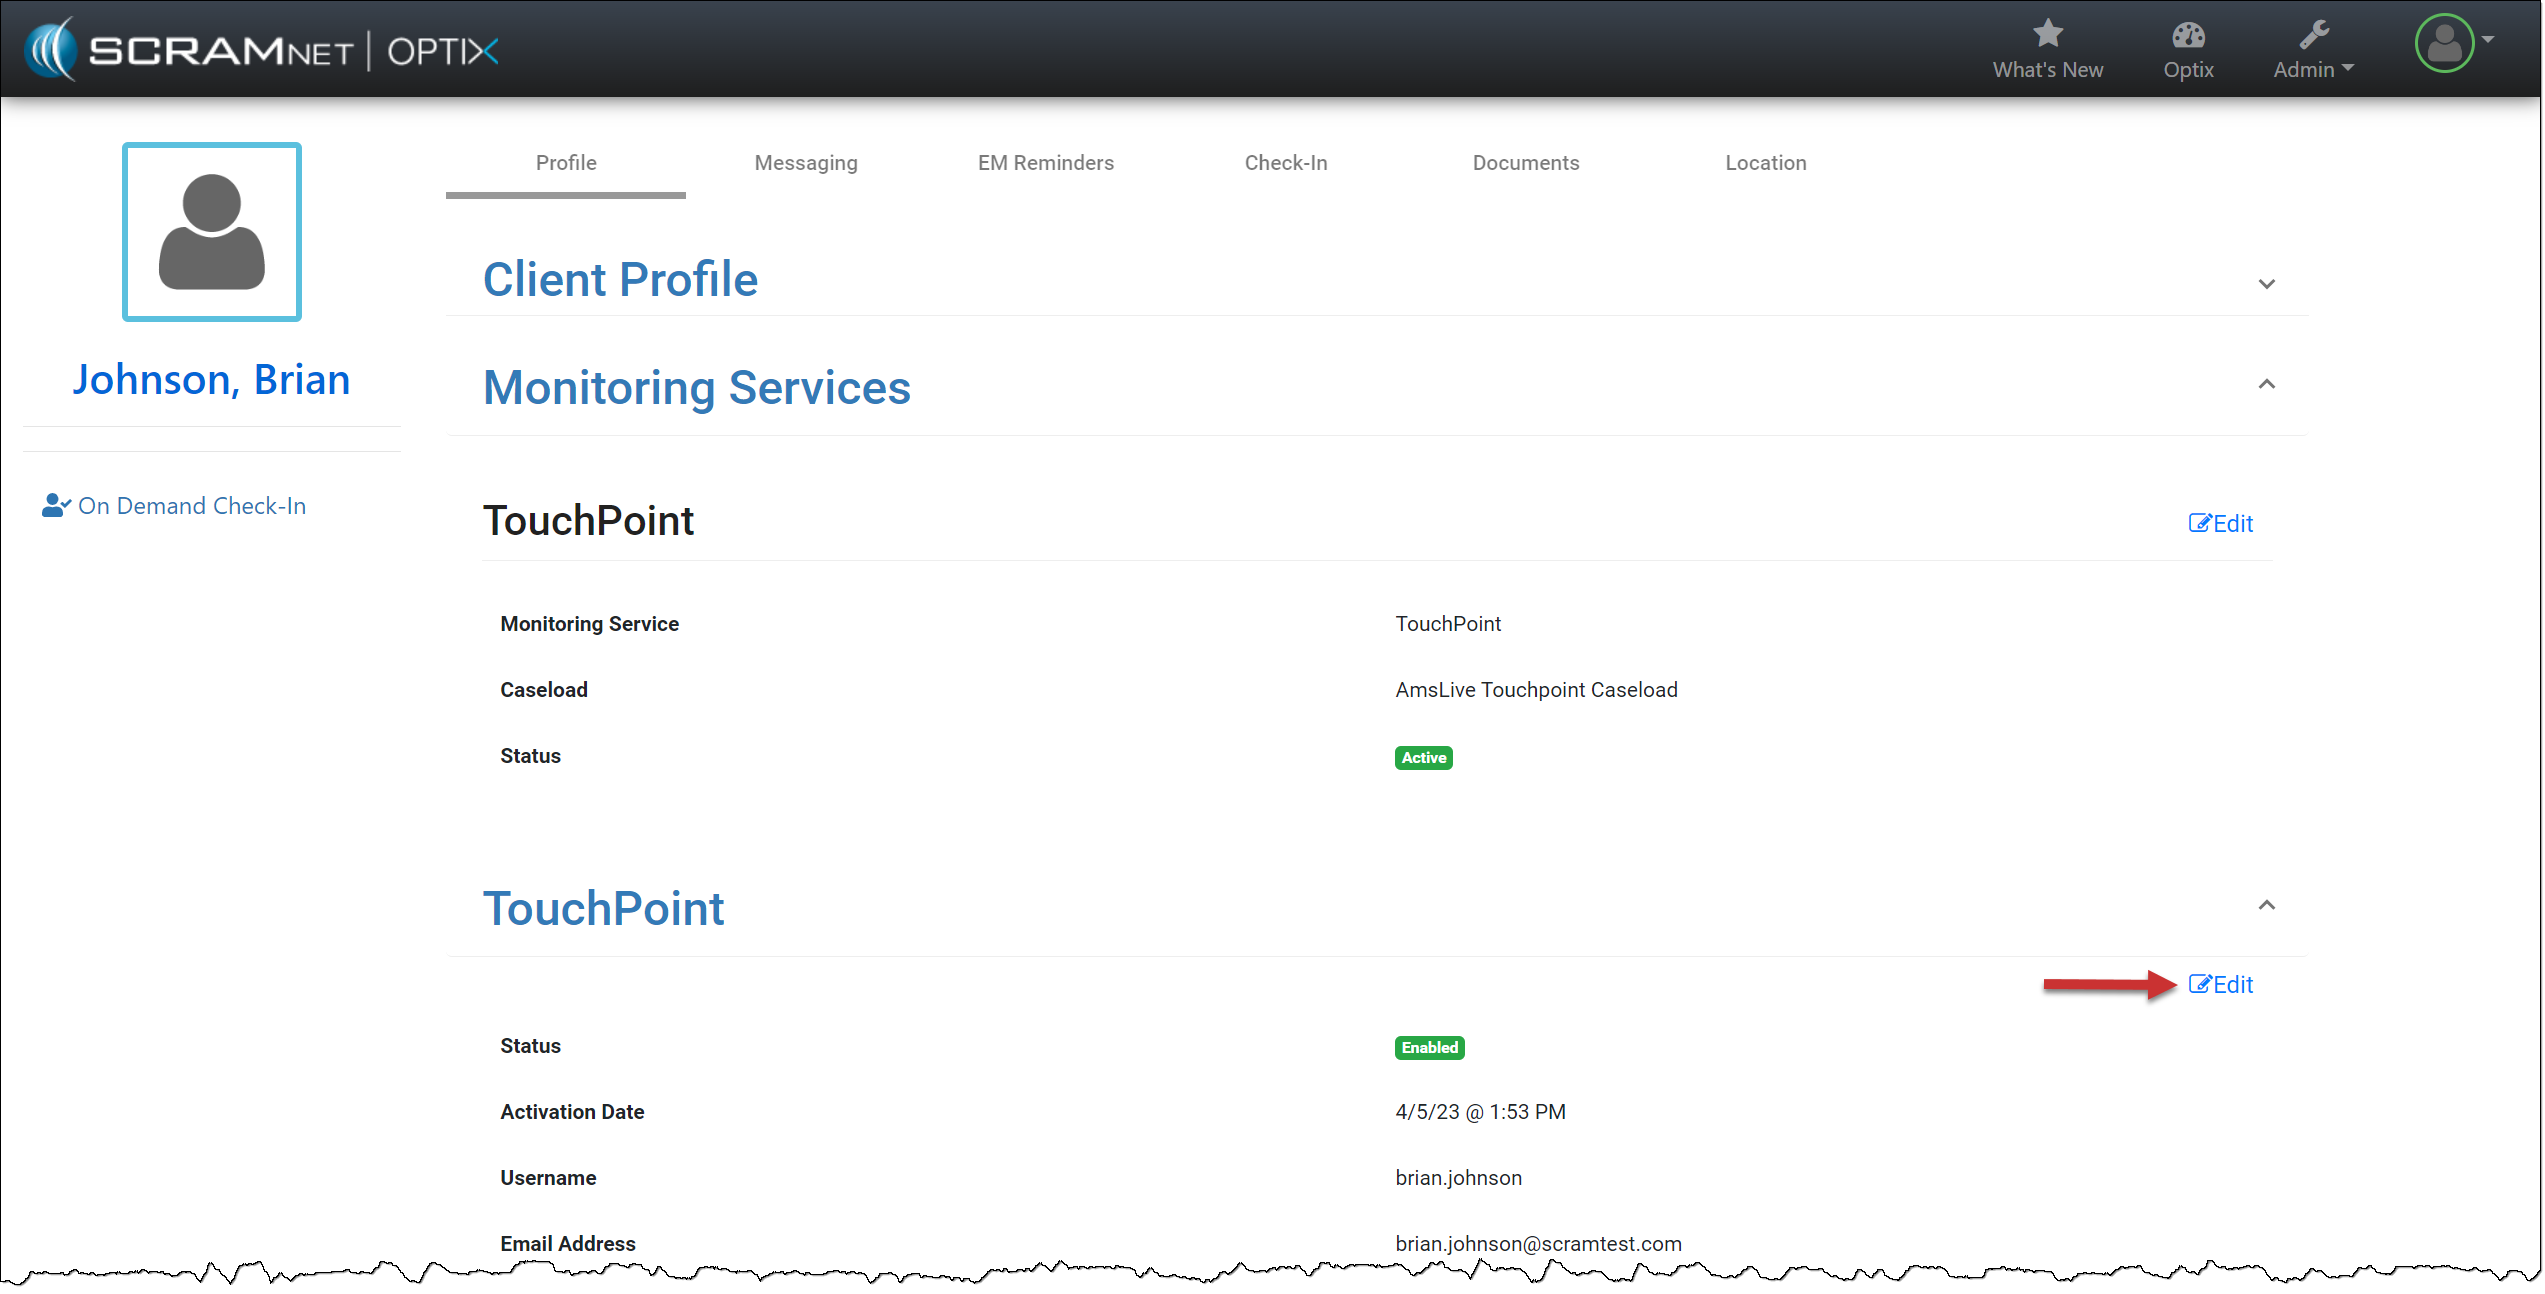
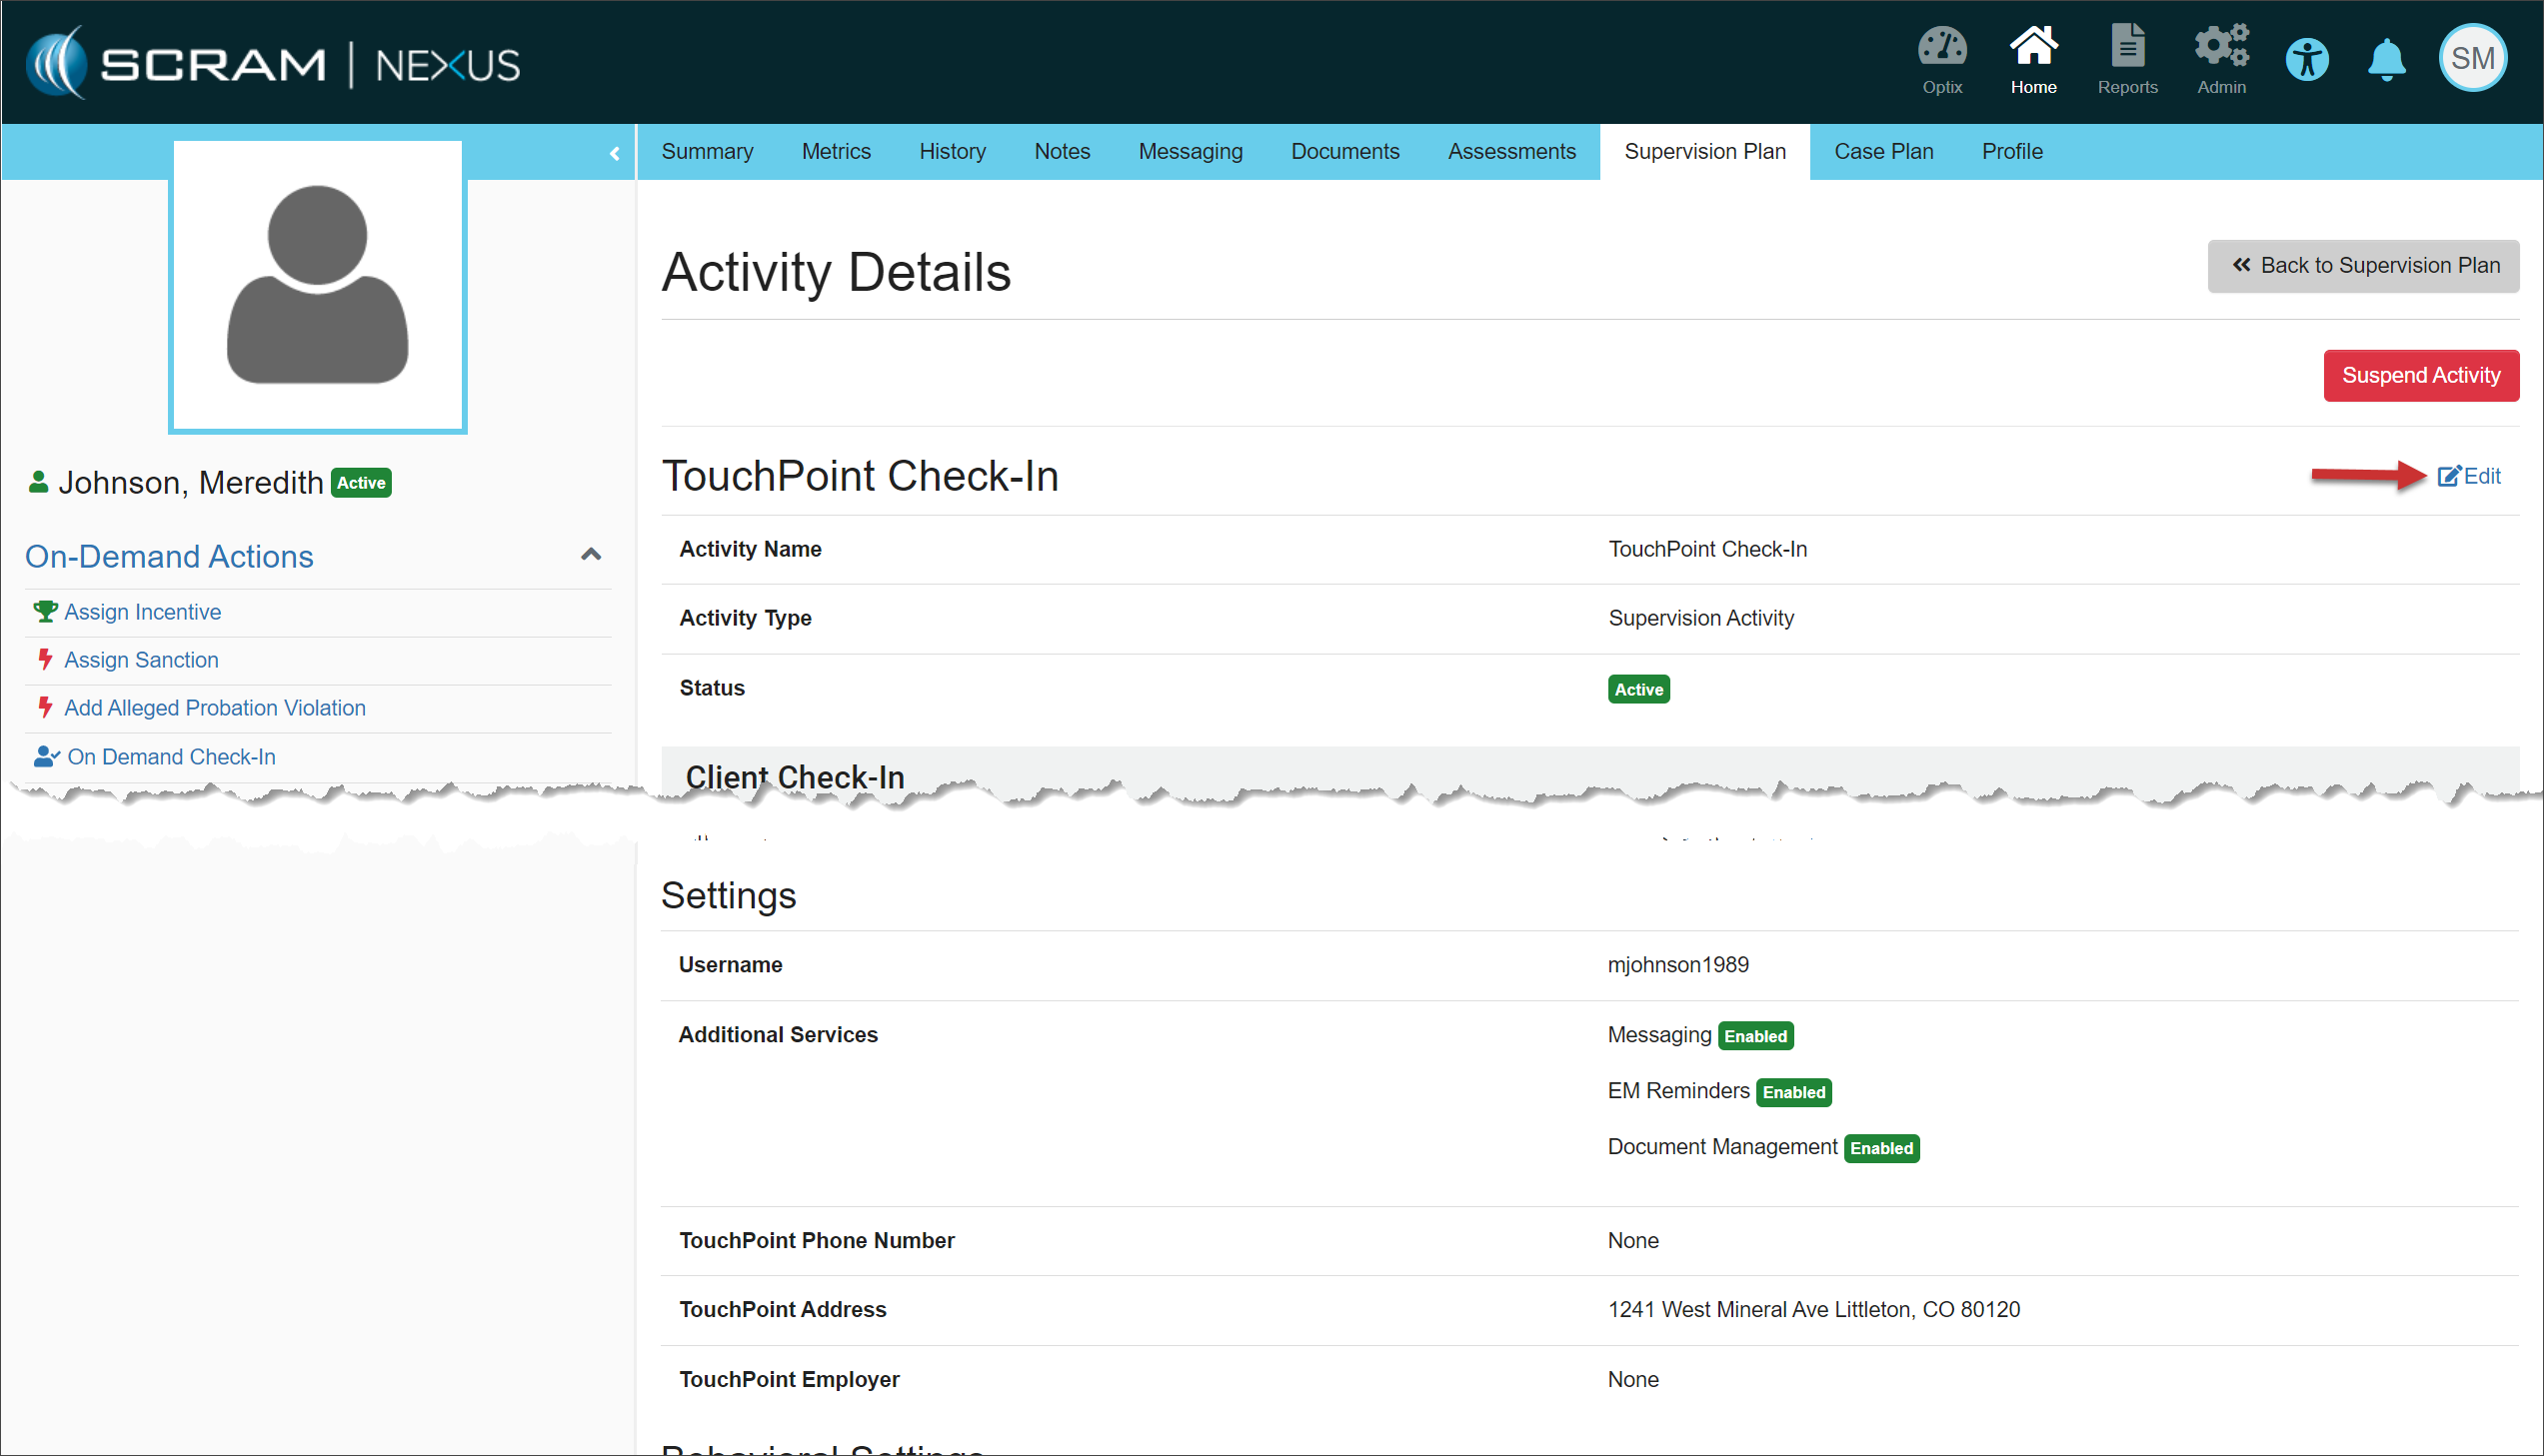
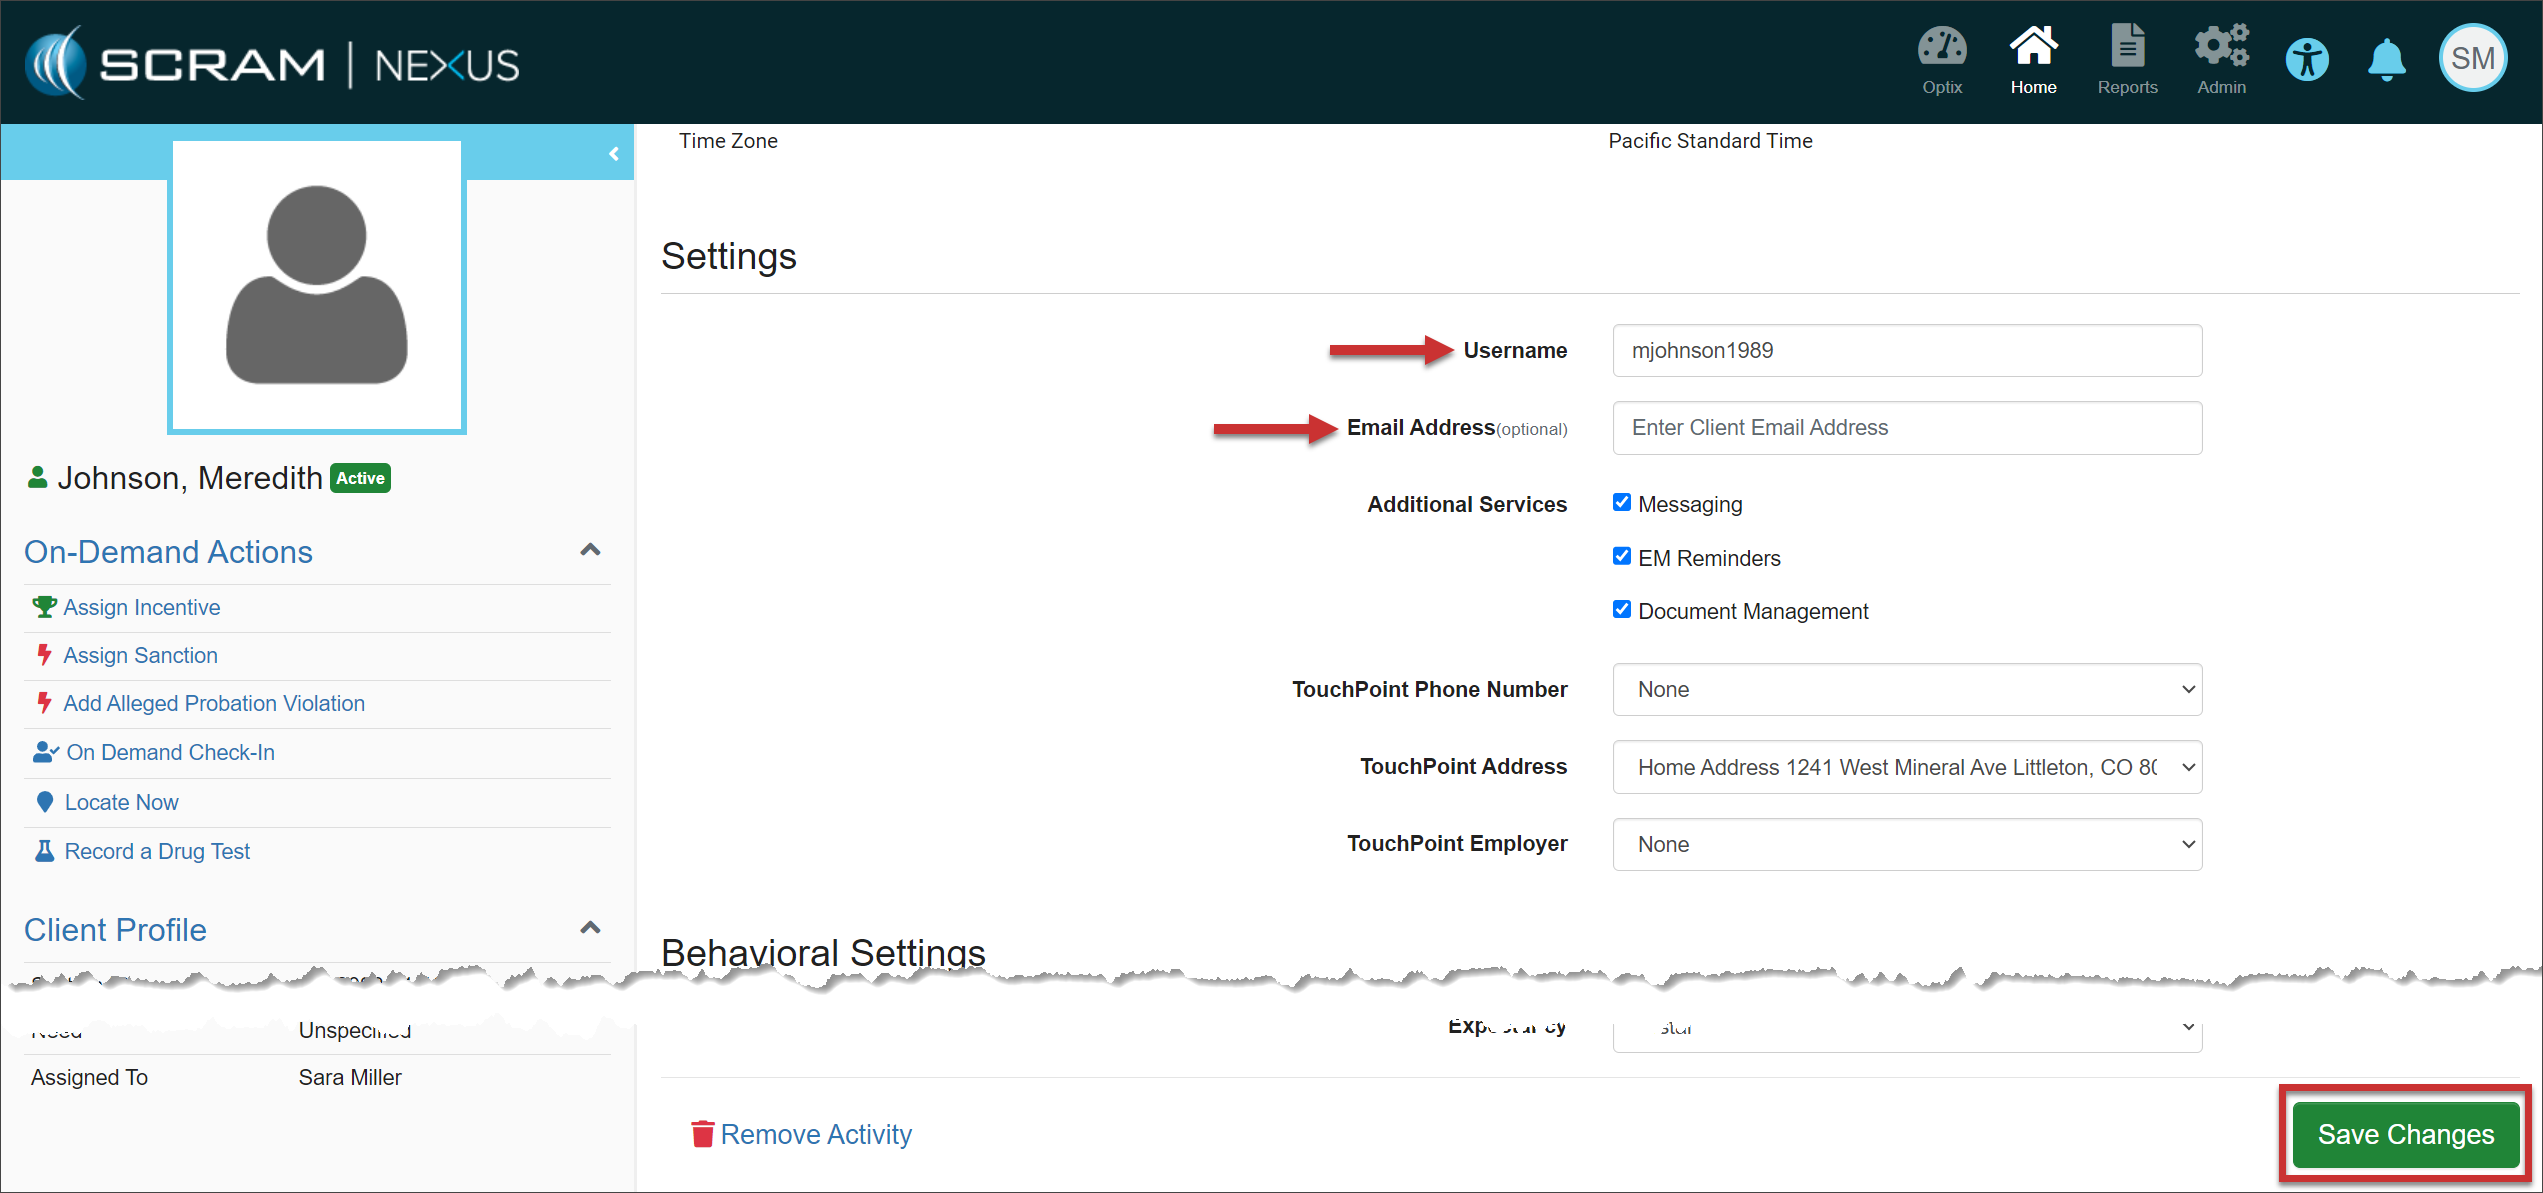
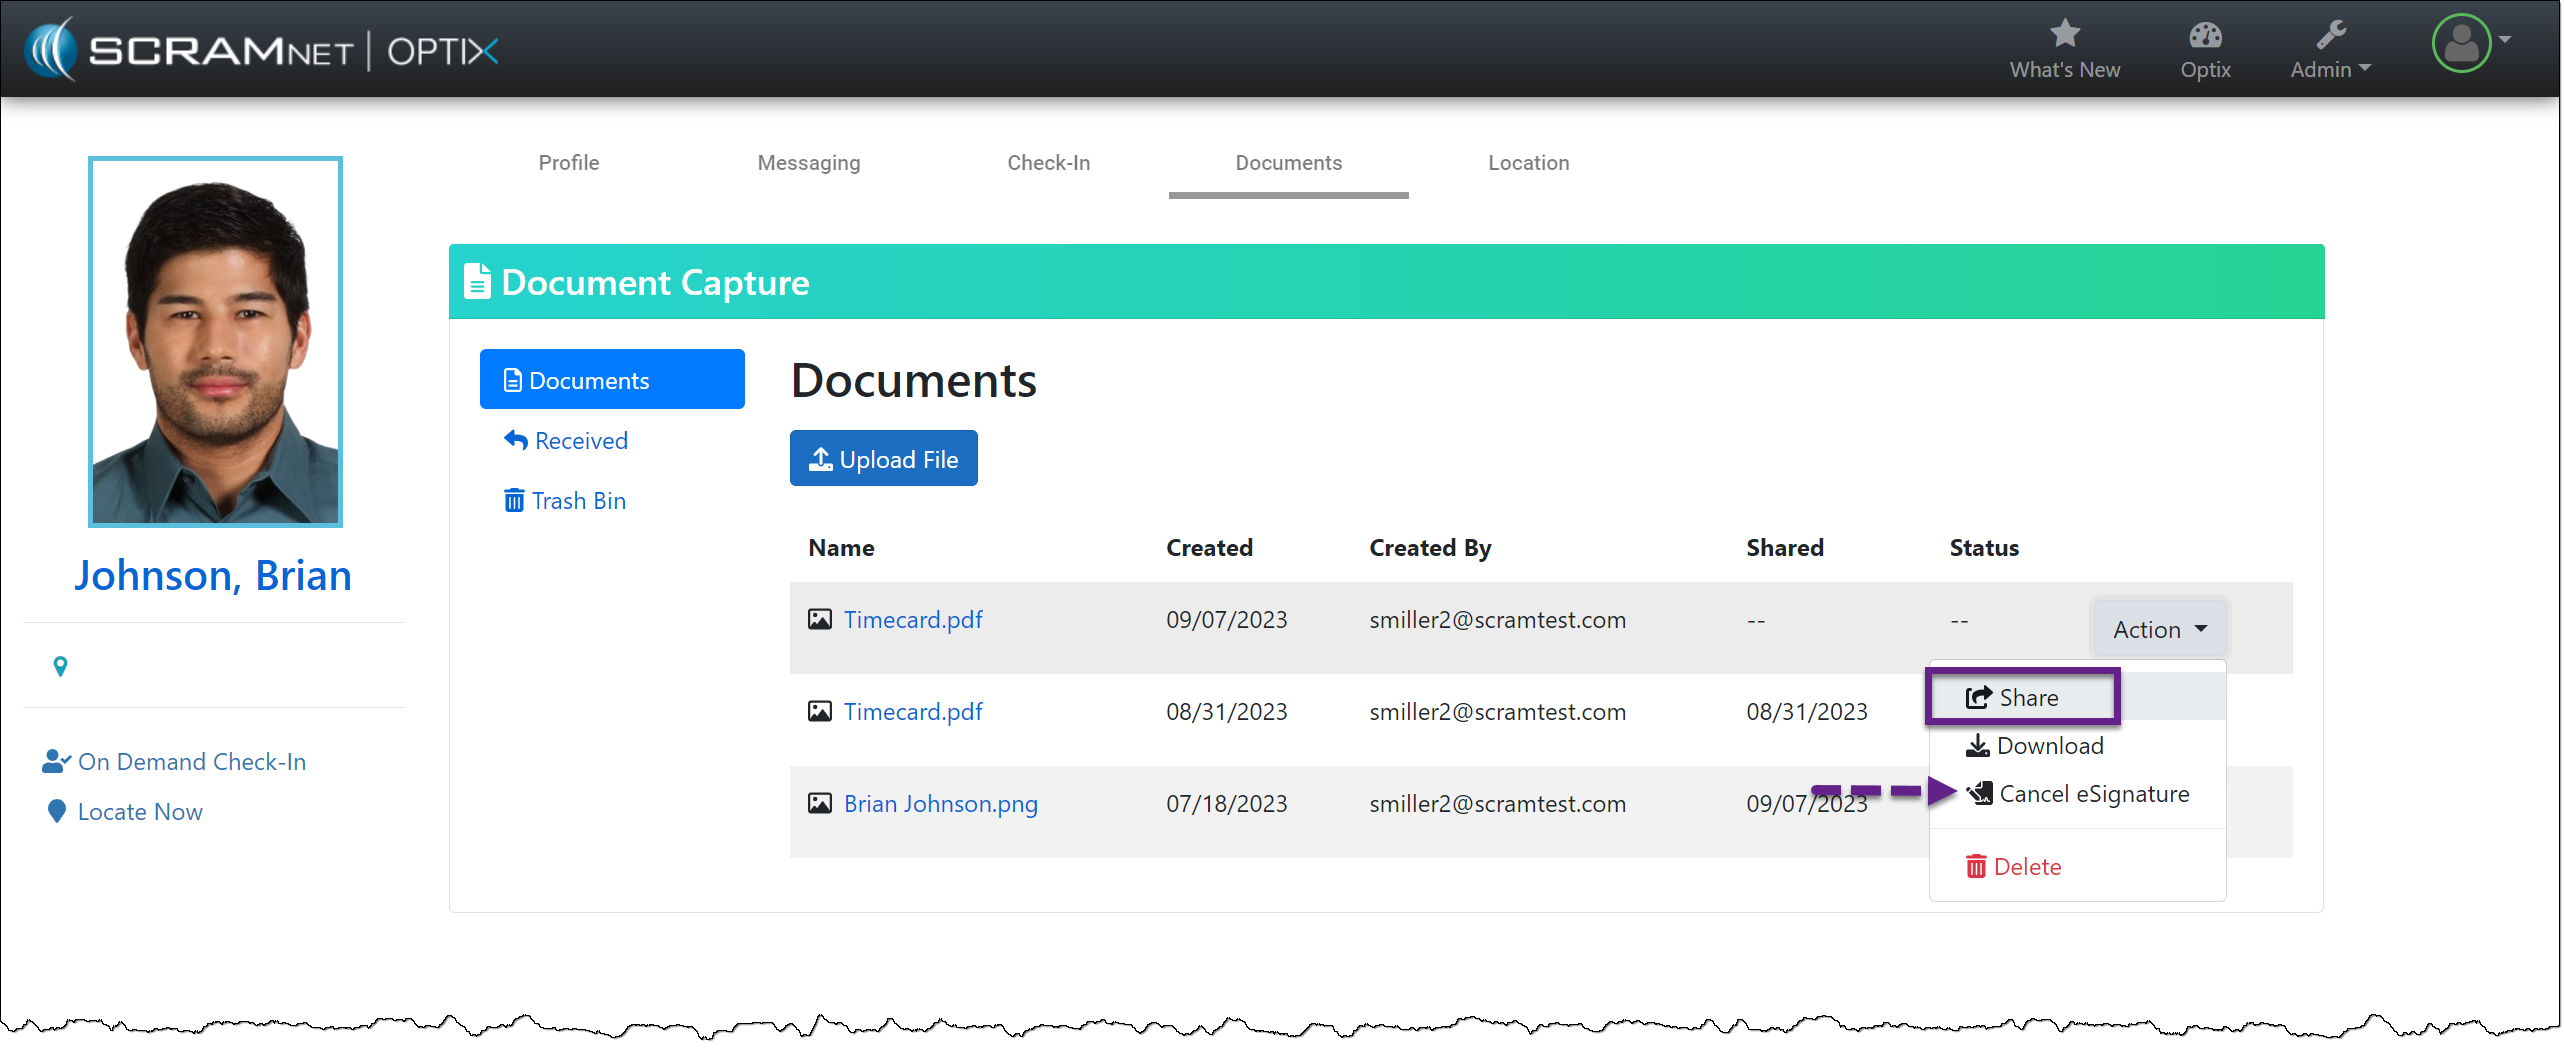
You may update the Username or Email Address field if needed by selecting the Edit hyperlink.