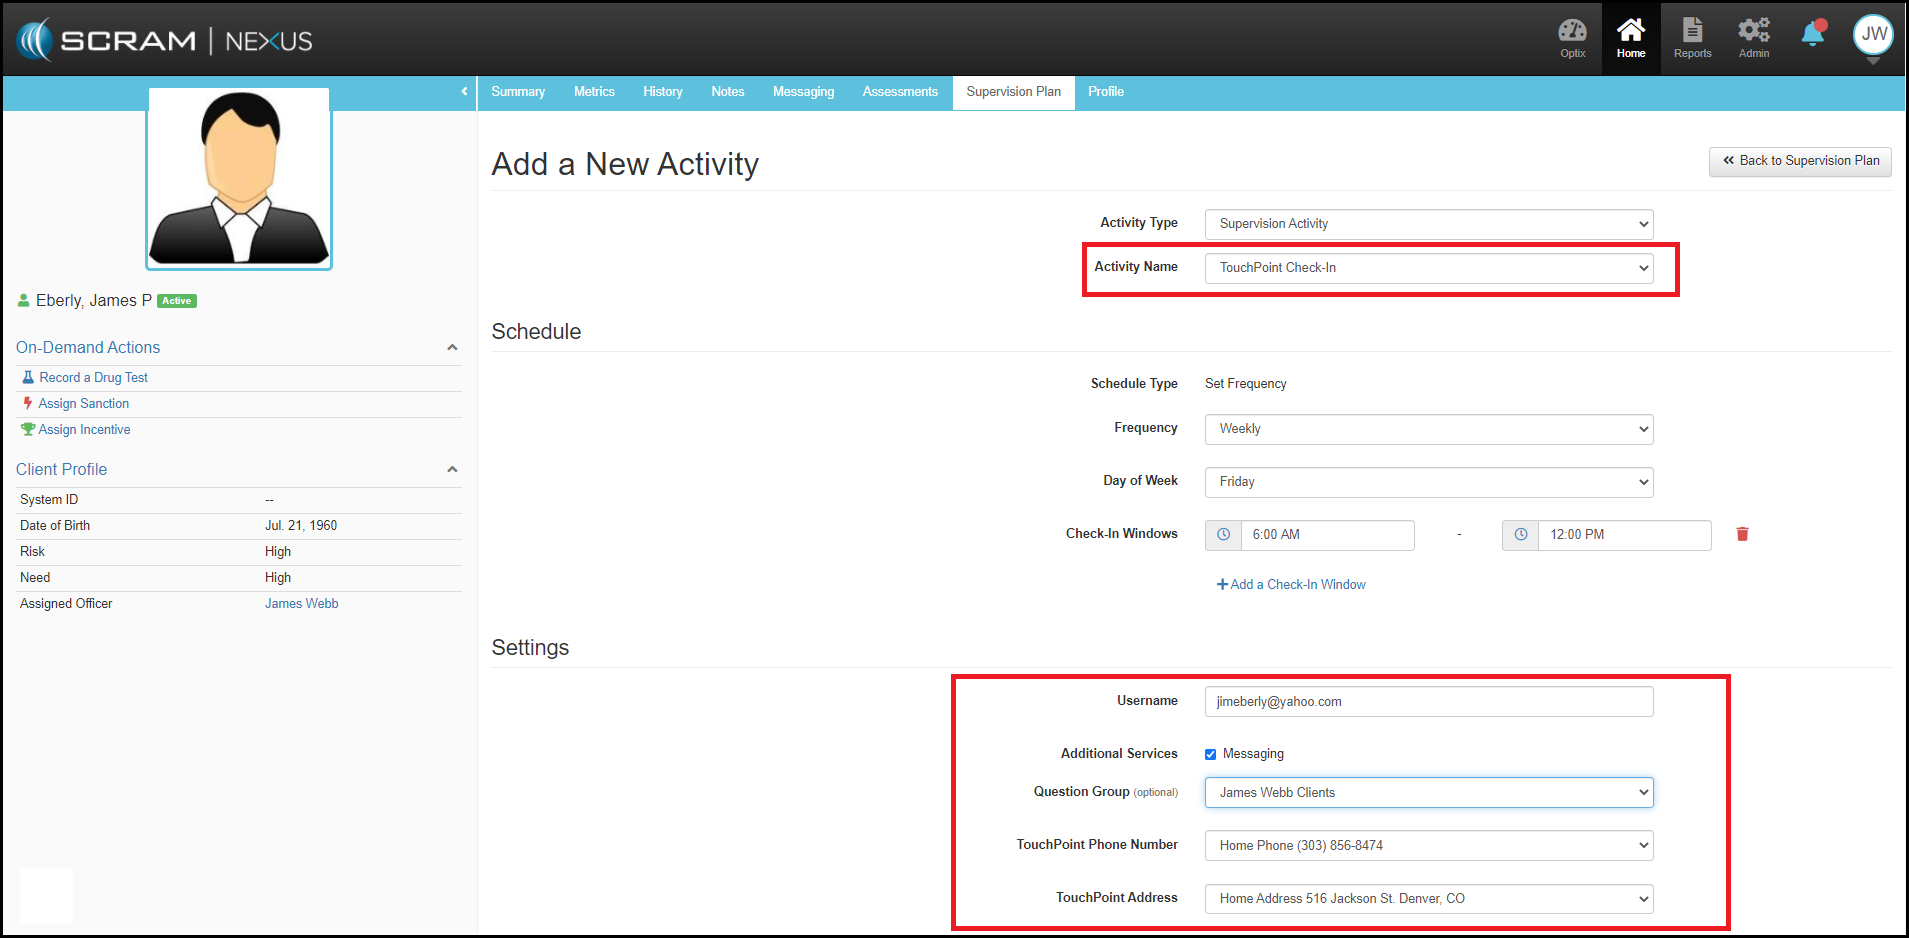
As with all SCRAM Nexus Family supervision activities, to add TouchPoint Check-In as a supervision activity, users will follow the standard Add a New Activity workflow available from the client’s Supervision Plan page.
On the Add a New Activity page, caseworkers can then make the appropriate selections as instructed below:
- Activity Type: Select Supervision Activity
- Activity Name: Select TouchPoint Check-in from drop-down selections
- Create the Schedule:
- Frequency
- Check-In Window
- First Appointment: Date of first Check-In
- Settings:
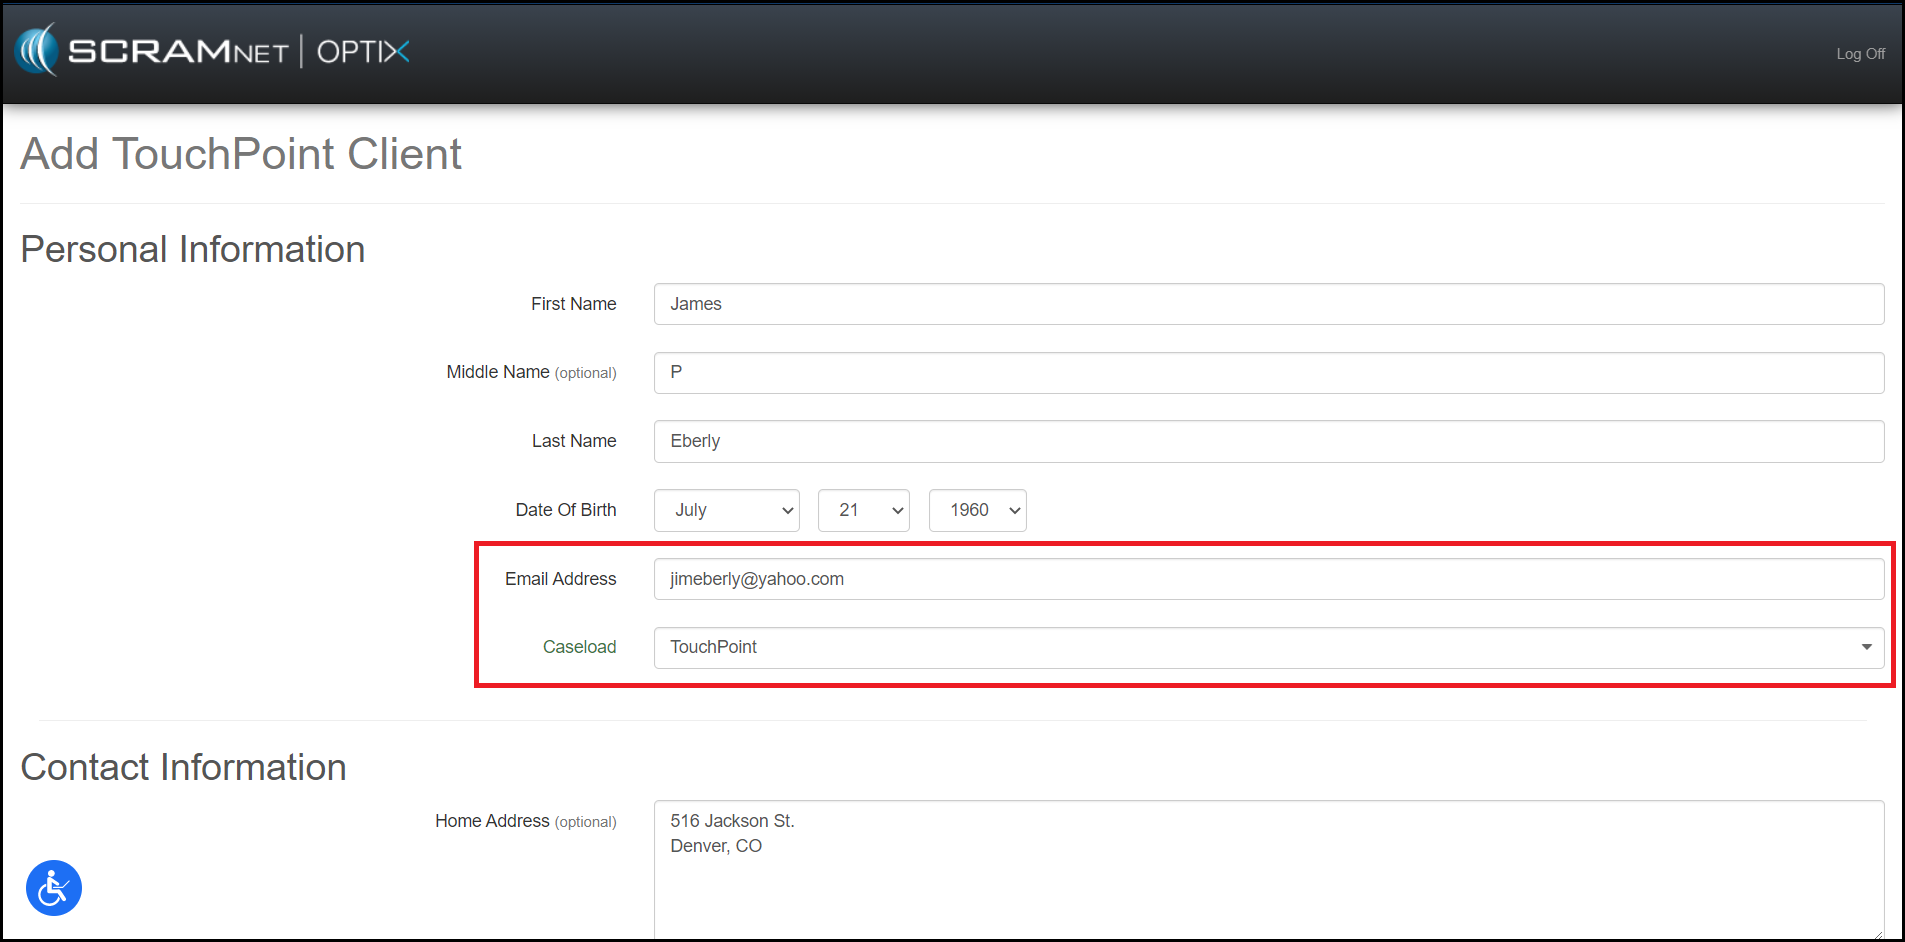
- Client Email Address. (An email registration will be sent to the client)
- Enable TouchPoint Messaging
- Question Group
- TouchPoint Phone Number (The TouchPoint application will ask if this phone is still accurate for the client)
- TouchPoint Address (The TouchPoint application will ask if this address is still accurate for the client)
- TouchPoint Employer (The TouchPoint application will ask if this employer is still accurate for the client)
- Behavioral Settings:
- Advancement Criteria: If needed
- Expectancy: Select of Proximal, Distal, mastered from drop-down list, depending on how the caseworker would prefer SCRAM Nexus Family to surface incentive and sanction responses.
Caseworkers can then click the green Add Activity button to add check in to the client’s supervision plan.
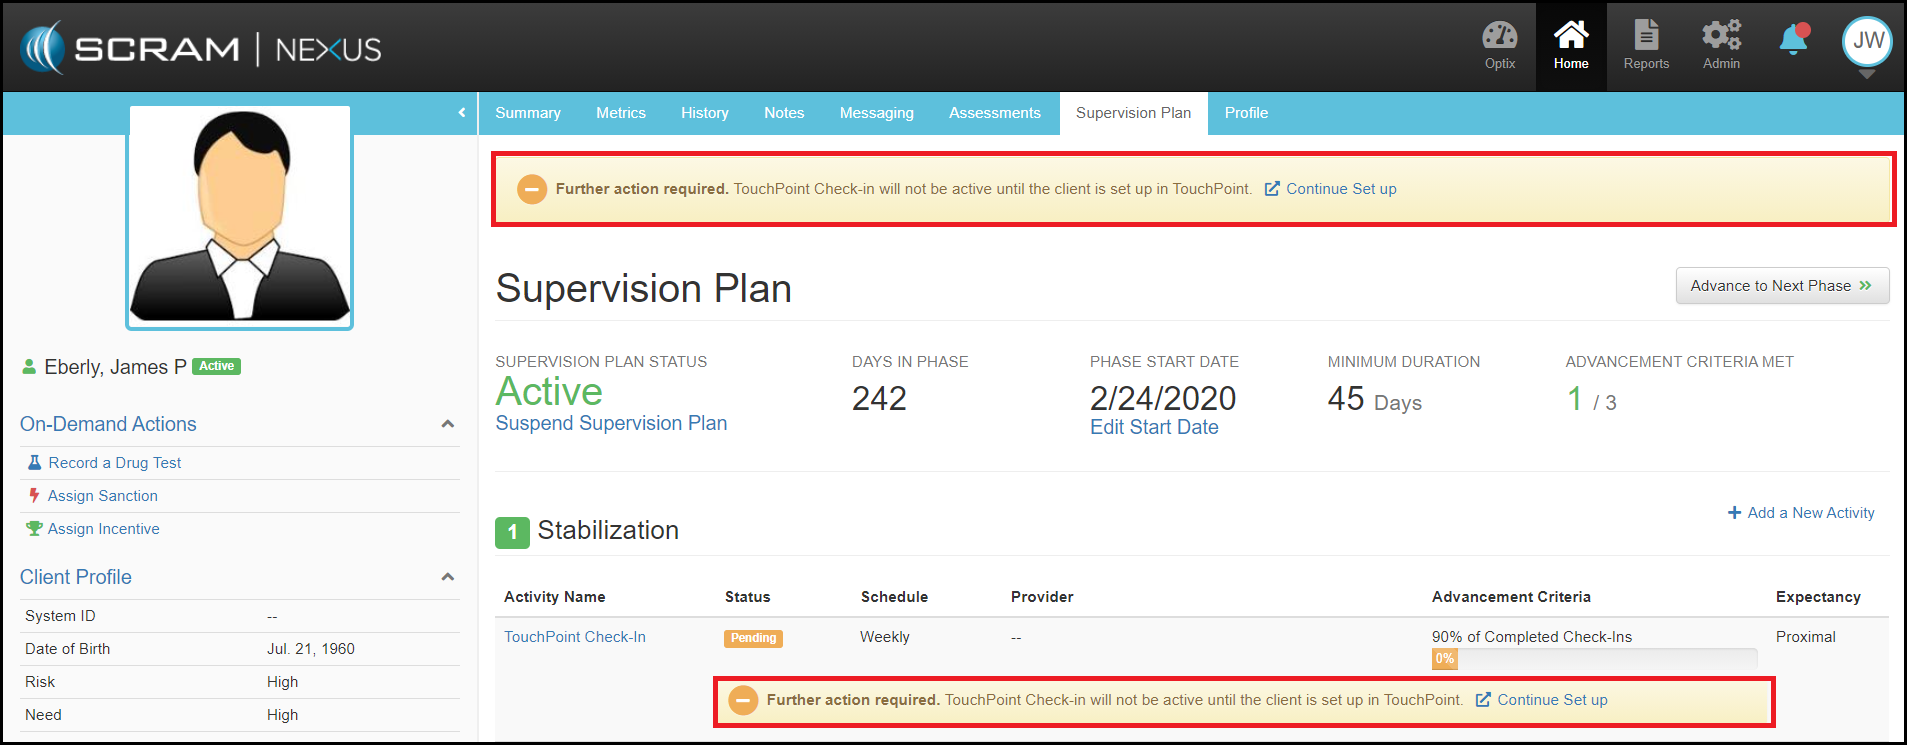
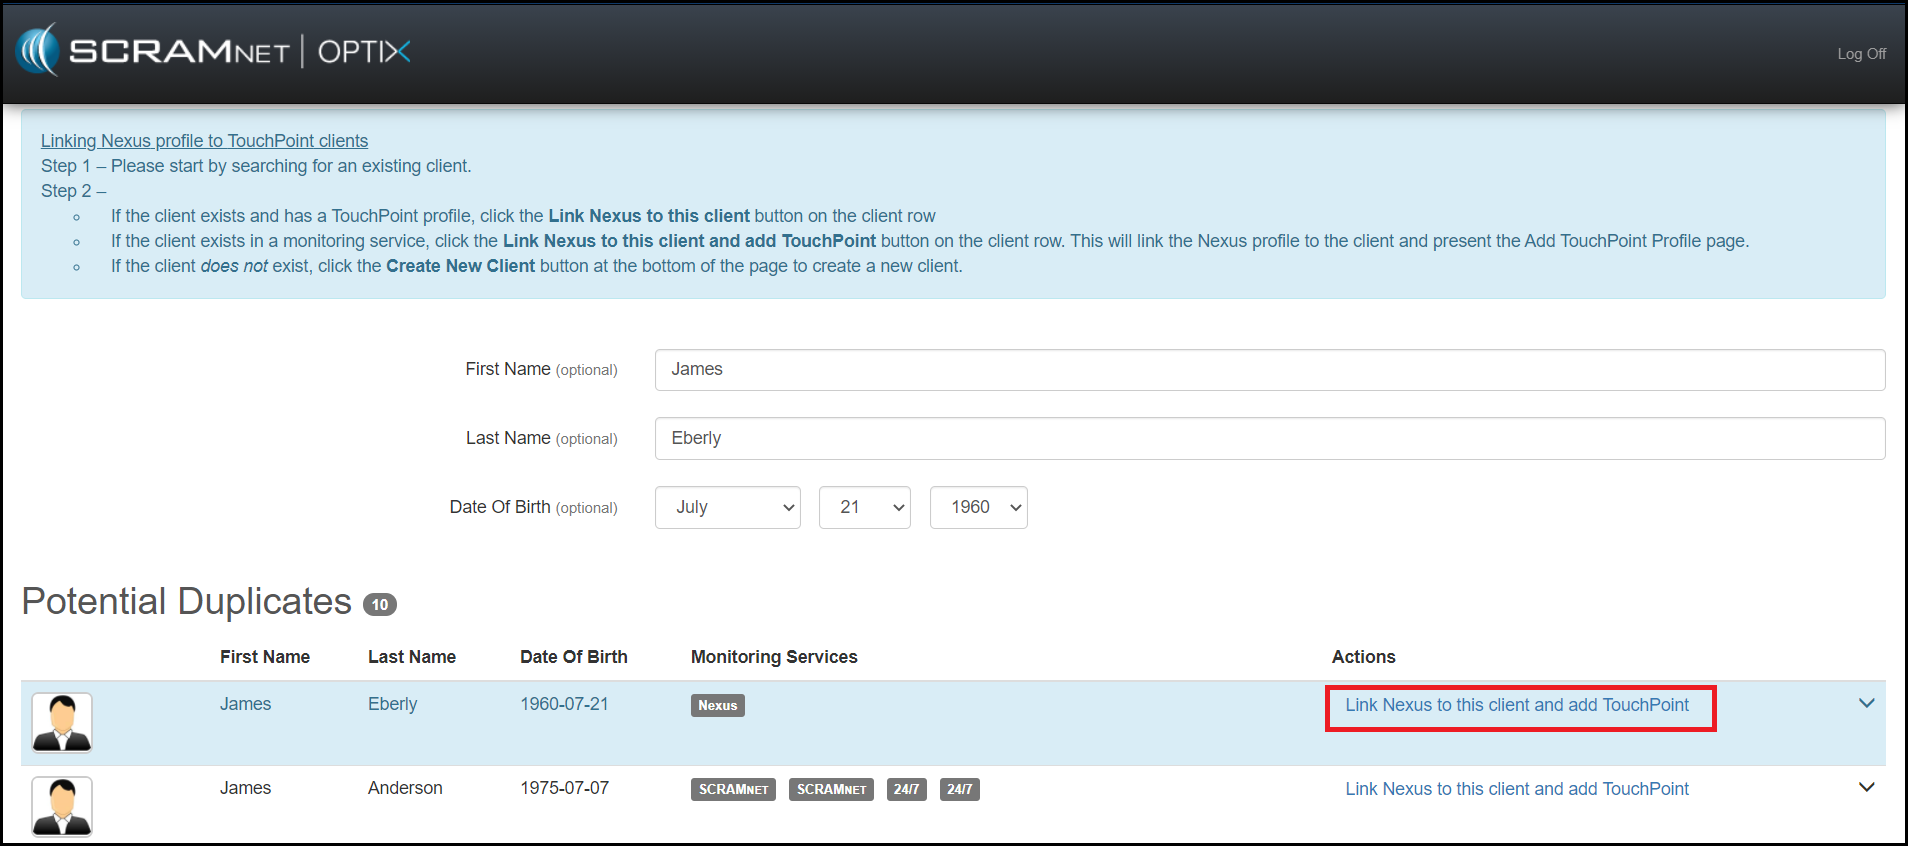
Once TouchPoint check-in is added as a supervision activity, the second step is to complete the setup in SCRAM Optix.
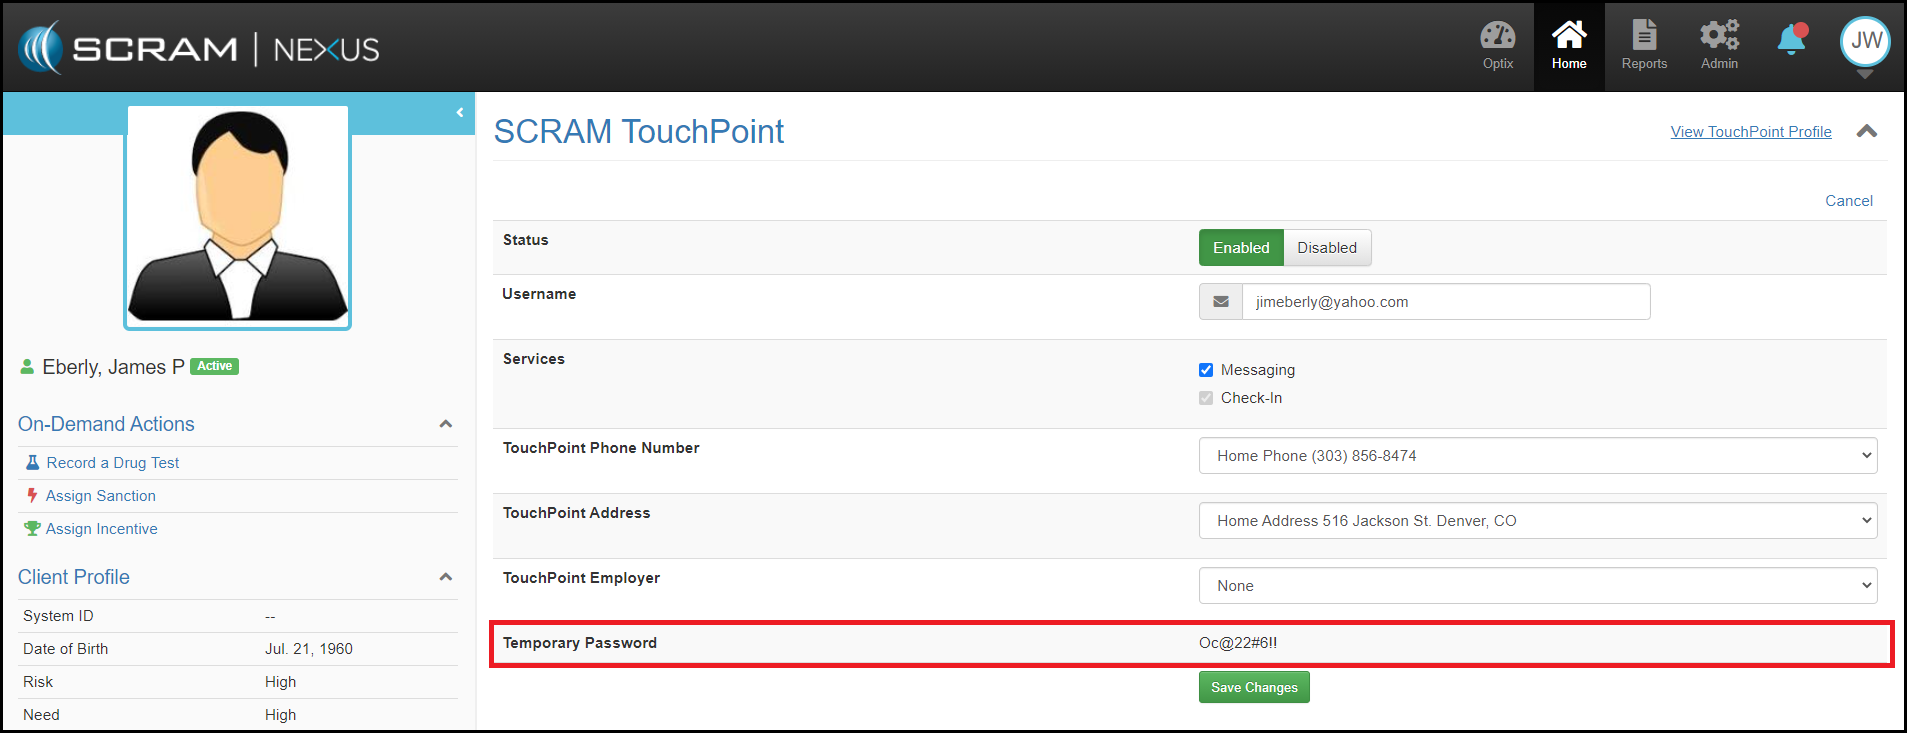
Once the client has been successfully added in SCRAM Optix, return back to SCRAM Nexus Family and access the client’s Profile page. Scroll down to the SCRAM TouchPoint section and click the Edit button to find the clients temporary password. Once the client successfully signs into SCRAM TouchPoint, this password will disappear from SCRAM Nexus Family and SCRAM TouchPoint. If the client needs to reset their password, they can do this by selecting the “Forgot Password” link in the SCRAM TouchPoint app.