SCRAM Systems understands how important it is for you to keep your monitoring devices in your available inventory. Keeping units on-site and functional saves precious time and money for your monitoring business. To help you keep your SCRAM devices operating at peak performance, our engineers have researched and developed a series of recommended cleaning and maintenance procedures that enable you to get the most out of your SCRAM devices investment.
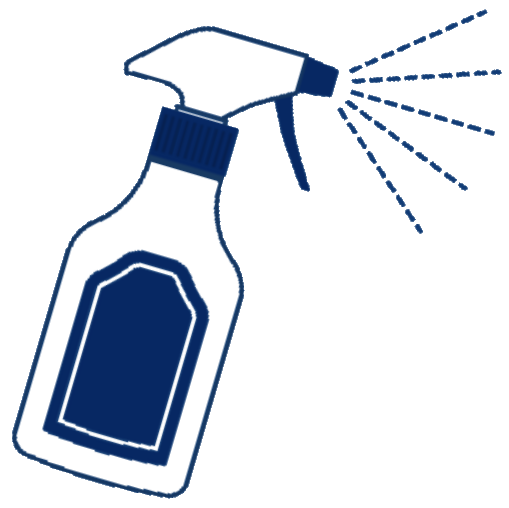
To prevent damage to SCRAM equipment, only use the SCRAM-Approved Disinfectant and Cleaner. This is the only cleaner approved by SCRAM Systems.
Do Not Use the Following Types of Cleaners on Your SCRAM Equipment:
| · Alcohol-based
· Citrus-scented |
· Pine-based
· Aldehyde-based |
· Chlorine-based
· Contains Benzalkonium Chloride |
General Information
When handling previously used SCRAM equipment, wear gloves, eye protection, and a face mask before and during the disinfecting process.
Recommended Supply List
- SCRAM-Approved Disinfectant and Cleaner
- Paper Towels, Microfiber Cloths, or Washcloths
- One of the two SCRAM Faceplate Removal Tools
- SCRAM Device Cleaning Supplies Kit
- A T-10 Torque Screwdriver set at 3.5 lb/in (4.0 kg/cm or 0.4 Nm) of force
Biohazard Disposal
If you feel that a piece of SCRAM Systems equipment may pose a specific health hazard, and you decide it is not worth the risk to clean or reuse the device, please dispose of the device in a sealed plastic bag and refer to the biohazardous or medical waste disposal guidelines in your area for specific disposal instructions.
 |
DO NOT RETURN BIOHAZARDOUS DEVICES TO SCRAM SYSTEMS. | |
Contact SCRAM Systems Customer Service with the serial number of the device being removed from your inventory.
To Disinfect SCRAM CAM, House Arrest (HA) Bracelets:
 |
|
 |
|
|
|
 |
|
 |
Warning Do not rinse SCRAM CAM or HA devices under running water. |
 |
|
 |
|
 |
|
|
|
| If the bracelet will be stored in your inventory at this time, DO NOT INSTALL A NEW BATTERY. Installing a battery will cause the bracelet’s pump to draw air across the internal fuel cell and potentially dry out the fuel cell while it sits in inventory, which will impair the bracelet’s ability to detect alcohol. |
To Disinfect SCRAM Base Stations and Cables
|
|
|
|
|
|
| Tip: For a printable version of the disinfecting and cleaning instructions, click here. |