Working in conjunction with the SCRAM TouchPoint™ client smartphone app, the Location Verification feature will provide officers, agents, and case managers with useful information regarding a client’s whereabouts during Supervised Appointment Activities.
This article is for Nexus/TouchPoint Administrators as well as Officers. If you are an Officer-only user, you may skip to the Officer process.
Enable Location Verification for Your TouchPoint Caseloads
Before the new Location Verification feature can be used, a Nexus/TouchPoint Administrator will need to enable the feature for your caseloads. As an Administrator:
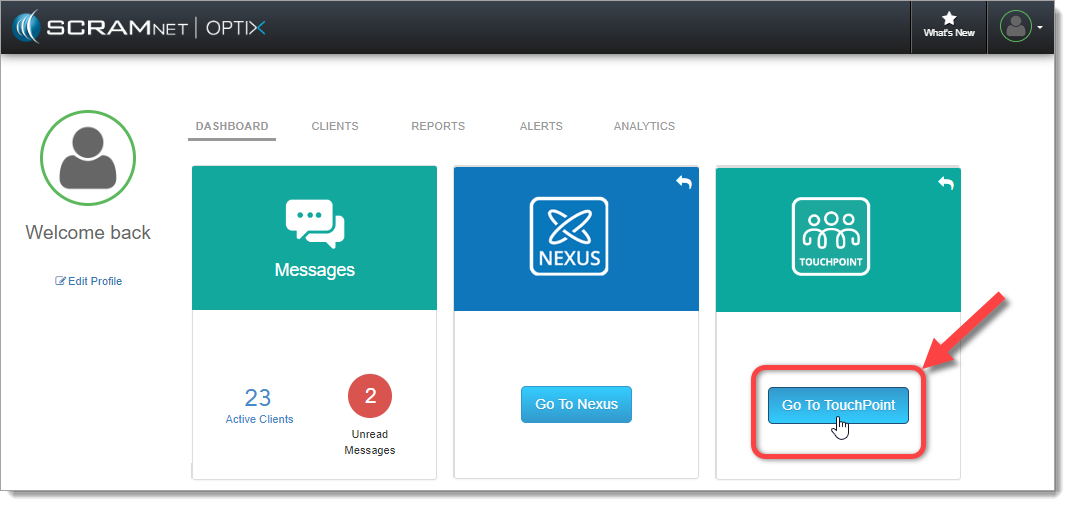
Access the SCRAM Optix TouchPoint Facility:
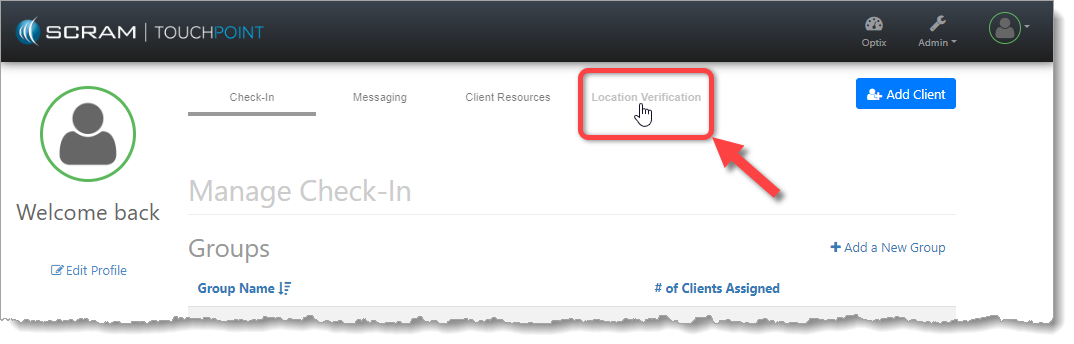
Select the New Location Verification Tab:
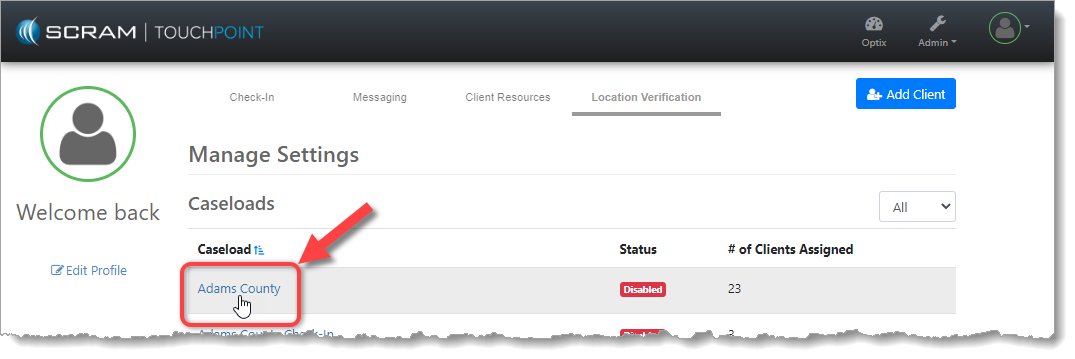
Select the Caseload You Wish to Enable:
Enable Location Verification and Establish Settings:
Please see the corresponding numbered pointers in the image below.
- Toggle the Caseload Status to Enabled. This will reveal the rest of the options.
- Select Yes to enable Location Verification services for all client profiles in the Caseload. If No is selected, all clients will have Location Verification services disabled in their profiles and will have to be enabled individually.
- Begin tracking the client’s smartphone location between 0 and 30 minutes (in five-minute increments) prior to the Supervised Appointment’s scheduled start time.
- Continue tracking the client’s smartphone location between 0 and 30 minutes (in five-minute increments) after the Supervised Appointment’s scheduled end time.
- Set the “Compliance Radius” for Supervised Appointment locations. This establishes the distance (200 to 500 feet in 100-foot increments) from the center of the verified location address within which the client will be considered at the address and in attendance at the appointment.
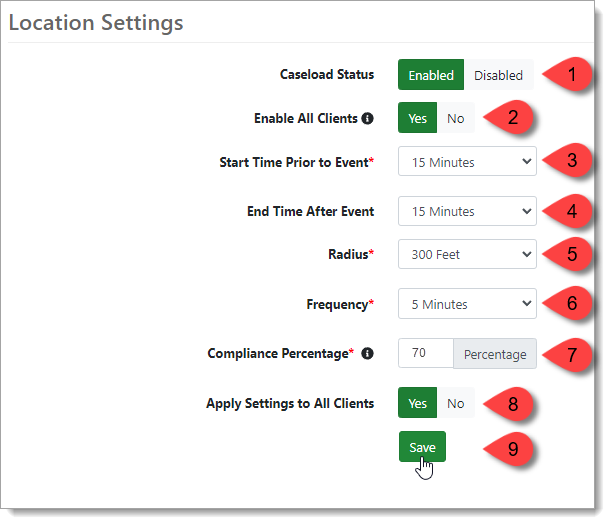
- Set the frequency (every 1, 5, or 10 minutes) at which client smartphone location information should be collected.
- Set the acceptable “Compliance Percentage.” The Compliance Percentage is the number of actual client smartphone location data points collected from within the Radius, divided by the number of location points expected during the Supervised Appointment time period.
 |
Example: If we collect location points from the client’s smartphone every five minutes, and the client is scheduled for a 30-minute appointment, then we would expect to collect seven location points inside the Radius of the appointment address for the duration of the appointment. But, if the client runs late to the appointment, and the appointment ends early, then, even though the client was in compliance, we may only collect five out of the expected seven location points within the Radius, which is only 71% of the expected points. Keep this in mind when setting the Compliance Percentage. |
- Select Yes to apply these Location Verification settings to all clients in the Caseload.
- Save the Location Verification settings.
Enable Location Verification for Your SCRAM Nexus ‘Conditions’
The Location Verification feature is only available to Supervised Appointment Condition Types, however, the feature must be enabled for each Condition before it can be used. As an Administrator:
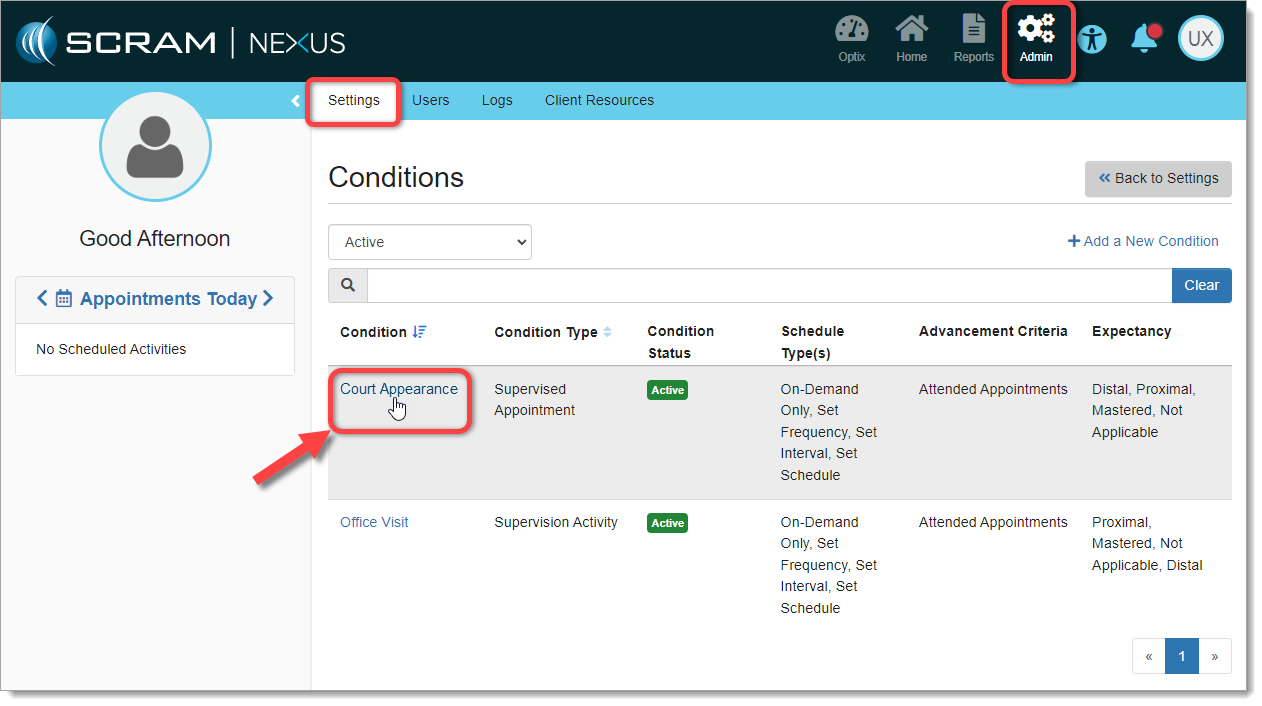
Access Admin > Settings > Conditions and Select the Condition to Enable:
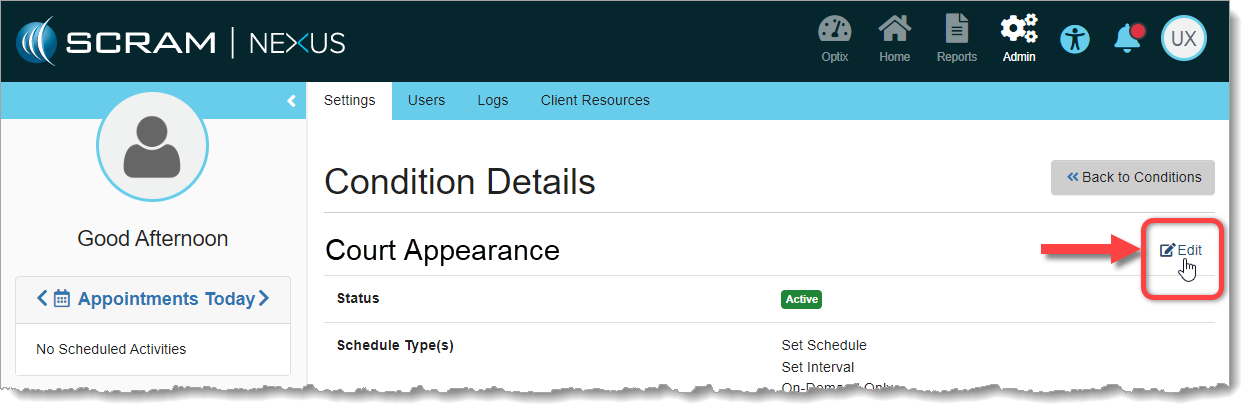
Select ‘Edit’ on the Condition Details Page:
Scroll Down to the New ‘Location Verification’ Toggle
Select Enable and then Save Changes:
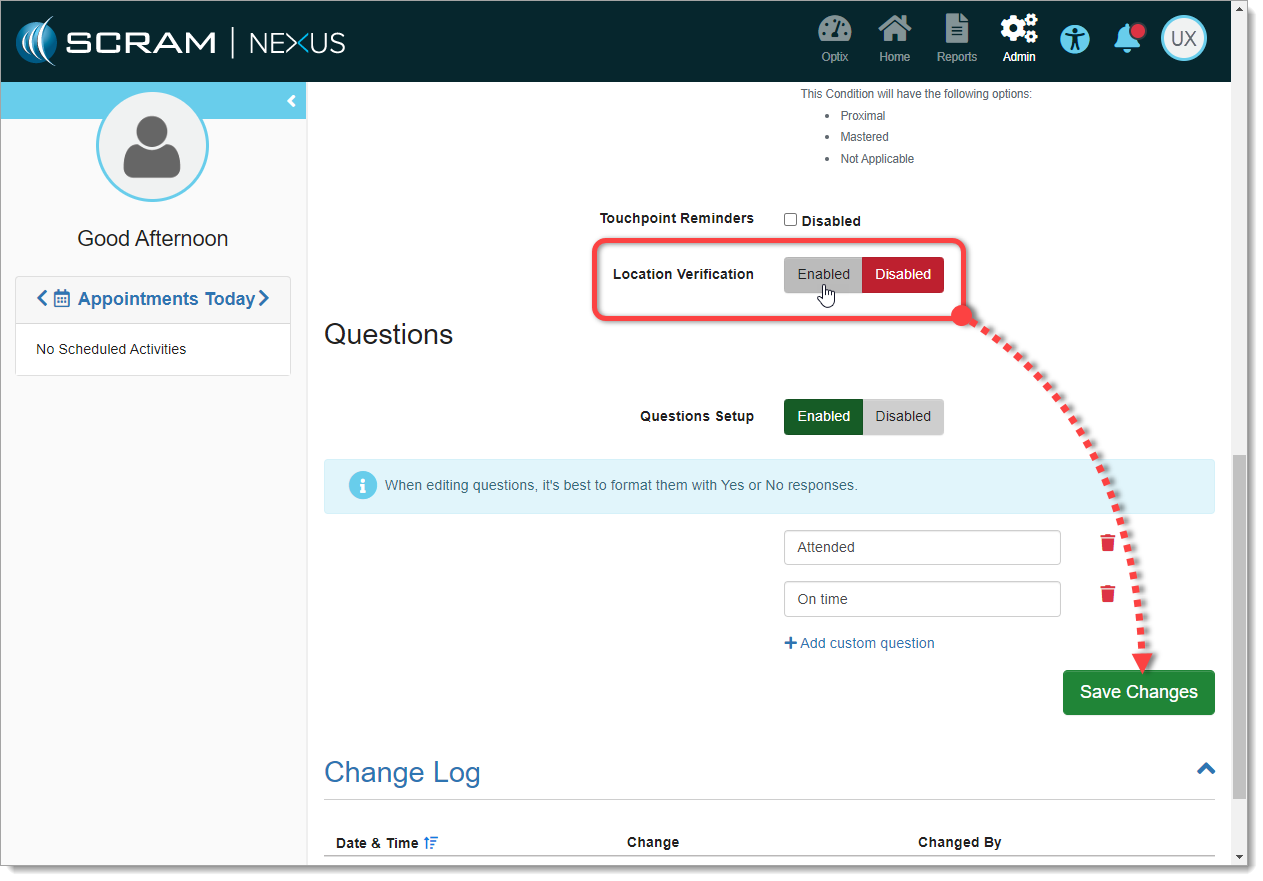
Your Condition is now enabled for Location Verification. Repeat the process for each Condition you wish to enable.
Enable Location Verification for a Supervised Appointment Activity
The Location Verification feature is only available on Supervised Appointment Activity Types. Your SCRAM Nexus/TouchPoint Administrator must first enable Location Verification for your TouchPoint Caseloads, as well as enable it for the appropriate Supervised Appointment Activities.
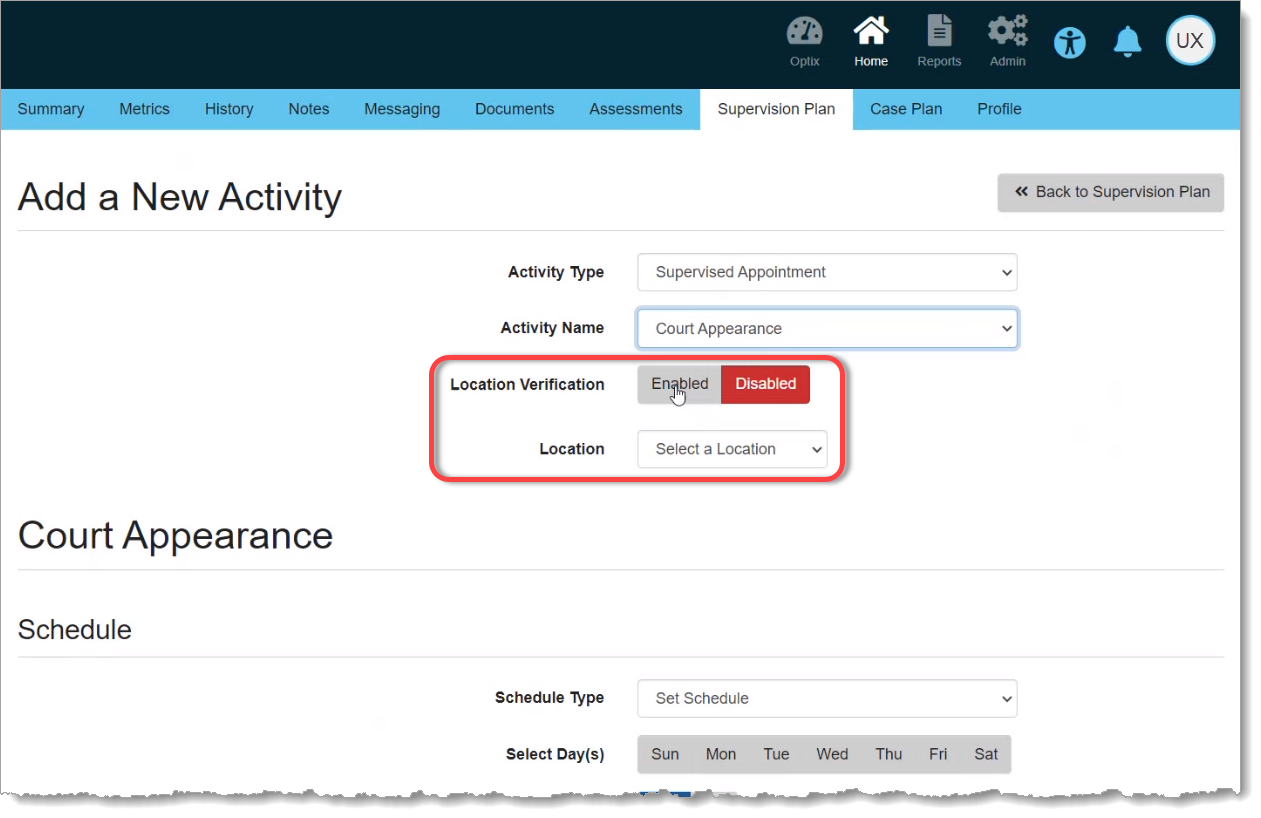
Once enabled, when you Add or Edit a Supervised Appointment Activity, a new Location Verification toggle switch will be available to you. Simply Enable the feature for your Activity, select a verified Location where the appointment will take place, and proceed as normal:
After the Supervised Appointment
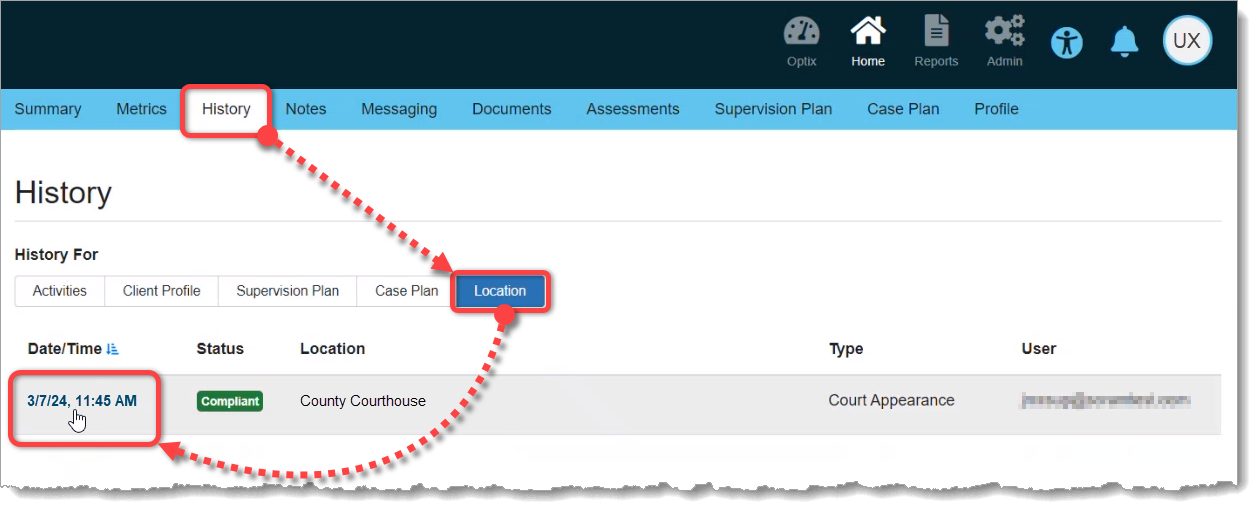
Once the scheduled appointment time has passed, you can check for compliance by accessing the the client’s History tab. Then select the Location button for an “at-a-glance” look at the client’s Supervised Appointment status and location. For detailed location information, select the Date/Time link for the appointment in which you are interested:
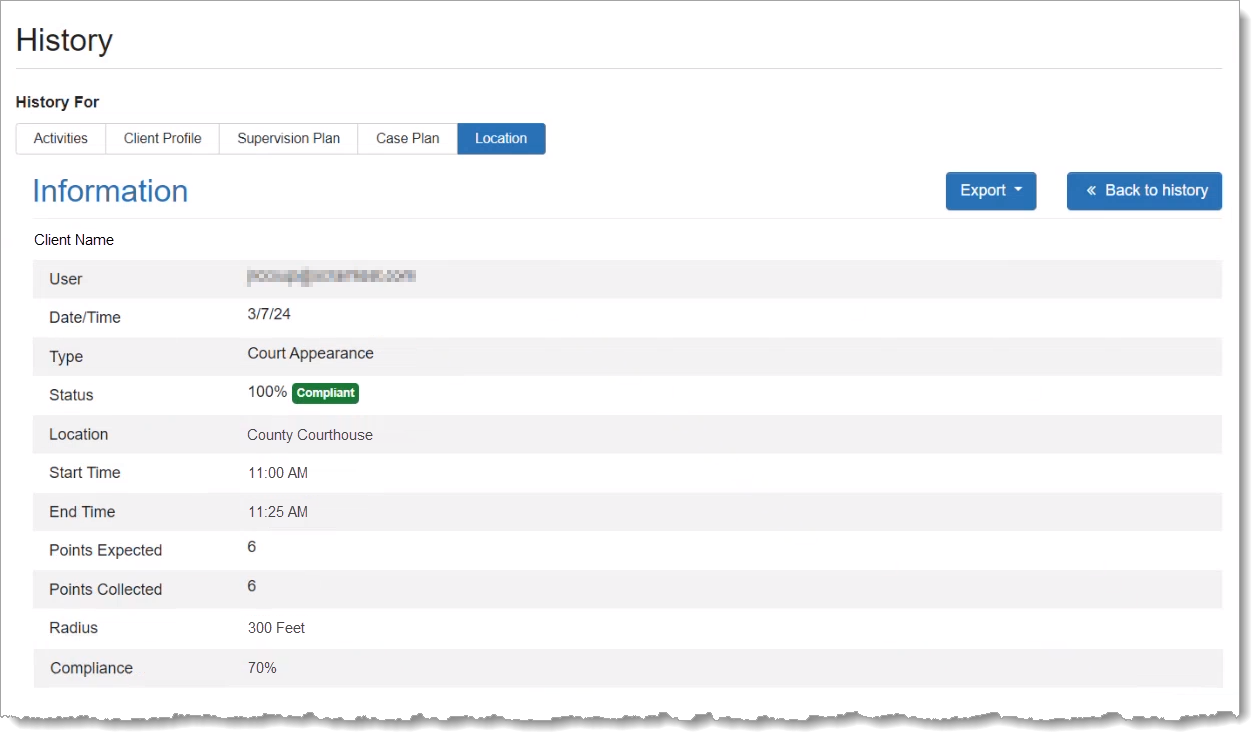
The Location section of the detail page provides a breakdown of the client’s appointment compliance status as calculated by collecting location points from the TouchPoint app on the client’s smartphone during the time of the appointment:
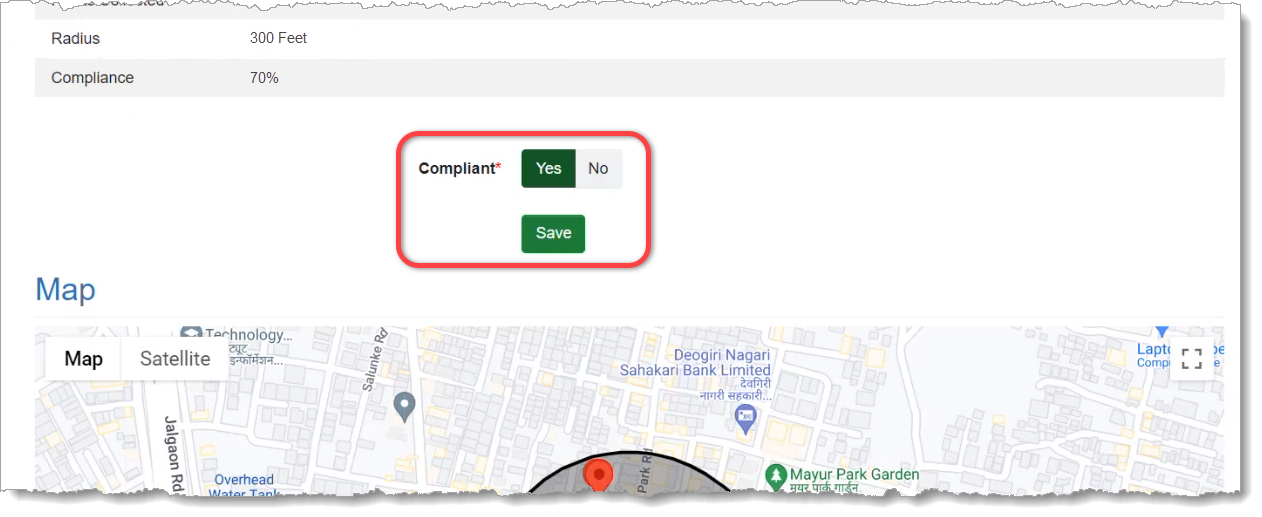
Scroll down the Location section to access the Compliant toggle switch, which allows you to override the automatic compliance calculation if needed:
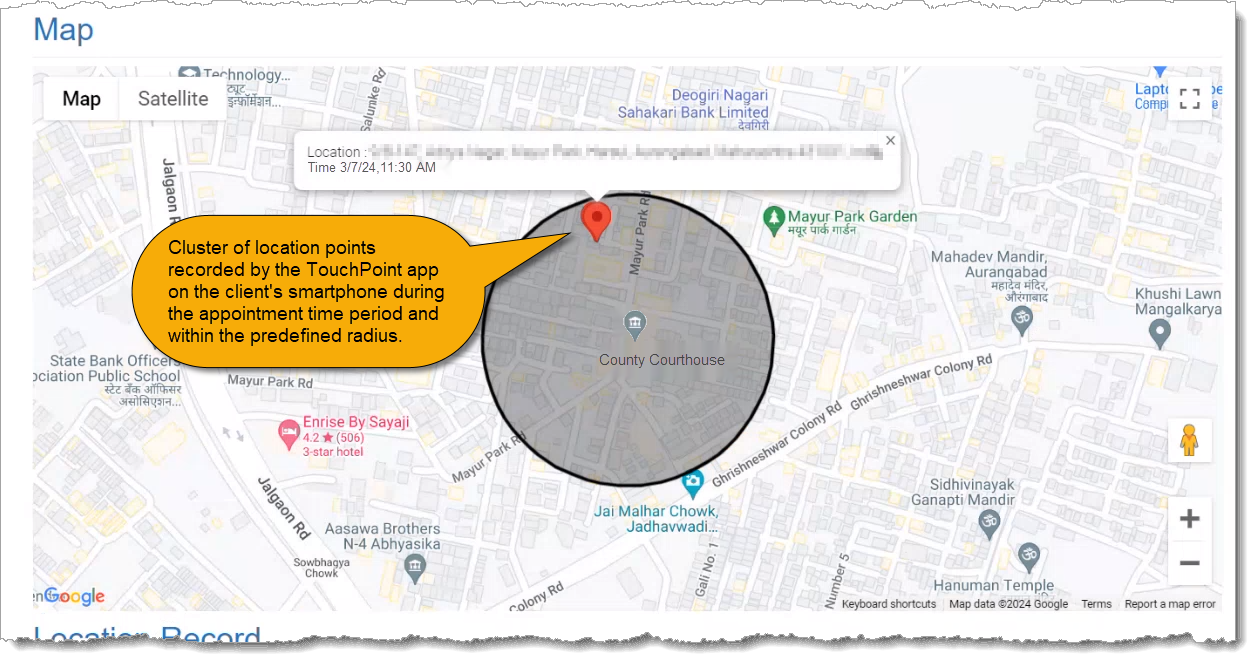
Scroll further down the detail page to reveal the Map, which displays the location points collected during the Supervised Appointment Activity and where they fall within the location’s “Compliance Radius.” The Compliance Radius is the predefined distance (from 200 to 500 feet) from the center of the verified location address, within which the client is considered at the address and in attendance at the appointment:
Below the Map you will find the Location Record, which is a matrix of the location points displayed on the Map, including the date, time, and address from which each point was collected from the client’s TouchPoint smartphone app:
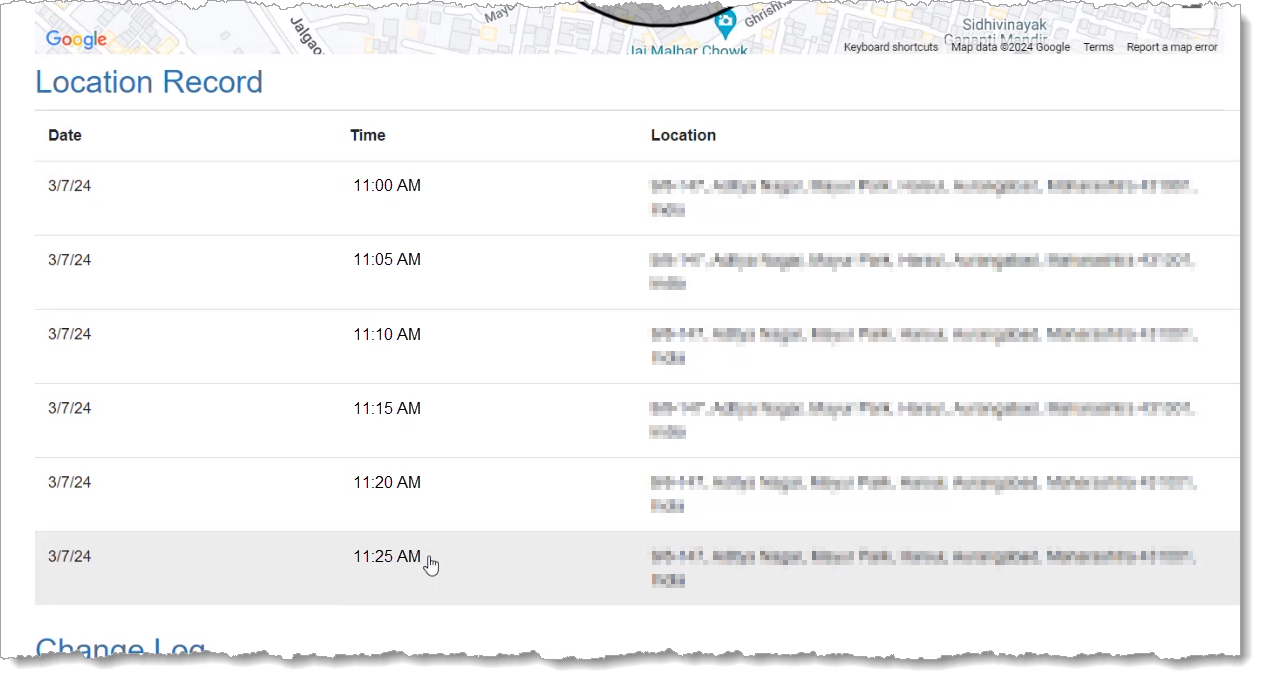
|
COMING SOON: An update scheduled for the near future will make the Location Information available on the Supervised Appointment Activity itself, as well as on the client’s History tab. |