Once the client’s profile has been entered into SCRAMNET, the next step is to associate the Remote Breath Pro device to the client in the system and complete the client enrollment.
For best results, ensure the Remote Breath Pro device is fully charged prior to meeting with the client. Depending on the current battery level, it could take up to six hours to fully charge the battery.
The client’s breath testing schedule can be entered into the system at this time, or after the Enrollment and Assignment process.
It is important to remind the client not to take a voluntary (Client Initiated) breath test prior to a scheduled breath test.
SCRAM Remote Breath Pro
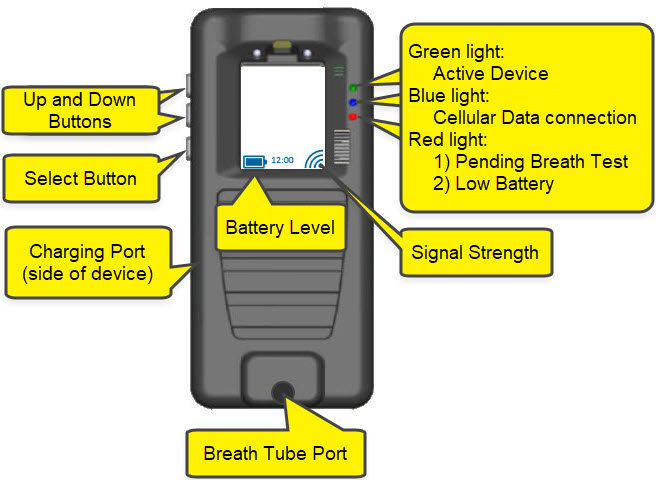
SCRAM Remote Breath Pro
| The on-screen information is only visible when the device is awake. |
Adding the Equipment In SCRAMNET
- Navigate to the client’s Equipment tab.
- Select the gray Assign Equipment button.
- Enter in the Remote Breath Pro serial number.
- Scroll down to the “Participant Agreement Acknowledgement” section and indicate the type of monitoring program Participant Agreement you will be using:
- Select the first option if you WILL BE using a SCRAM Systems-approved Participant Agreement (one that is stored in and accessible from within SCRAMNET).
- Select the second option if you will NOT be using a SCRAM Systems-approved Participant Agreement (you will instead be using an agreement that your organization has developed in-house and stores in a separate facility).
- Select the green Assign Equipment button.
- If you selected the first option in step 4 above, then select the Participant Agreement link and print two copies of the agreement.
| Tip: Regardless of which Participant Agreement you are using, it is important to review all information provided on the agreement with the client. Print two copies and have the client sign and initial both copies – one copy is for your records and one is for the client’s records. |
- Select the Complete Assignment button.
The equipment page will now display the Remote Breath Pro device in a “Pending Assignment” status.
Once the device has completed the client enrollment, the status will update to “Assigned to Client” in SCRAMNET.
Assignment and Client Enrollment
Once the device is in a “Pending Assignment” status, power up the device by holding the “select” button down for three seconds.
The Remote Breath Pro will display the SCRAM Systems logo, then update to “Device Unassigned,” and then “Ready for Enrollment.”
Shortly after the “Ready for Enrollment” statement, the device’s screen will update to “Align Eyes.” The device is now ready to record the initial enrollment photo.
To monitor the assignment progress in SCRAMNET, navigate to the client’s RB Results sub-tab under the Alerts tab.
Enrollment Photo and Initial Breath Test Best Practices
To ensure the best Enrollment photo and Practice Tests are taken, ensure the client:
- Is in a well-lit area away from direct sunlight
- Removes any hats, sunglasses, or hair hanging over their face
- Sits up straight or stands with their back to a light-colored, solid, non-reflective background
- Looks straight forward (like they are taking a DMV or passport photo)
Firmly insert the breath tube into the port. Have the client place the tip of the breath tube into their mouth and follow the on-screen prompts.
Instruct the client to:
- Align Eyes for the test. Ensure their eyes are within the window on the screen. When aligned correctly, the red outline will turn green.
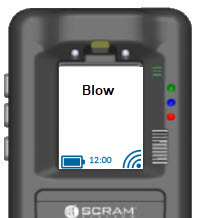
| Regardless of facial alignment, the client may complete the breath test by blowing into the breath tube – even if the screen does not display, “Blow.” |
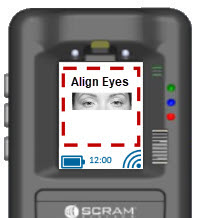 Align Eyes |
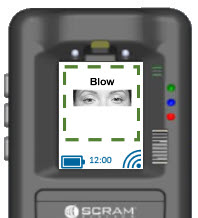 Blow |
- Take a deep breath and Blow steady into the tube until the screen updates to Stop.
 Continue Blowing |
 Stop |
- The screen updates to Analyzing Data. If the enrollment test is successful; the screen will display Enrollment Photo is Good, followed by Please Wait.
 Analyzing Data |
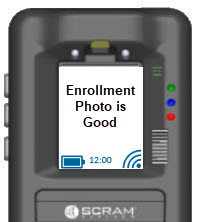 Enrollment Photo is Good |
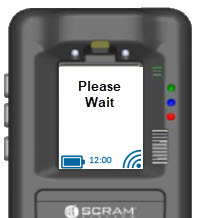 Please Wait |
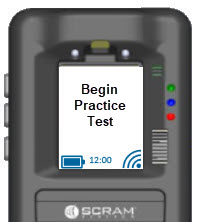
Begin Practice Test
The device will now prompt the client to Begin Practice Test. Have the client repeat this cycle until they have provided at least three (3) practice tests and feel confident they are able to complete a test when prompted to do so without supervision.
 Begin Practice Test |
Align Eyes |
|
Blow |
Continue Blowing |
|
Stop |
Analyzing Data |
 Practice Photo is Good |
Please Wait |
| If the device displays Enrollment Photo is Poor or Retest Required, an audible alarm will sound, followed by on-screen instructions. The client will have three (3) additional opportunities to provide a good enrollment photo. |
Examples when a retest is required.
 Retest Required |
Please Wait |
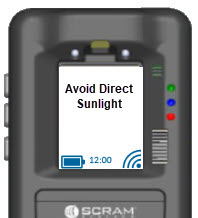 Avoid Direct Sunlight |
 Clear Face of Obstructions |
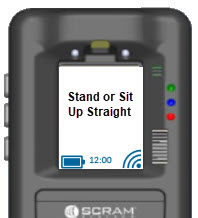 Stand or Sit up Straight |
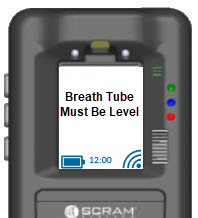 Breath Tube Must Be Level |
Ending Enrollment
To end the Enrollment and Practice Tests:
- Press the select button. The menu will display.
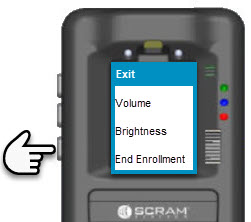
- Using the down button, highlight the End Enrollment option and press the select button.
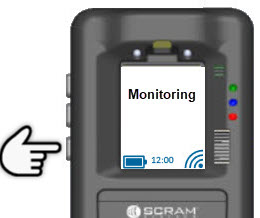 Press “Select” |
 RB Pro On-Screen Menu Displays |
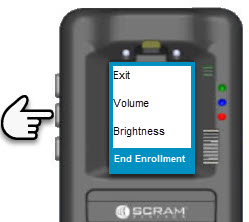 Scroll Down to “End Enrollment” |
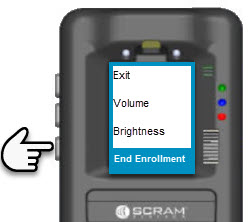 Select “End Enrollment” |
Provide the client with the carrying case, breath tubes, charging cable, and the client instruction card shipped with the device.
Client Breath Test instructions and Device Care and Usage information is also available on www.scramsystems.com/help/scram-remote-breath-pro/

QR Code to Client Help Page