If you are utilizing the black-labelled Direct Connect device (aka “hood”) to upload data from the SCRAM CAM Bracelet to SCRAMNET, follow the steps below to install drivers and the correct version of the Direct Connect application.
Procedure
- If Direct Connect is open, close the application before proceeding.
- If the version of the Direct Connect application you wish to install is already installed, that version should be uninstalled before re-installing the application.

It is not necessary to uninstall Direct Connect V1 to install Direct Connect V2; however, it is strongly recommended to avoid confusion. - If you are still using the Windows 7 operating system, you must first install Microsoft .NET (“dot net”) Framework 4 before installing the application:
Download & install Microsoft .NET Framework 4 (link opens in a new tab/window)Newer versions of the Microsoft Windows operating system (Windows 8, 10, & 11, e.g.) already include the Microsoft .NET Framework and do not require an additional installation. - Install the Direct Connect drivers:
- Download and save this DC Drivers ZIP file to a location on your computer
- Extract (“unzip”) the contents of the ZIP file to a folder on your machine
- Launch and Run the appropriate driver-installer program (.exe file) for your Windows operating system:
- CP210xVCPInstaller_x86.exe for your 32-bit Windows OS
- CP210xVCPInstaller_x64.exe for your 64-bit Windows OS
- Install the Direct Connect software application:
-
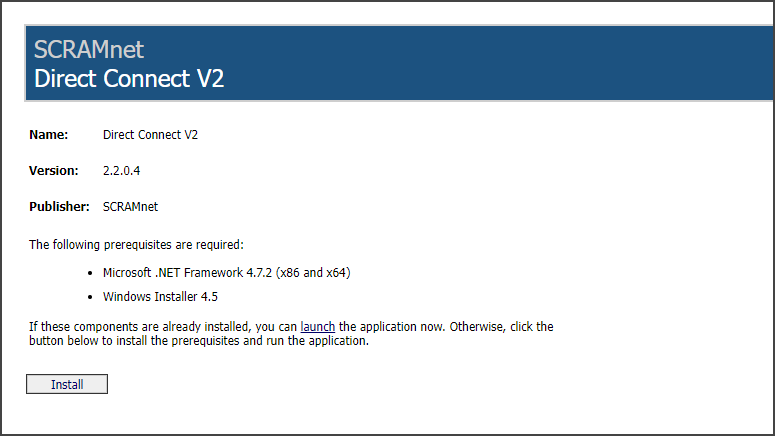
- Access the SCRAMnet Direct Connect installation page. You will know you are on the correct installation page if it reads Version: 2.2.0.4.
- Ensure that “Microsoft .NET Framework 4.7.2 Client Profile (x86 and x64)” and “Windows Installer 4.5” are installed.
- If either of the prerequisites are NOT installed on your computer, click the Install button. If your computer meets the prerequisites, click the Launch link instead and skip ahead to Step “g” below.
You may have to click the Install button twice (once for each of the two prerequisites). A setup.exe pop-up appears in the lower-left corner.

- Click the pop-up.
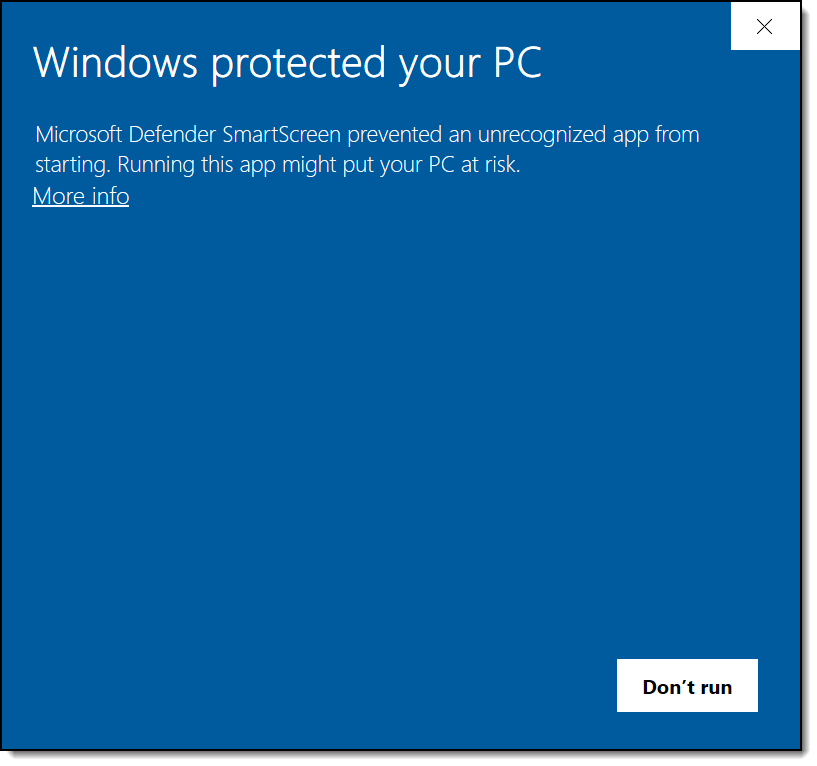
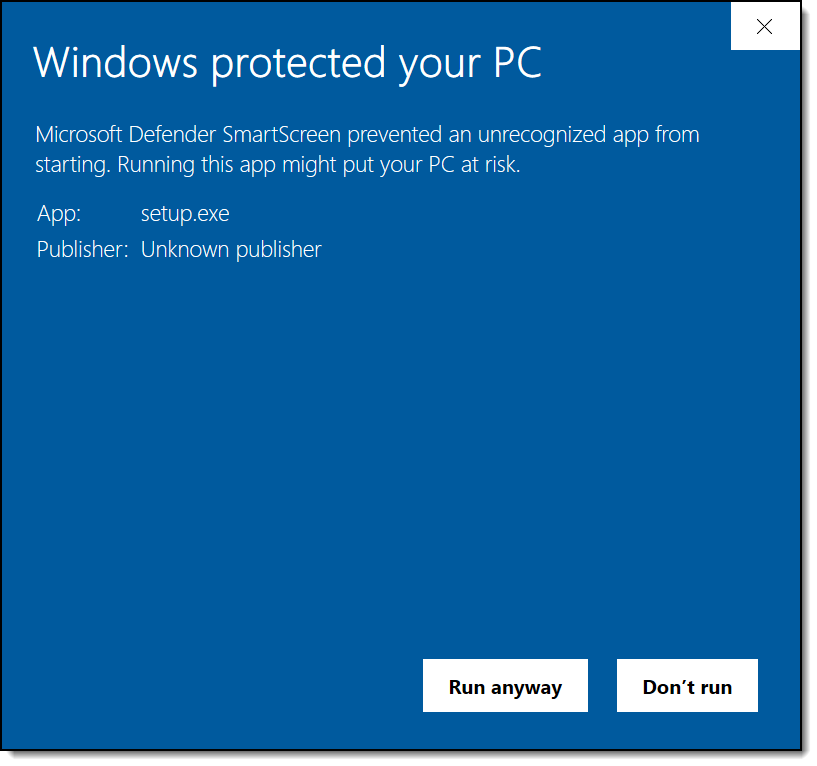
The Windows protected your PC pop-up may appear.

- Click the More Info link.
A Run anyway button appears.

- Click the Run anyway button.
An Application Install – Security Warning pop-up appears.
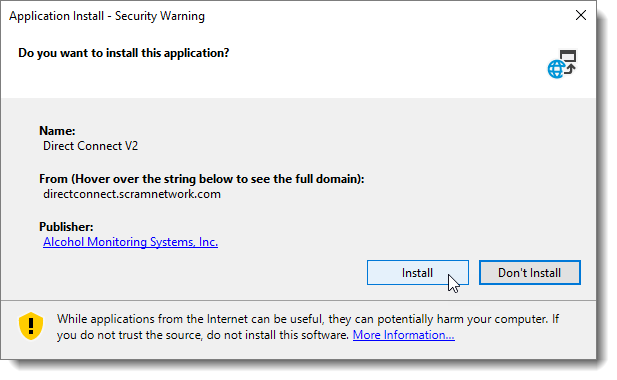
- Click the Install button as shown above.
The Windows protected your PC pop-up may reappear.
- Click the More Info link.
The Run anyway button reappears.
- Click the Run anyway button.
The application launches with your Microsoft user name displayed.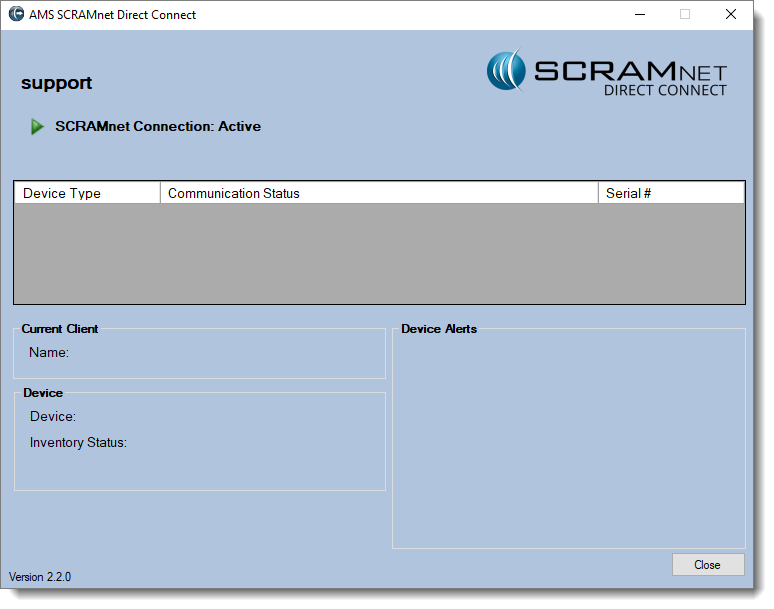
Direct Connect application (click to enlarge)
