At 5:00 AM MT on Thursday, February 29, 2024, SCRAM Systems® introduced two new device inventory statuses, “Awaiting Return” and “Pending Removal,” in SCRAMNET GPS®.
When to Use the New Statuses
Two new inventory statuses will now be available to help better track device inventory:
- Awaiting Return: This status indicates the device has been unassigned and removed from the client’s ankle, but the device must be retrieved from another location (the county jail or a satellite office, e.g.) before it can be placed back into inventory.
- Pending Removal: This status indicates the device has been unassigned but is still on the client’s ankle and is pending removal during a future appointment with the client.
 |
Note: Once the GPS device has been unassigned – and before it is placed into either one of these new statuses – billing stops. |
Devices in these two statuses cannot be assigned to the next client because they are not yet in inventory. Use the Devices tab in Account Settings to receive these devices into inventory so they can be assigned to a client.

How to “Unassign” a SCRAM GPS Device
Devices can be unassigned in the following ways:
- Unassign the device from the Device Assignment page
- Manually inactivate the client from the Client Profile page
- Manually inactivate the client from the Manage Clients dialog
- Automatically inactivate the client from the End of Service setting
Unassign a Device from the Device Assignment Page
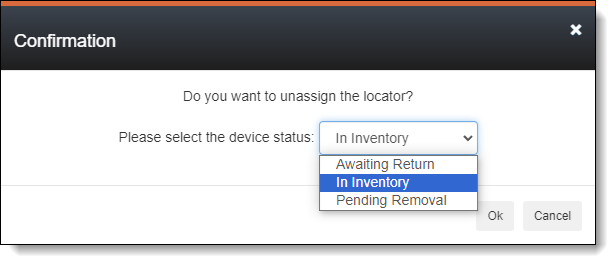
When unassigning a device from the Device Assignment page, a prompt is displayed confirming the unassignment. This prompt has been updated to allow setting the inventory status. The Device Inventory Status dropdown menu defaults to “In Inventory.”
Manually Inactivate the Client from the Client Profile Page
Clients can be manually inactivated from the Client Profile page, and this action unassigns the GPS device. The Inactivation Reason confirmation dialog allows you to set the Device Inventory Status.

|
Note: This dialog may look different for you depending on the account-level setting: Allow assignment of inactivation statuses. |
Manually Inactivate the Client from the Manage Clients Dialog
Clients can be manually inactivated from the Manage Clients dialog, and this action unassigns the GPS device. The same Inactivation Reason confirmation dialog as above is shown and allows you to set the Device Inventory Status.
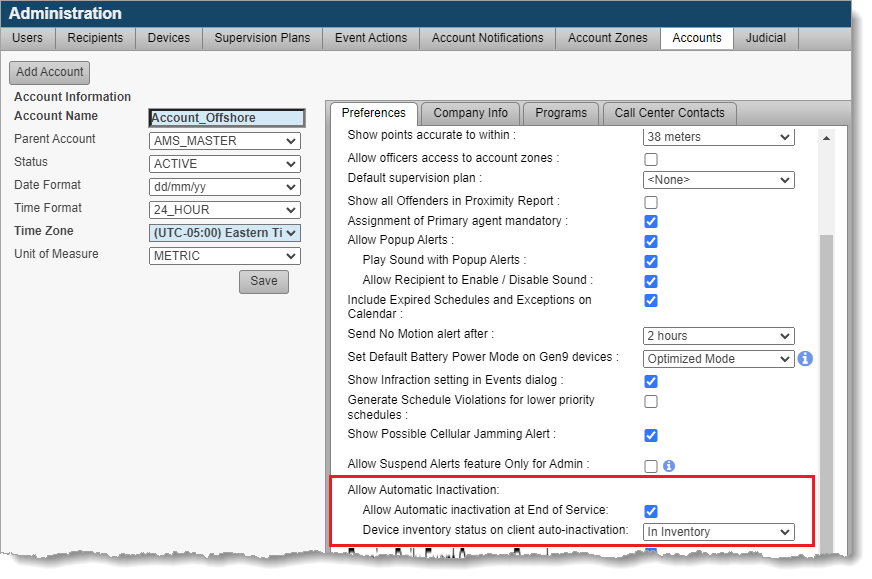
Automatically Inactivate the Client from the End of Service Setting
Clients can automatically be inactivated when their end of service date is reached if this feature is enabled in the Account Settings page. Additionally, the preferred inventory status can be set for clients who are automatically inactivated.
Tracking “Awaiting Return” and “Pending Removal” Inventory Statuses
Use the Admin > Account Settings > Devices tab to track devices Awaiting Return and Pending Removal, and to receive them into inventory.
Filter devices using the Inventory Status dropdown menu and, optionally, Print the report. Select the appropriate device and click Device Received to change the device’s inventory status to “In Inventory;” so it can be assigned to another client.
| Tip: For those devices in Pending Removal status, use the Last Assigned To column to see the name of the client who is still wearing the device. |