On February 27, 2025, SCRAM Systems will release two enhancements for your SCRAM Nexus caseloads:
- Ad Hoc Reporting allows for multiple options in building dynamic reports using data already entered from the Nexus database. Reports may be customized to fit the requirements necessary for the monitoring of clients.
- Smart Forms allows users to create, maintain, and customize the official forms they use to communicate with the courts. Some information the forms use is static, for example, content originating from the courts, and some needs to be personalized to the client. The forms can be customized to include information on a single client or on multiple clients.
SCRAM Nexus Ad Hoc Reporting
Customizing a Report
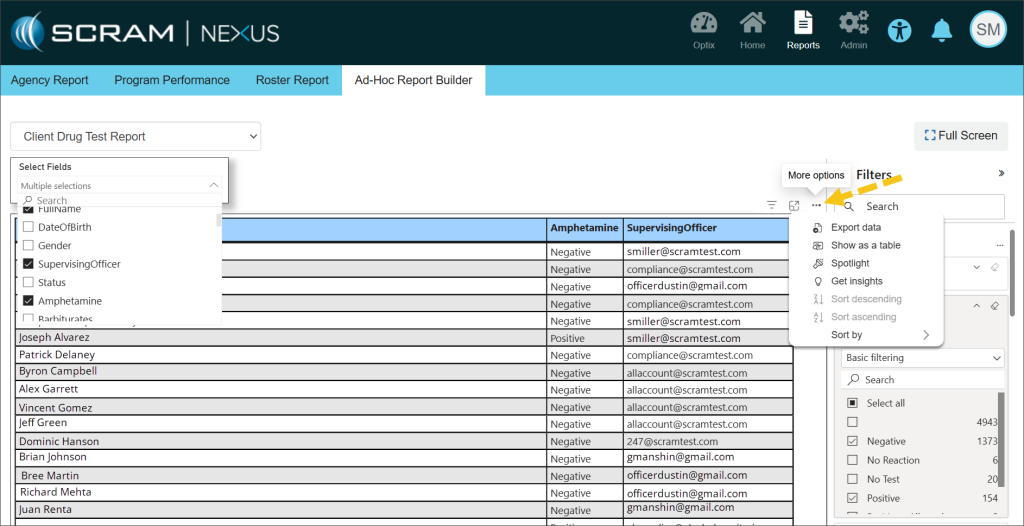
From the Reports menu, select the Ad Hoc Report Builder tab, and then select the desired Report Type from the dropdown menu.
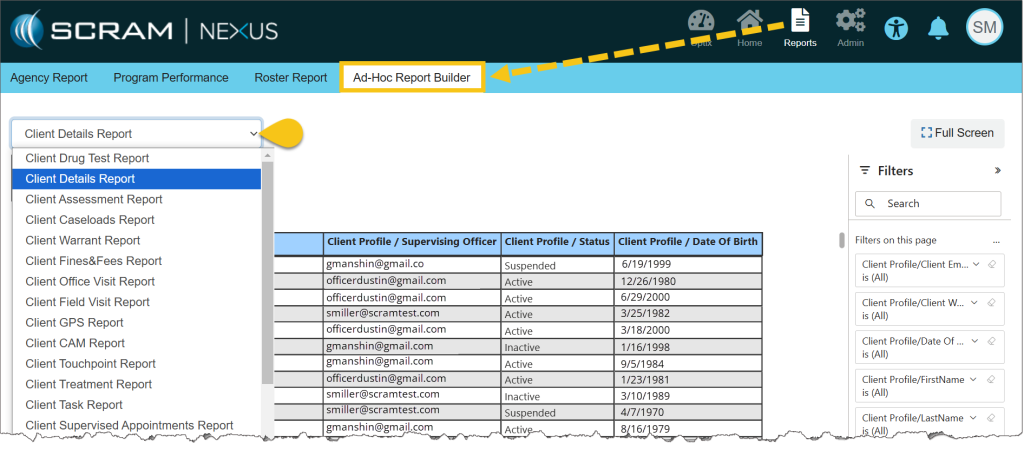
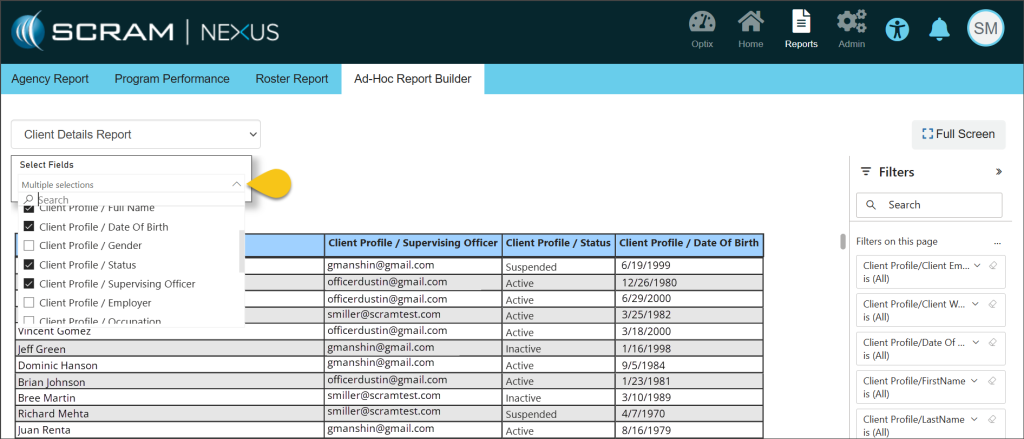
Once a report is selected, use the Select Fields dropdown list to choose the data fields that will be included in the report. The selected fields will show as titles of the columns in the report. As each choice is selected, the report will dynamically populate.
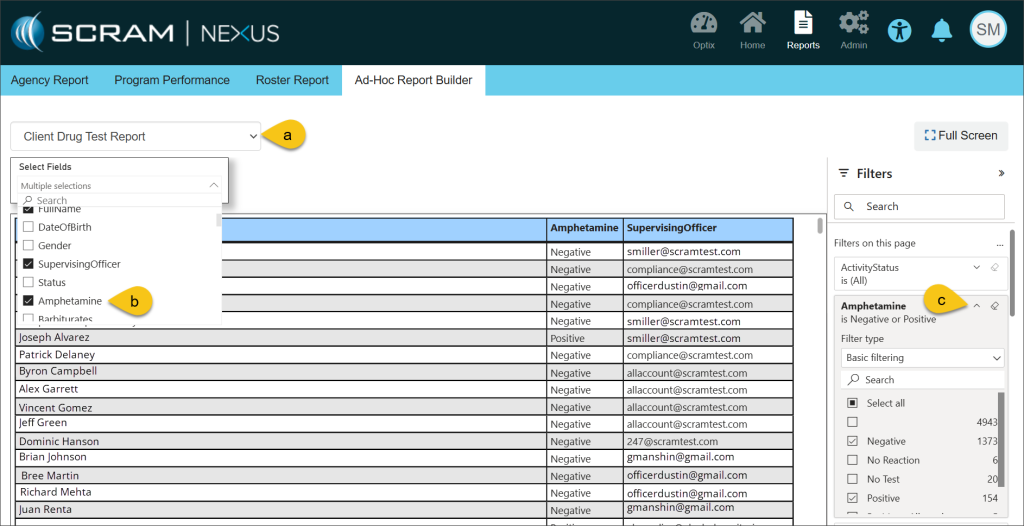
Further customization is available using the Filters section on the right side of the page. These advanced filters allow you to add more conditions for the information that will be displayed on the report. For example, choosing the Client Drug Test Report with the field of Amphetamine selected, allows you to filter the report even further to only show clients who have tested negative or positive for amphetamines.
Printing a Report
Hovering your mouse over any field in the table uncovers more options for viewing the information contained in the report. Selecting the More Options ellipsis (…) allows for exporting and printing your report in Excel.
SCRAM Nexus Smart Forms
Customizing a Smart Form
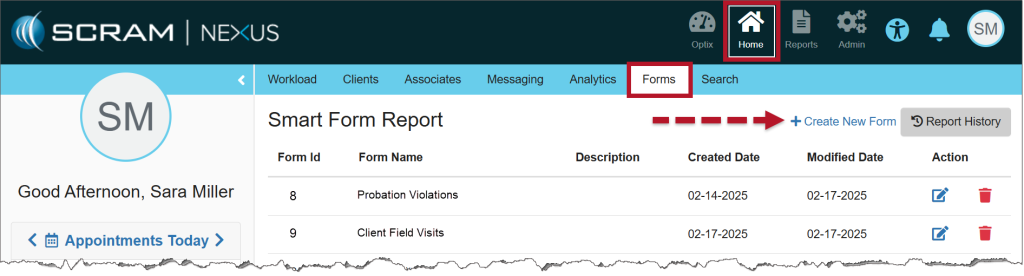
- From the Home menu, select the Forms tab, and then select the +Create New Form hyperlink.
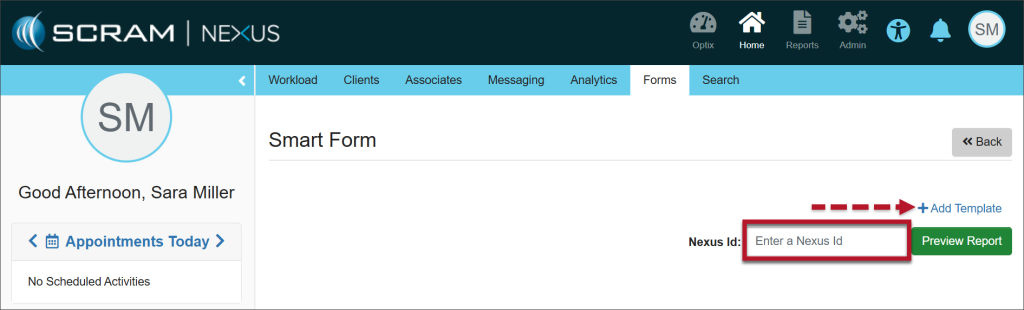
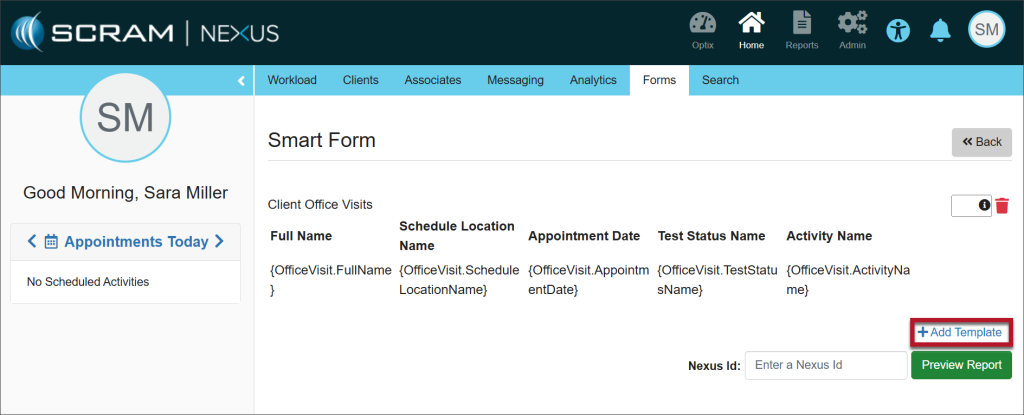
- Enter the client’s Nexus Id (Find the Nexus Id) and select the +Add Template hyperlink.
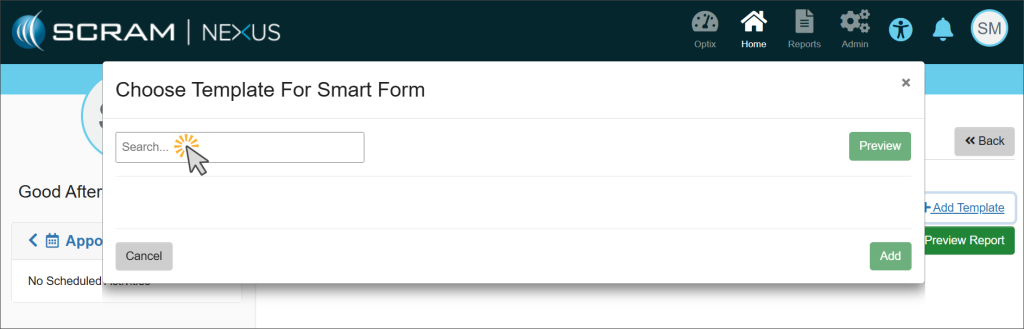
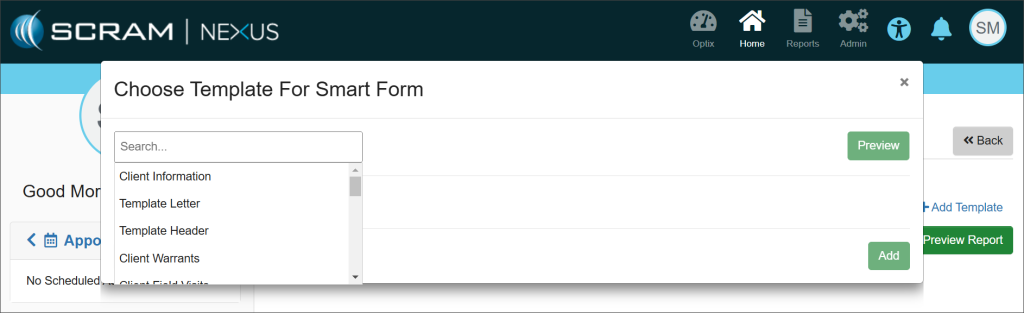
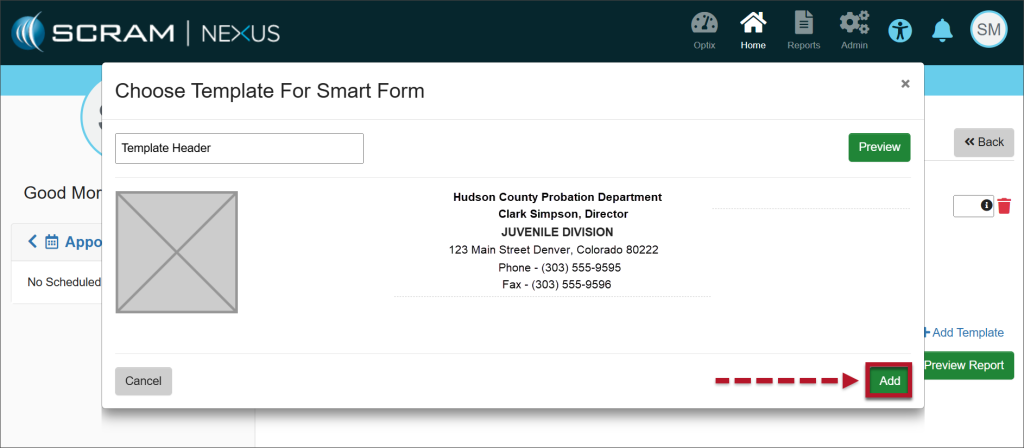
- A Choose Template for Smart Form pop-up window will display. Select the Search field to activate a dropdown menu of template choices and select the desired template.
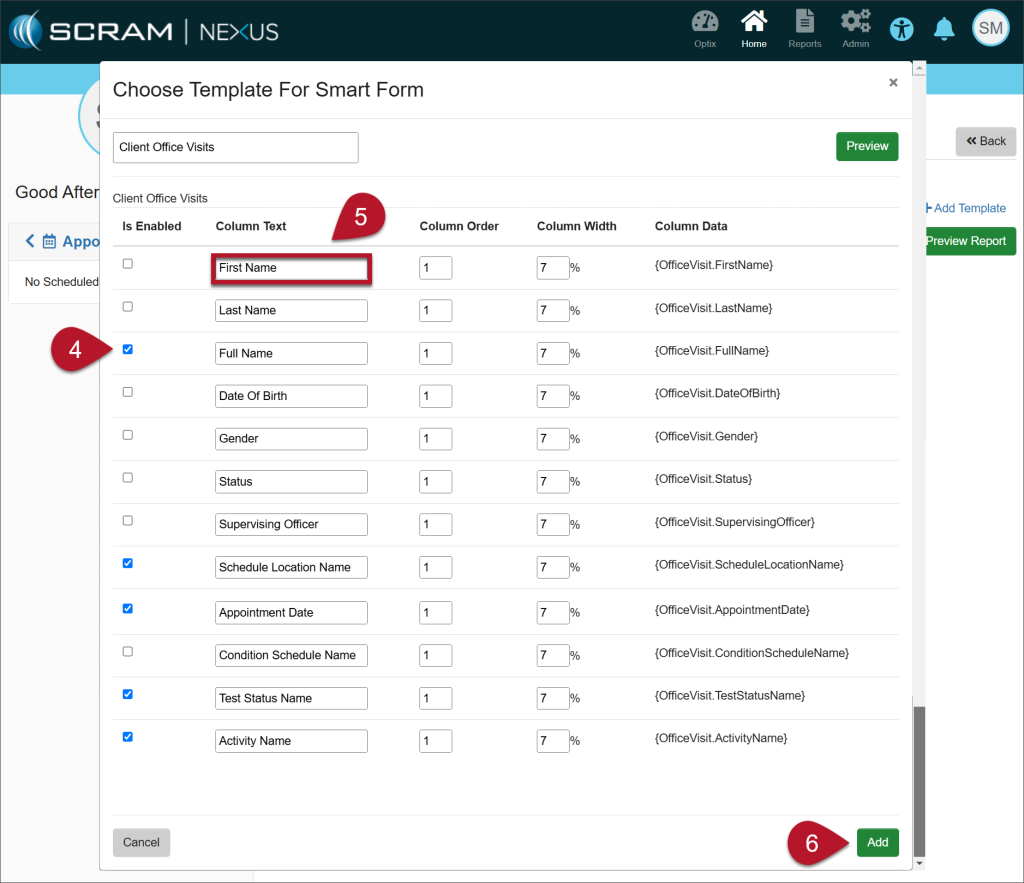
- Select the checkboxes of the attributes necessary to include on the form.
- Each template is editable. Edit the text contained in any Column Text field to change the information. This gives you the ability to customize the headings as they will appear on the report output.
- Once you have made your changes, select the Add button.
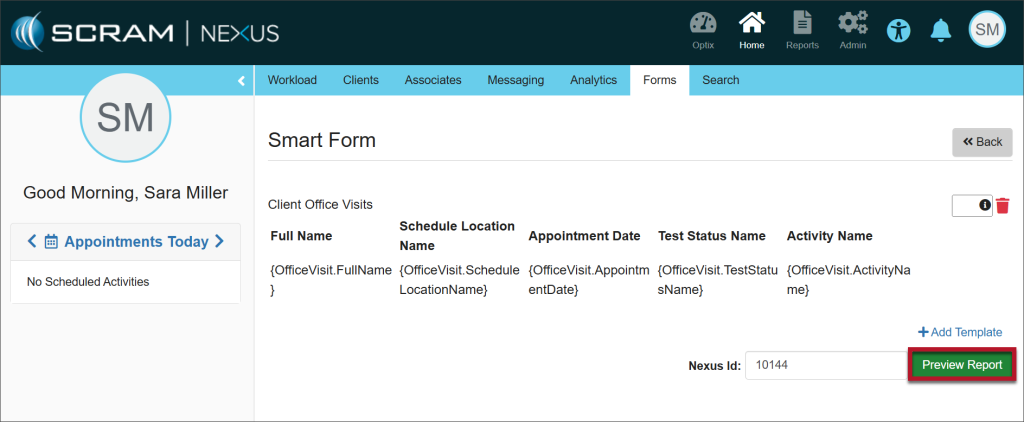
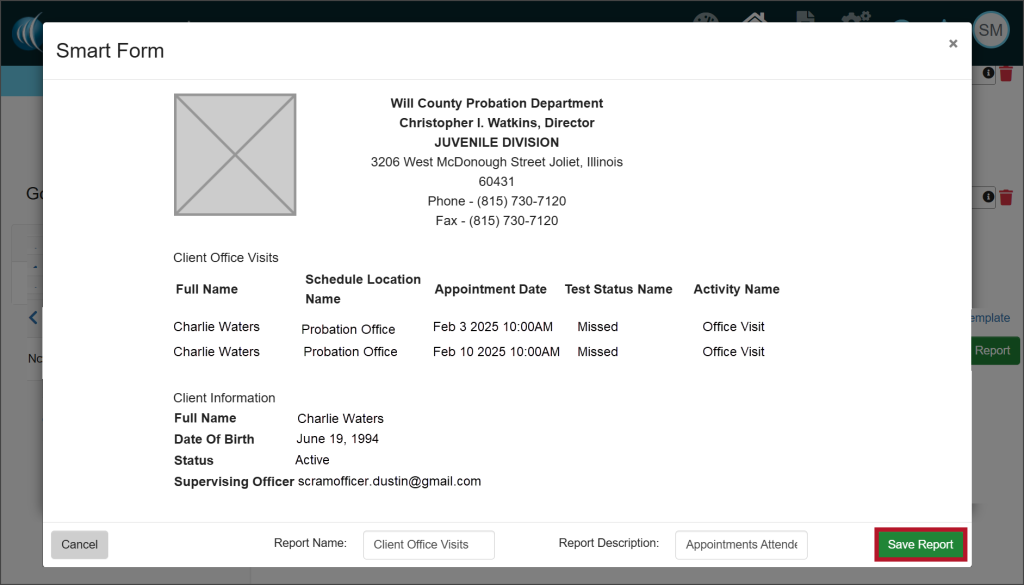
- Select the Preview Report button.
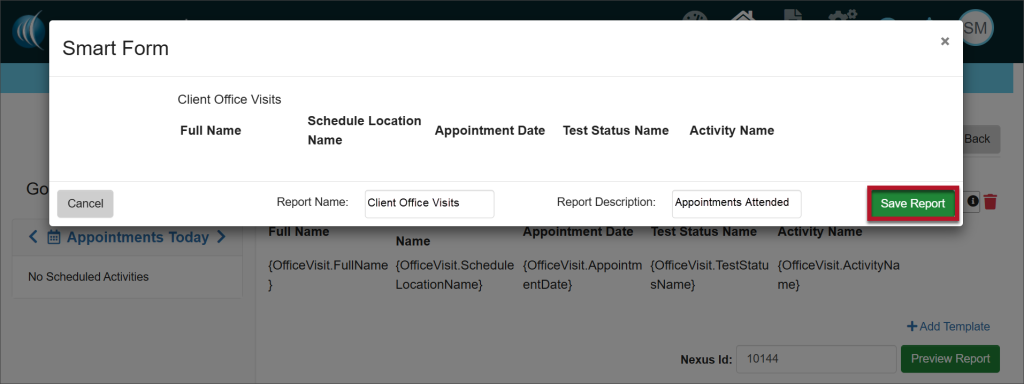
- From the Preview, add a report name and description. Select the Save Report button.
- A green Success banner will indicate that the Smart form was saved successfully. The form has been saved in the Smart Form Report section. To continue customizing the form, select the Edit icon under the Action heading.

- Re-enter the client’s Nexus Id and select the +Add Template hyperlink to continue adding components to the saved form.
- Select the Add button to add the new template to the existing report.
Final Edits to the Form
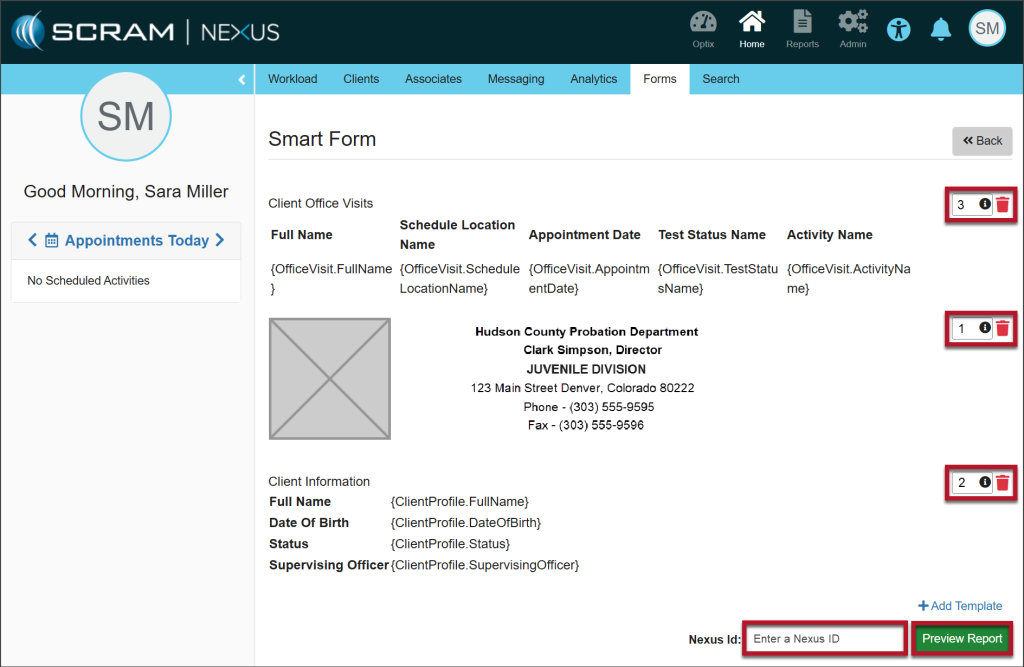
Once the information has been customized to meet your needs, you have the ability to adjust the order of the sections on your form.
- Add numbers to the fields on the right side of the page to order the sections in the sequence you’d like them to appear on the form.
- Enter the client’s Nexus Id.
- Select Preview Report to view the final product.
- Select the Save Report button. The green Success banner indicates that the Smart Form was added successfully.
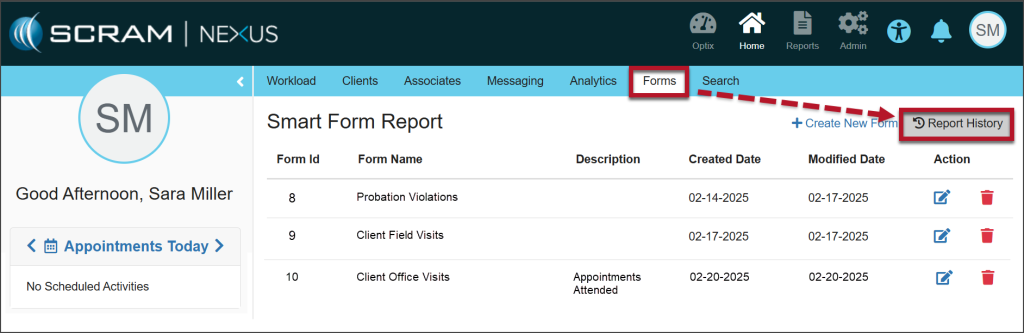
- The form is available to run from the Forms tab. Select the Report History button to access the form.
- Select the download icon next to the Form Name.
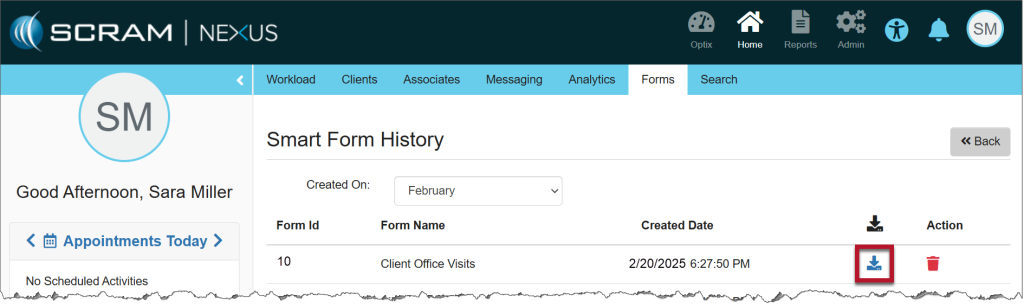
- Acknowledge that you want to download the Smart Form.
- The document will be available in your Downloads folder.
One Form, Multiple Clients
The form for a single client can also be shared with multiple clients using the Mass Transfer feature.
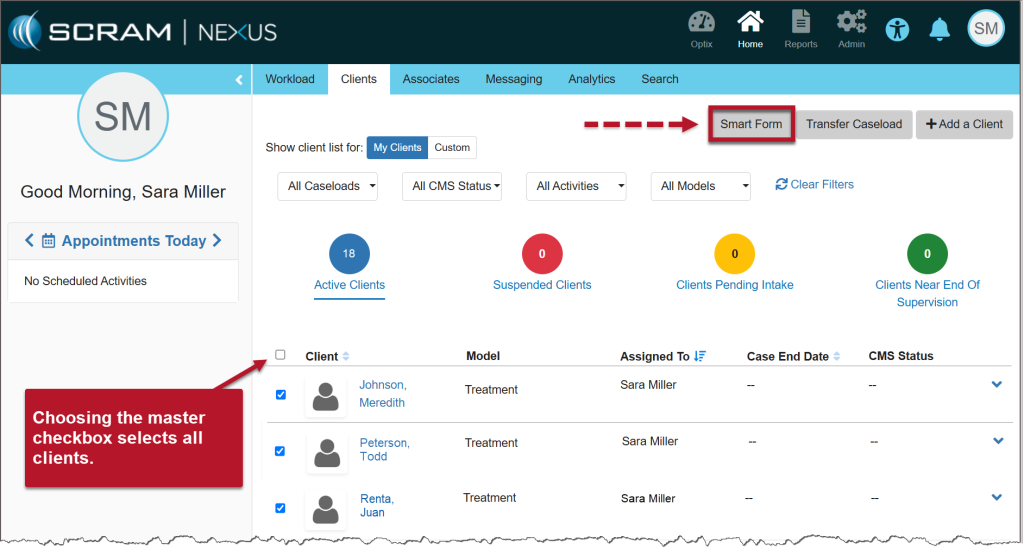
- Select the checkbox next to each of the clients that you want to send the form to.
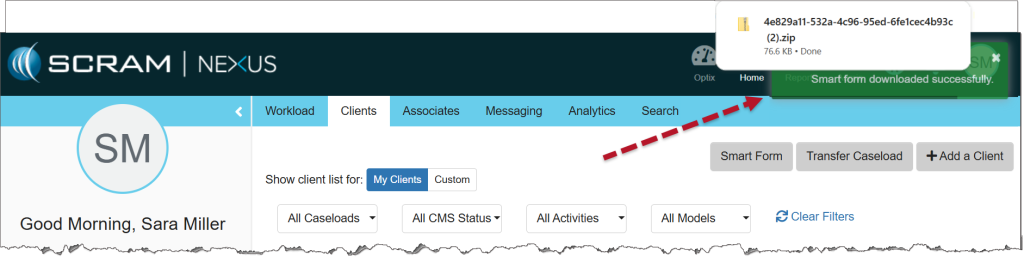
- Select the Smart Form button.
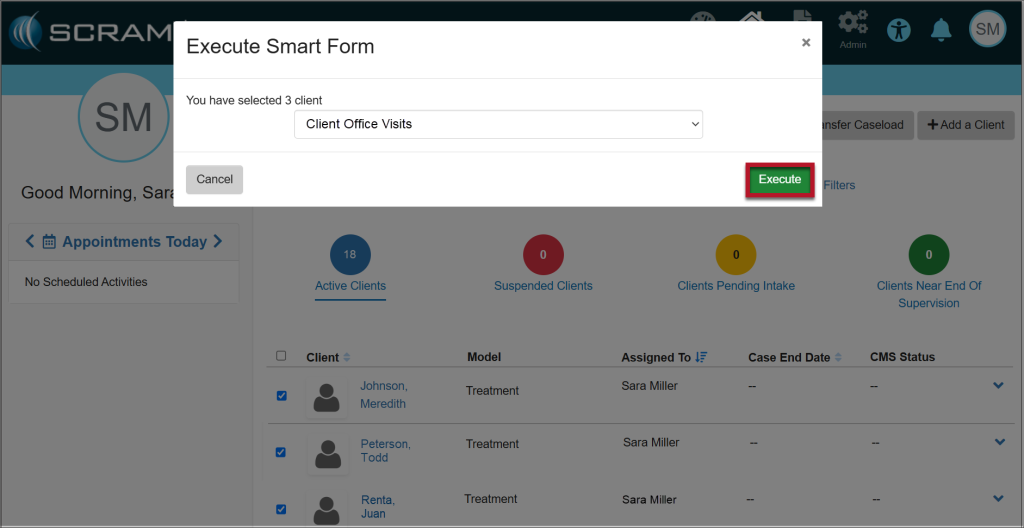
- The Execute Smart Form pop-up displays a dropdown of forms you have created. Choose the form you want to use for the selected clients and select the Execute button.
- A green Success banner will indicate that the Smart Form was downloaded successfully. The document for each client will be available as a .zip file in your Downloads folder.