On August 22, 2024, SCRAM Systems will release an automated electronic “Officer Notification” enhancement for your SCRAM TouchPoint caseloads. Currently, to view any activity the client completes – a Check-In pending review, unread messages from the client, electronic signatures recorded, or a new document that has been received from the client – you must navigate to the Optix Clients page and view the Actions column, or navigate to the client’s TouchPoint Profile page.
With this enhancement, you may set up email and text notifications to alert you when the client completes a specific action on their TouchPoint mobile app. These actions include:
- Check-In Pending Review
- Electronic Signature Completed
- Location Services Disabled
- Location Verification Pending Review
- New Document
- New Message
| If you don’t see the enhancement in SCRAM Optix, please clear your cache and cookies and refresh your browser window |
Caseload Setup
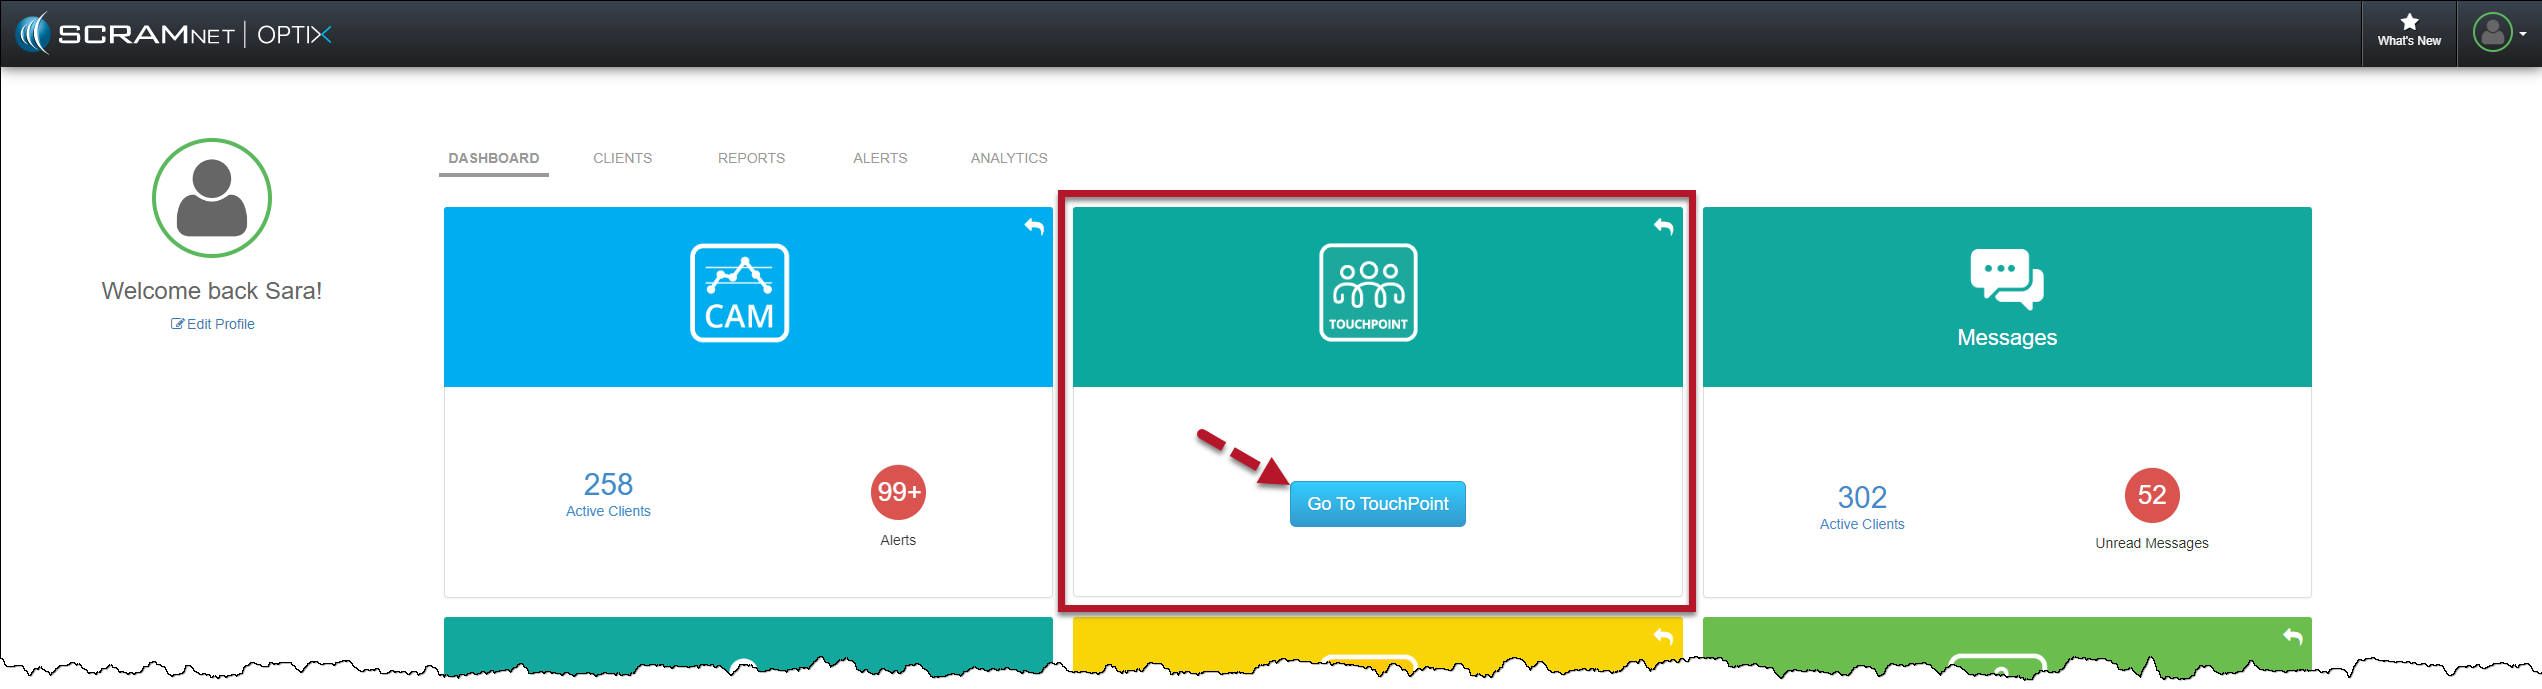
- On the Optix Dashboard, locate the TouchPoint tile and select the Go To TouchPoint button.
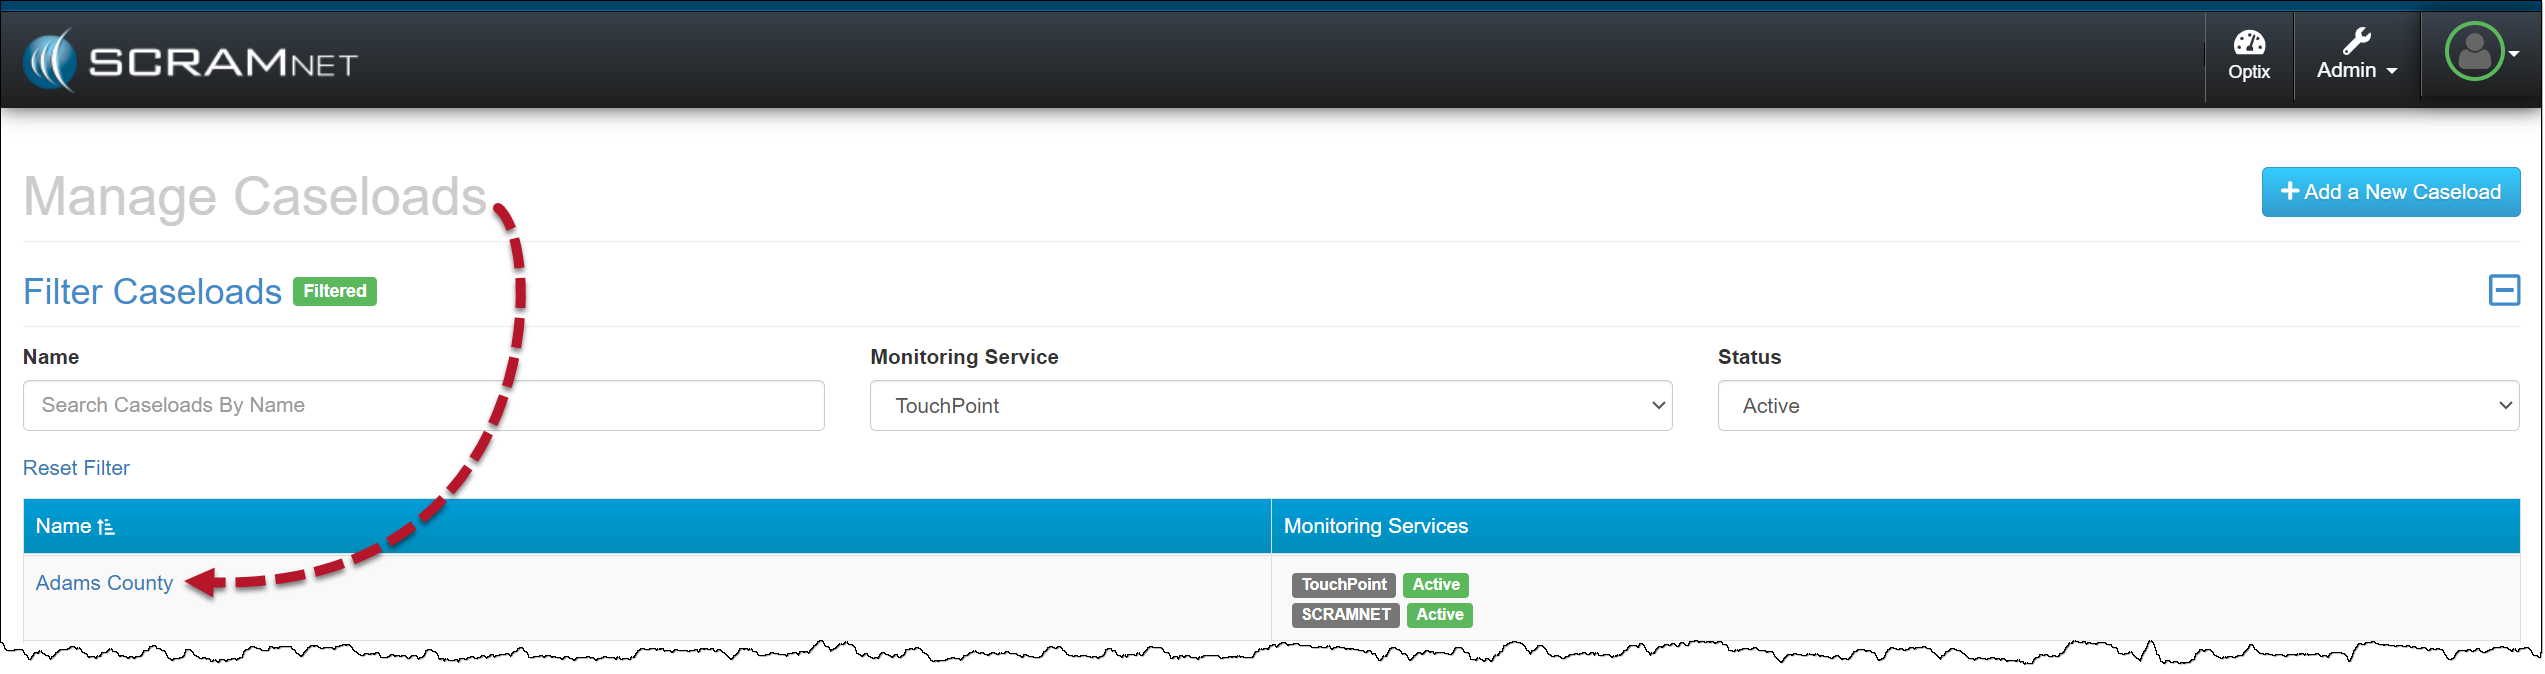
- Select the Admin button and then the Manage Caseloads option from the dropdown menu.

- Select the TouchPoint Caseload for which you wish to enable Officer Notifications.
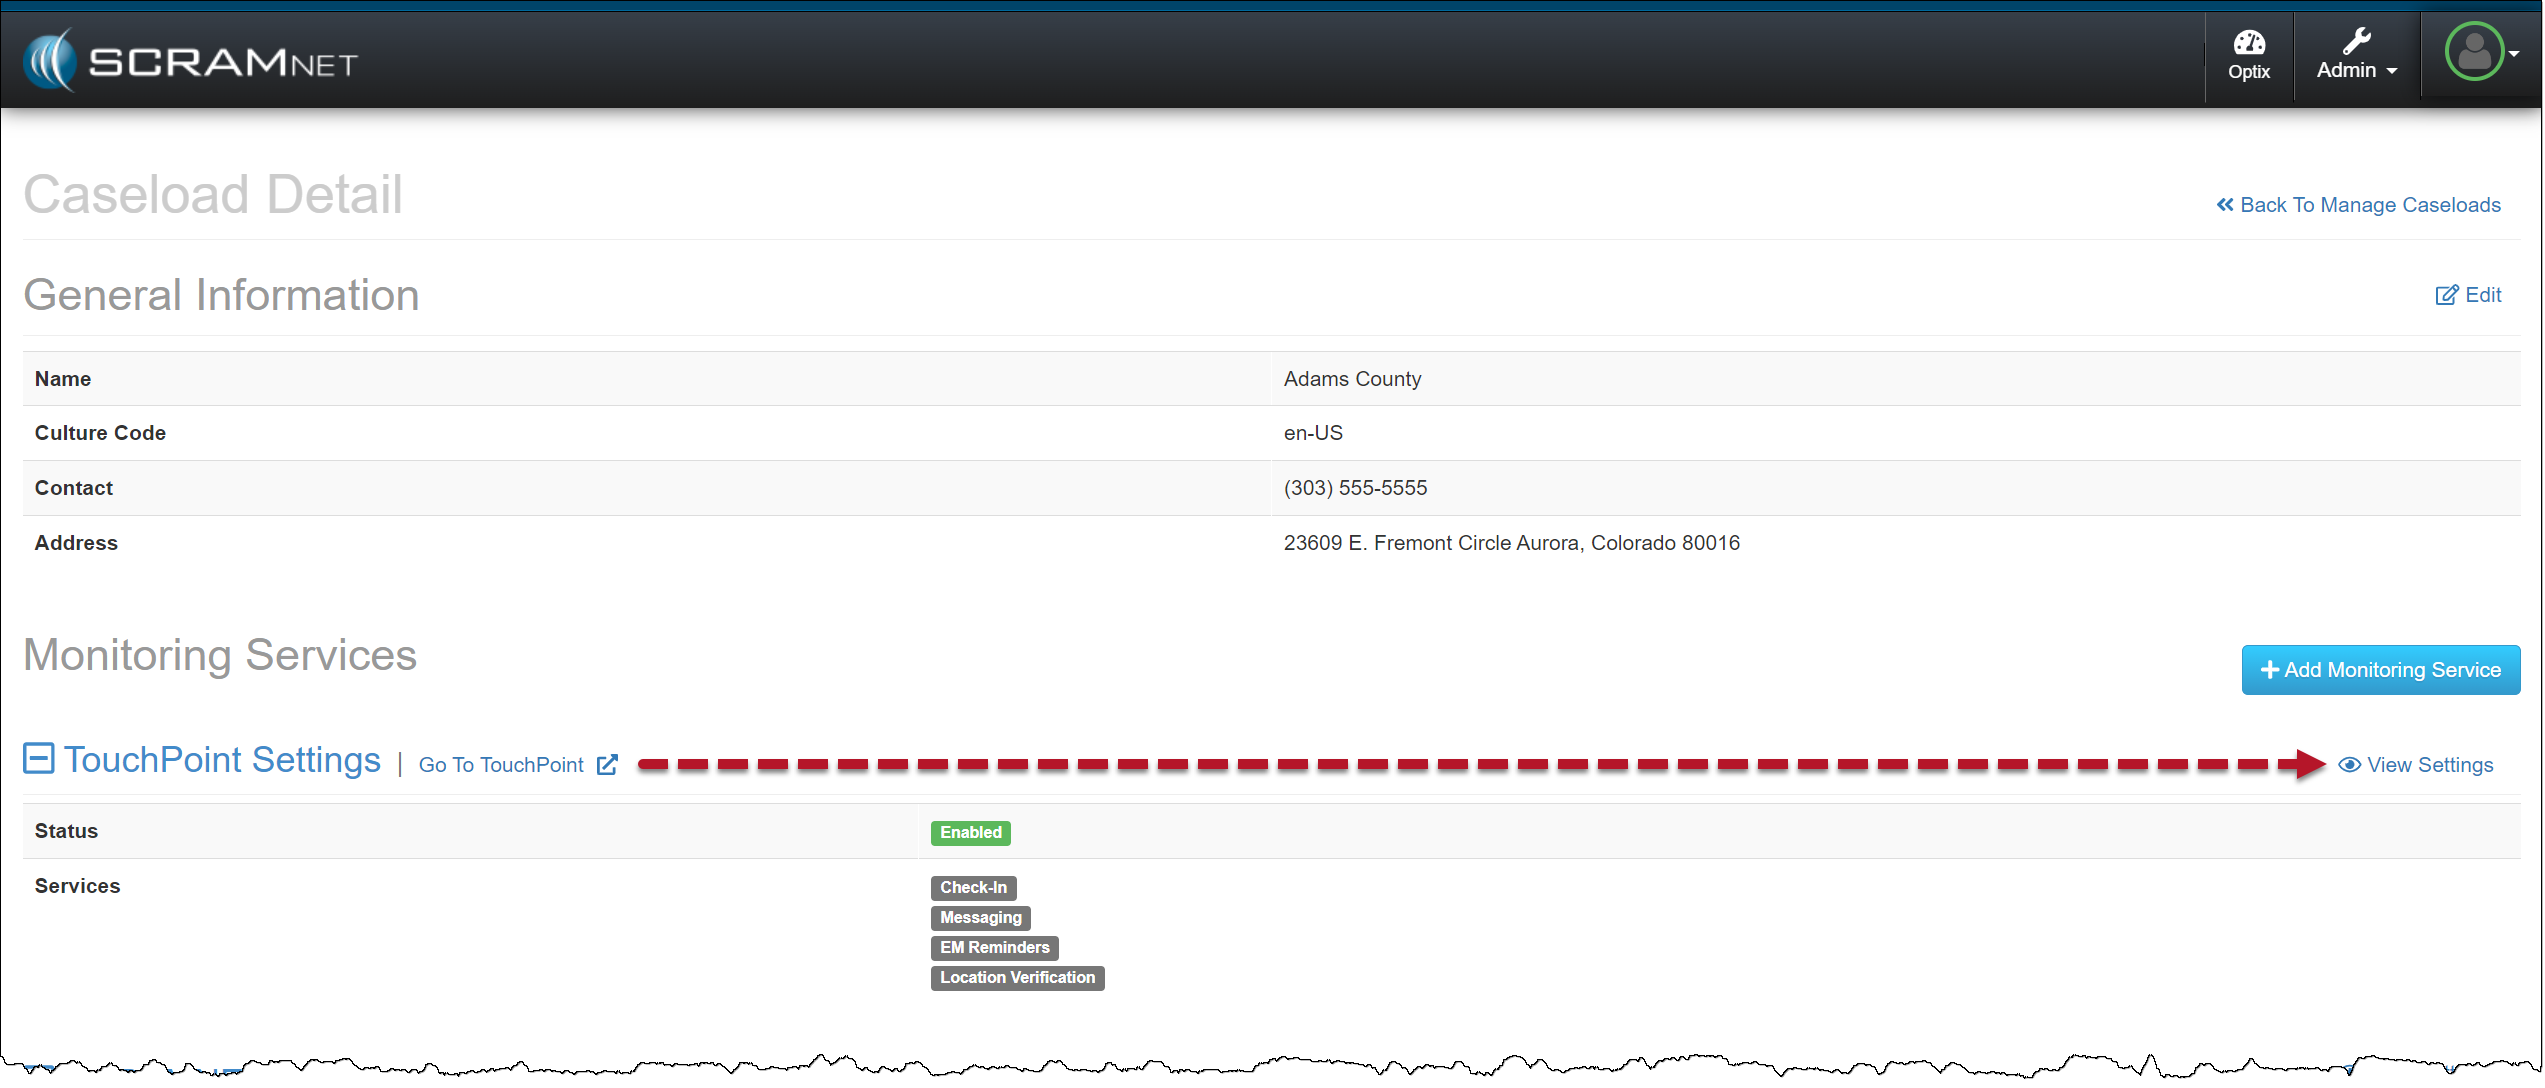
- On the Caseload Detail page, locate the “TouchPoint Settings” under the Monitoring Services section and select the View Settings hyperlink.
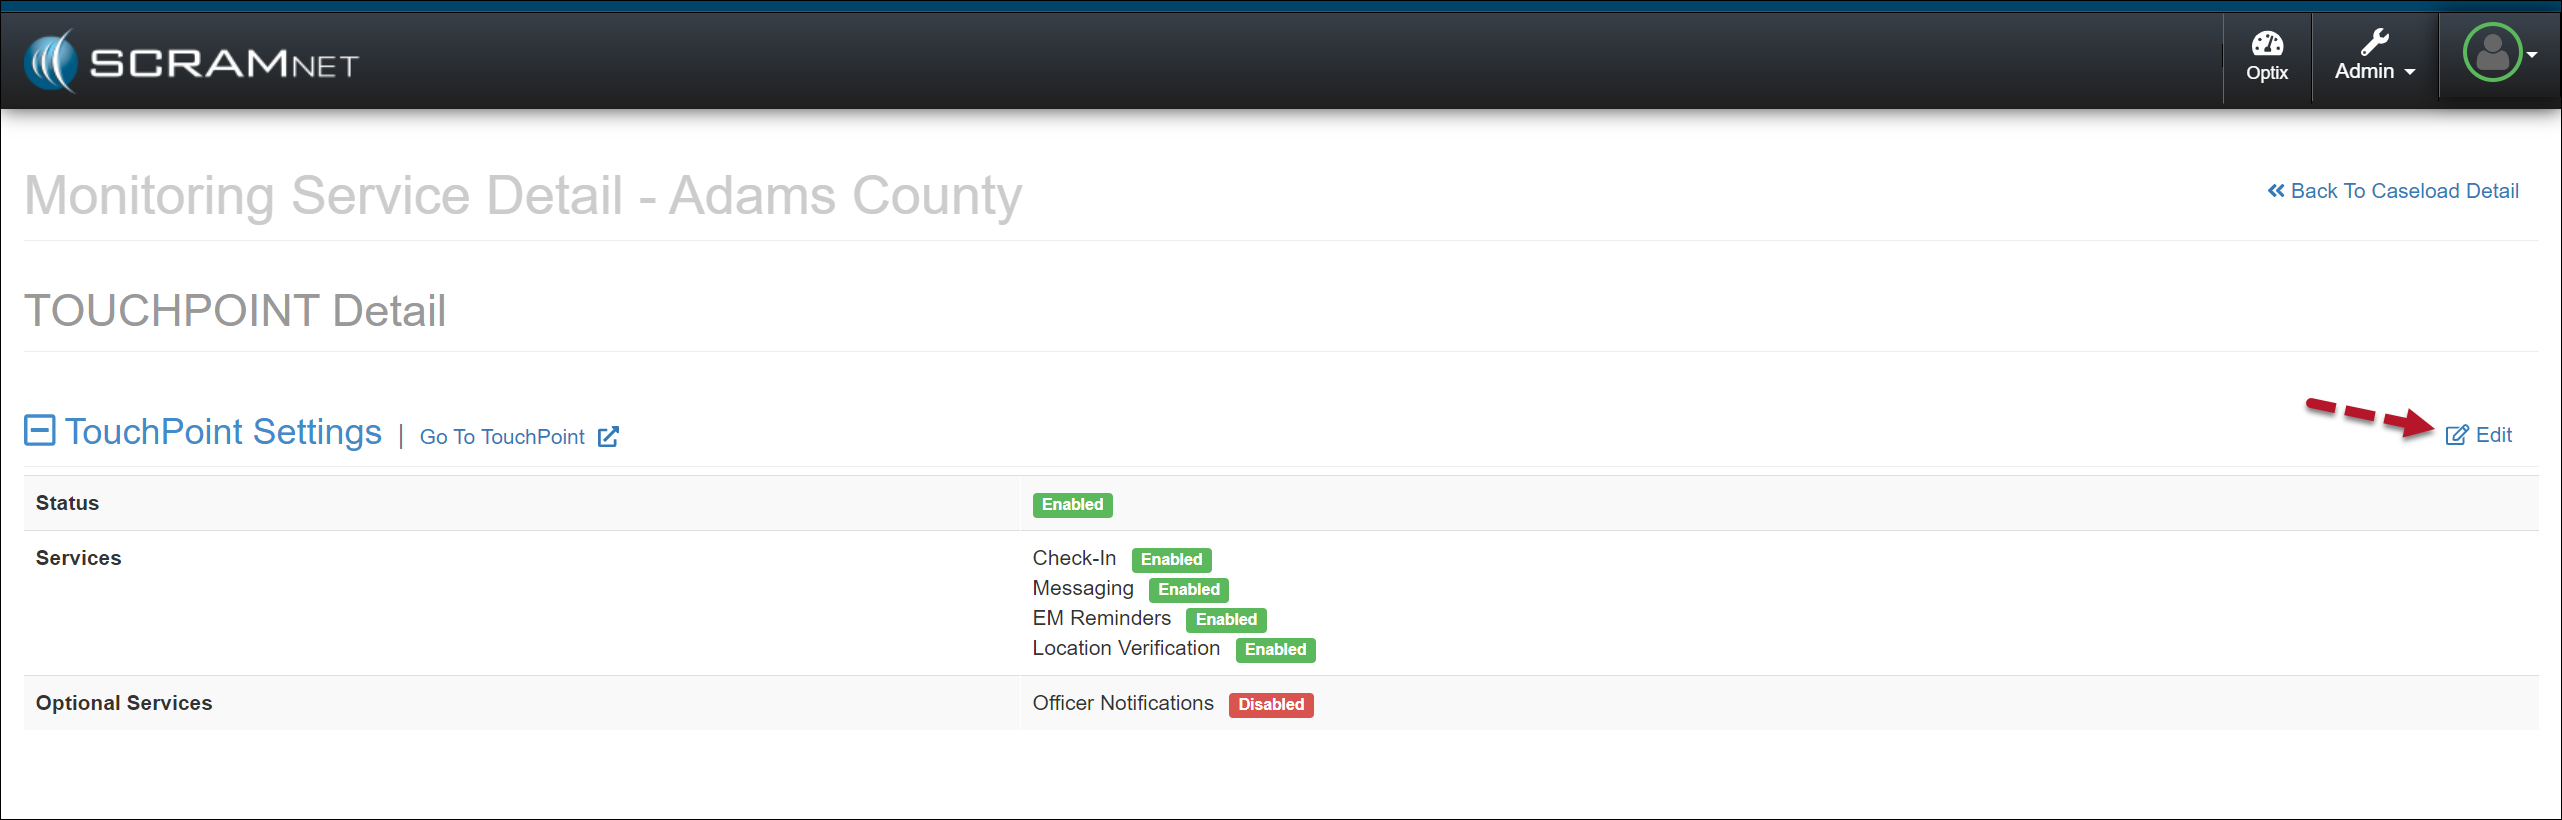
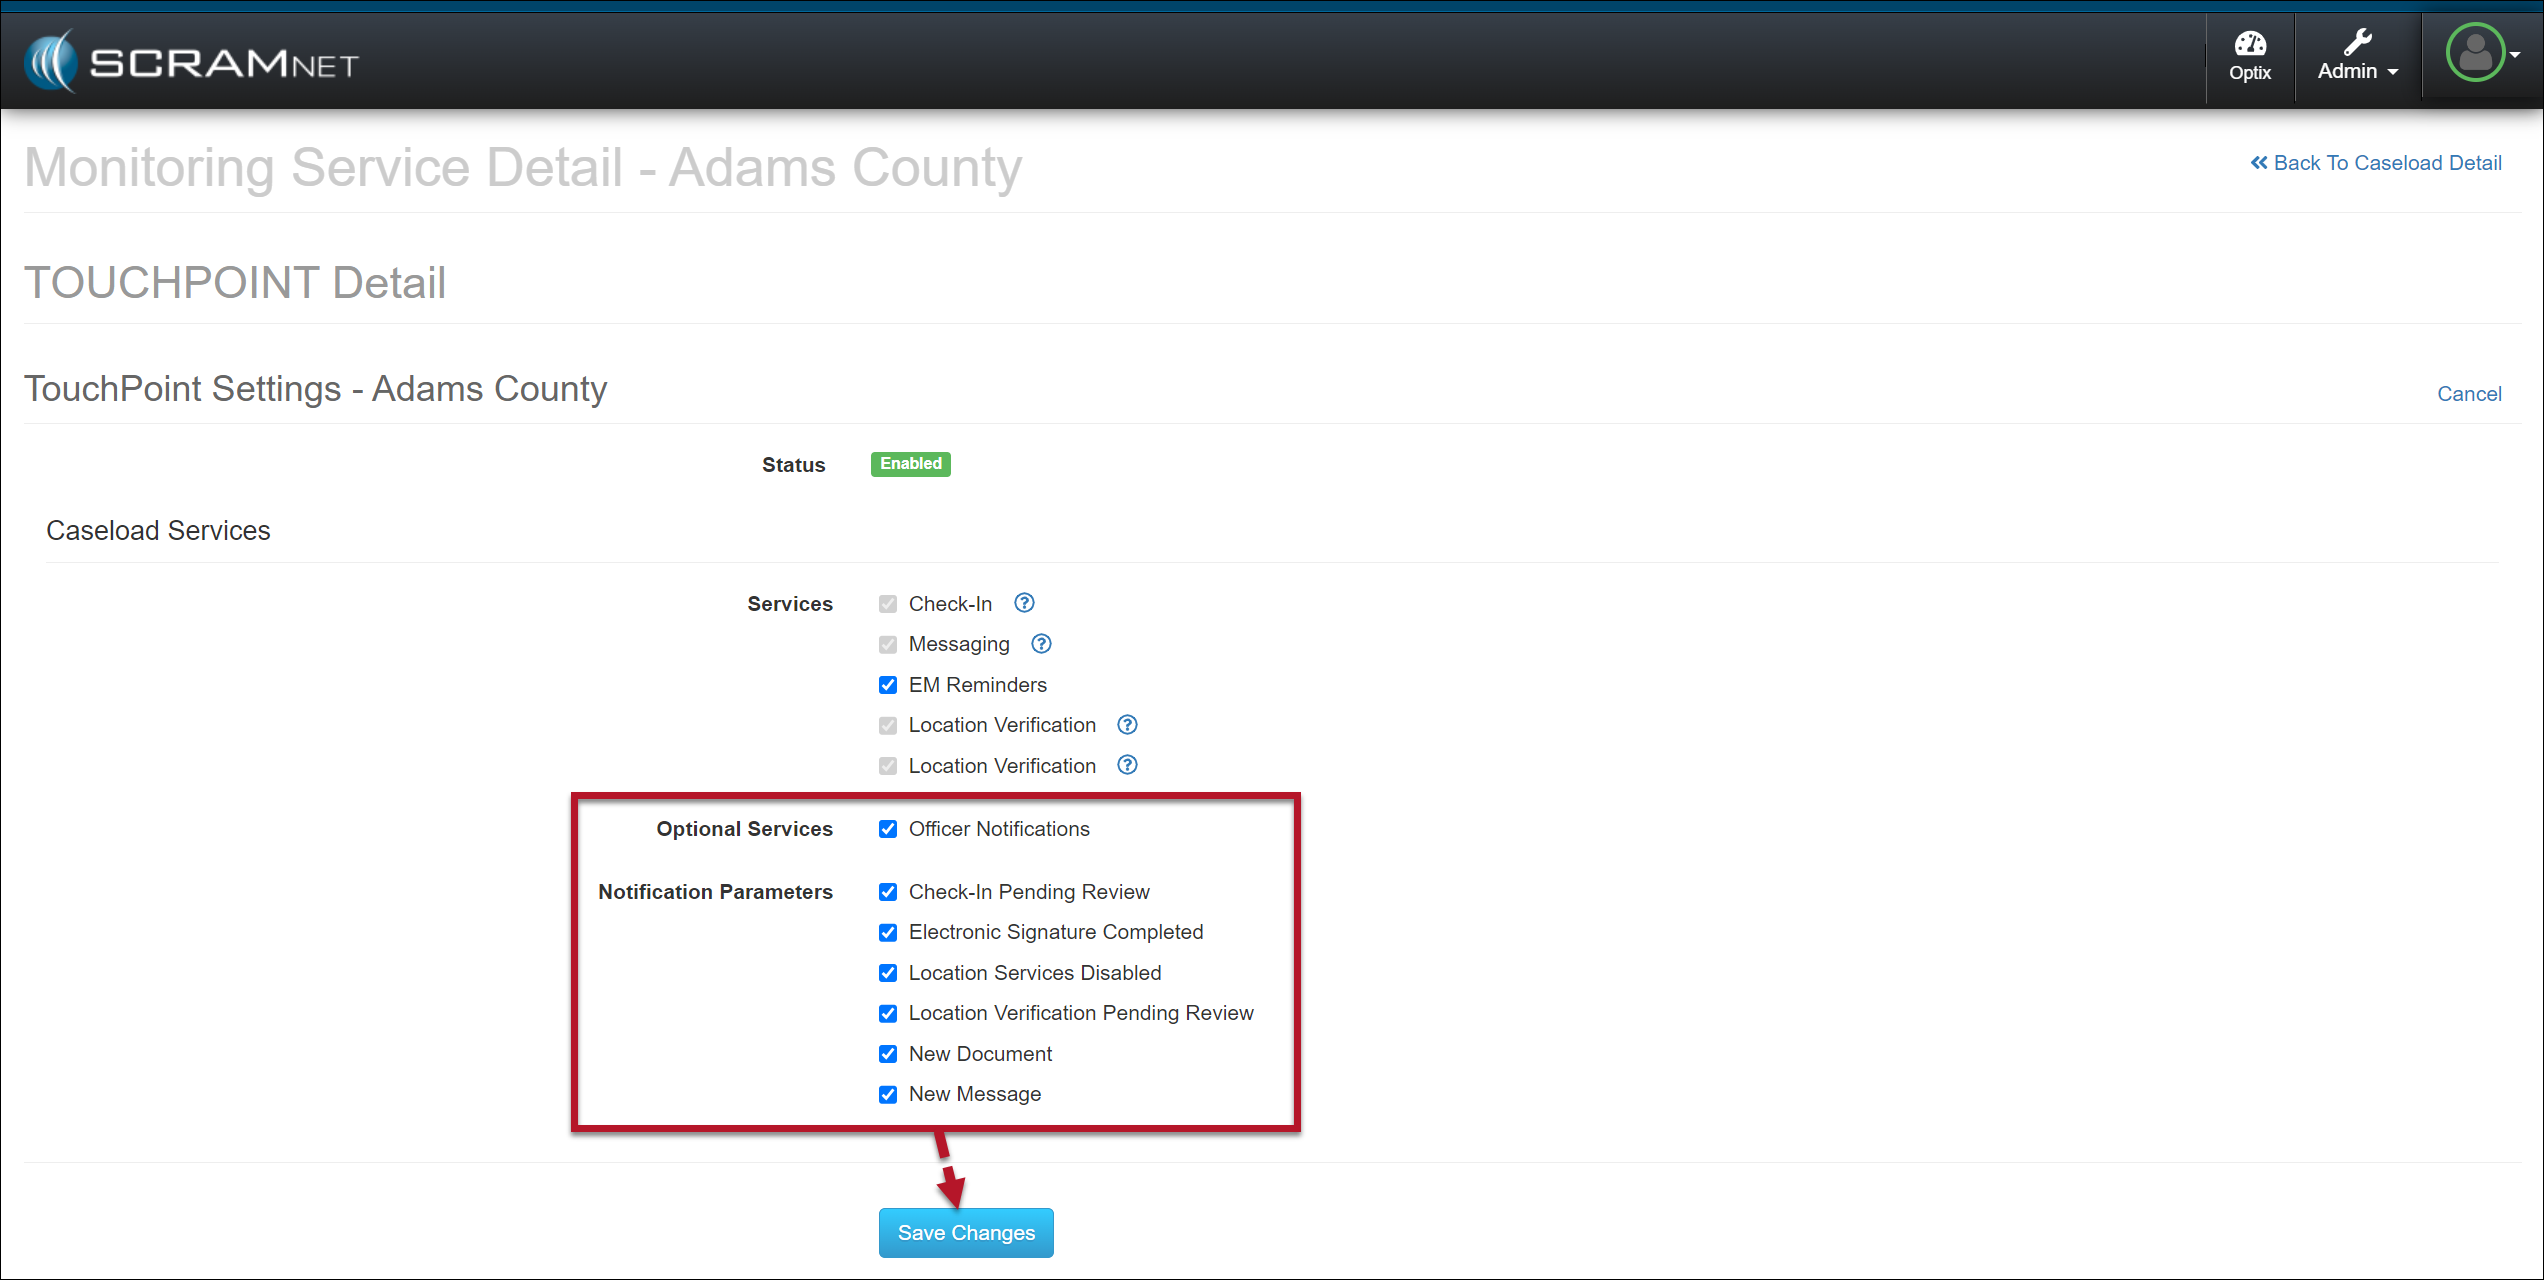
- To enable the “Officer Notifications” in the Optional Services section, select the Edit hyperlink.
- Select the checkbox next to Officer Notifications.
- Select the events for which you want automated notification for the entire caseload.
- Save the selections by selecting the Save Changes button.
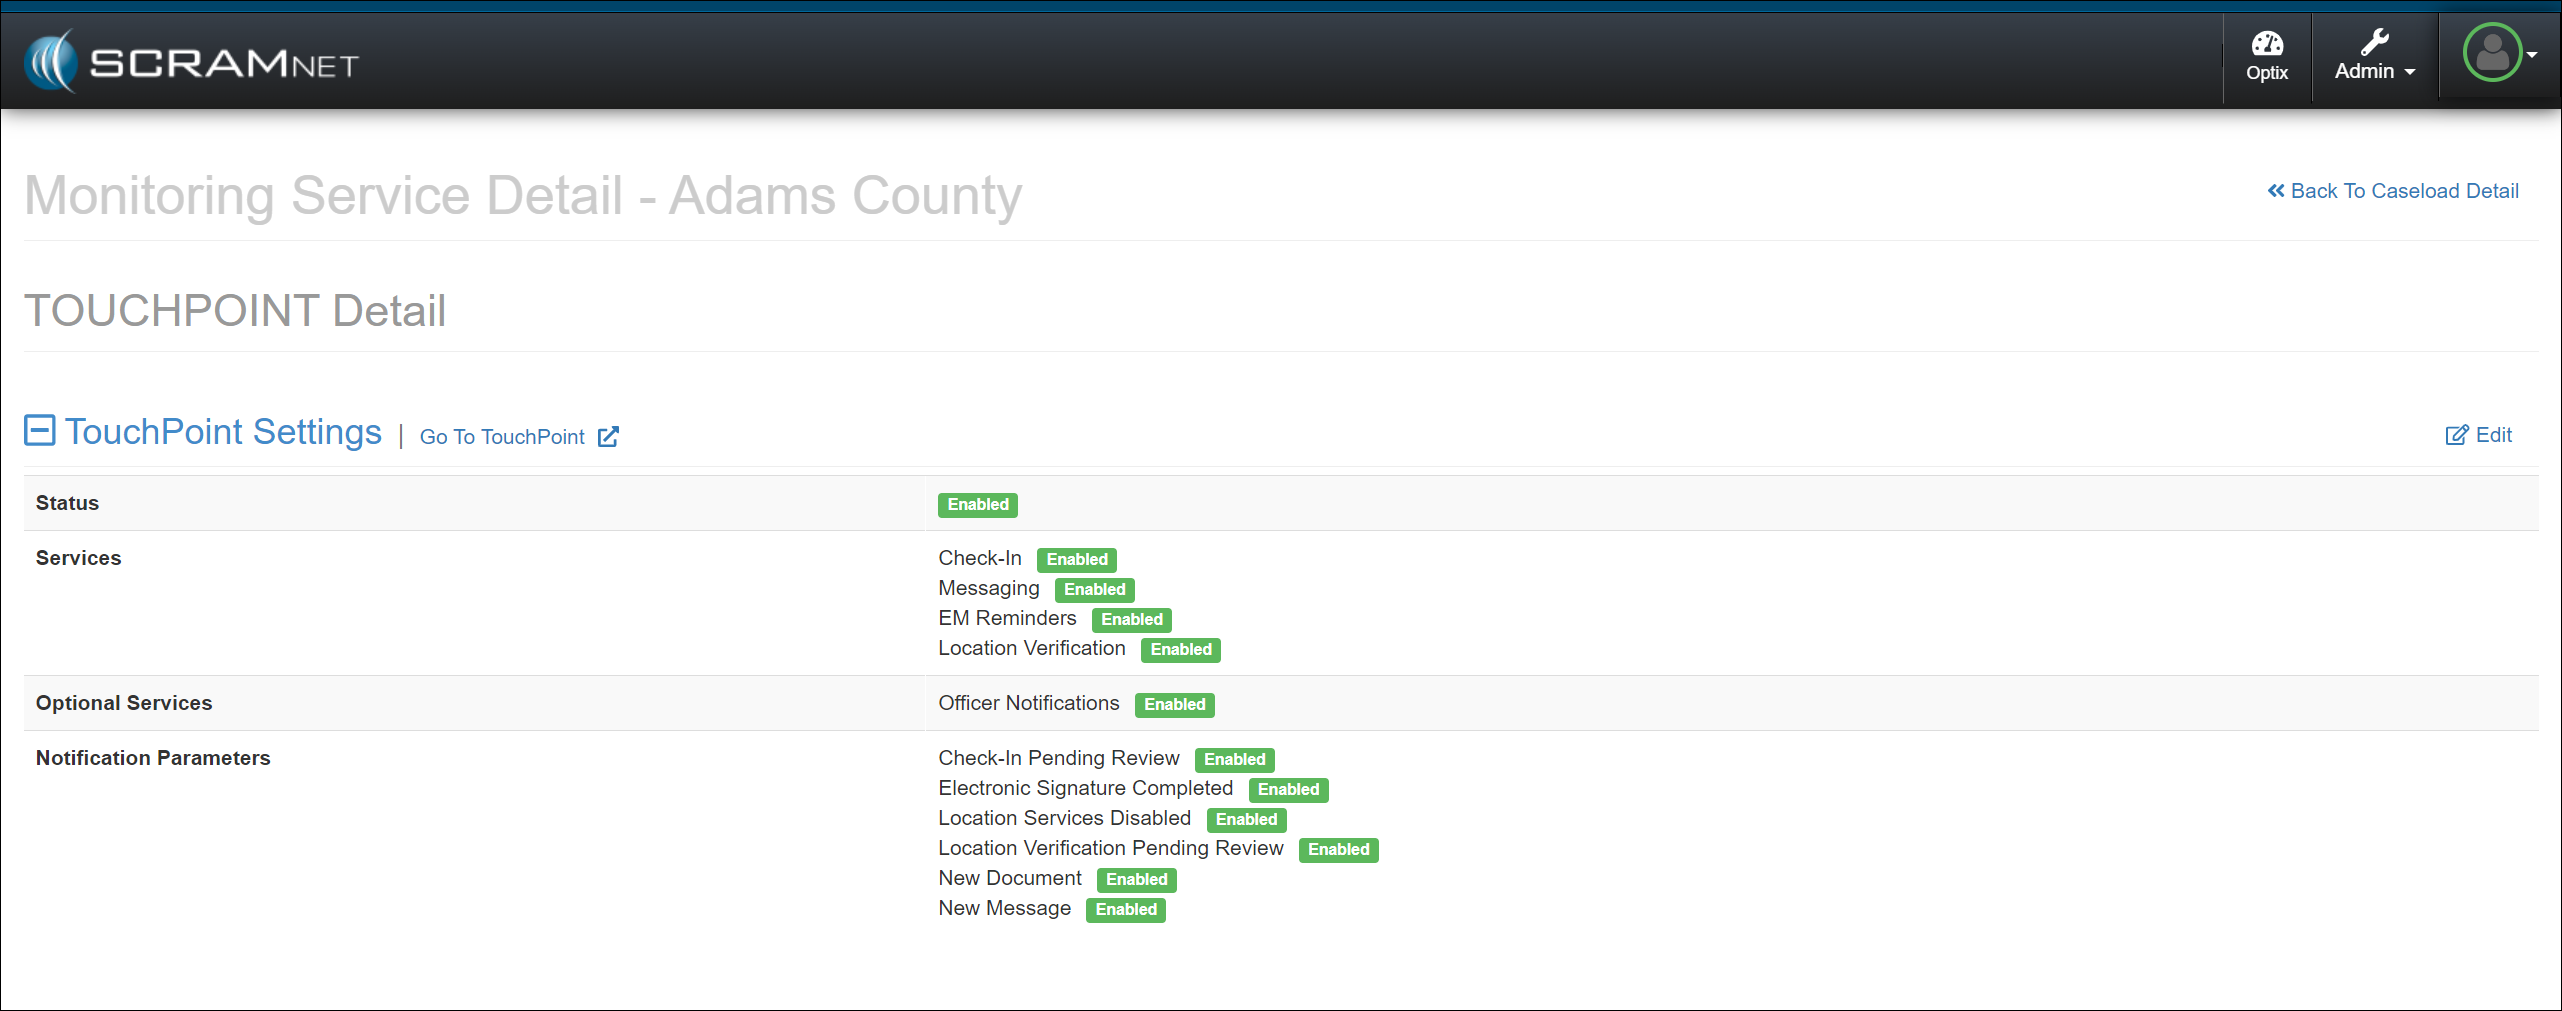
Officer Notifications are now enabled for your TouchPoint Caseload.
Enable User Notifications
Once enabled at the Caseload level, users may then switch on notifications by adding their preferred notification methods and schedules.
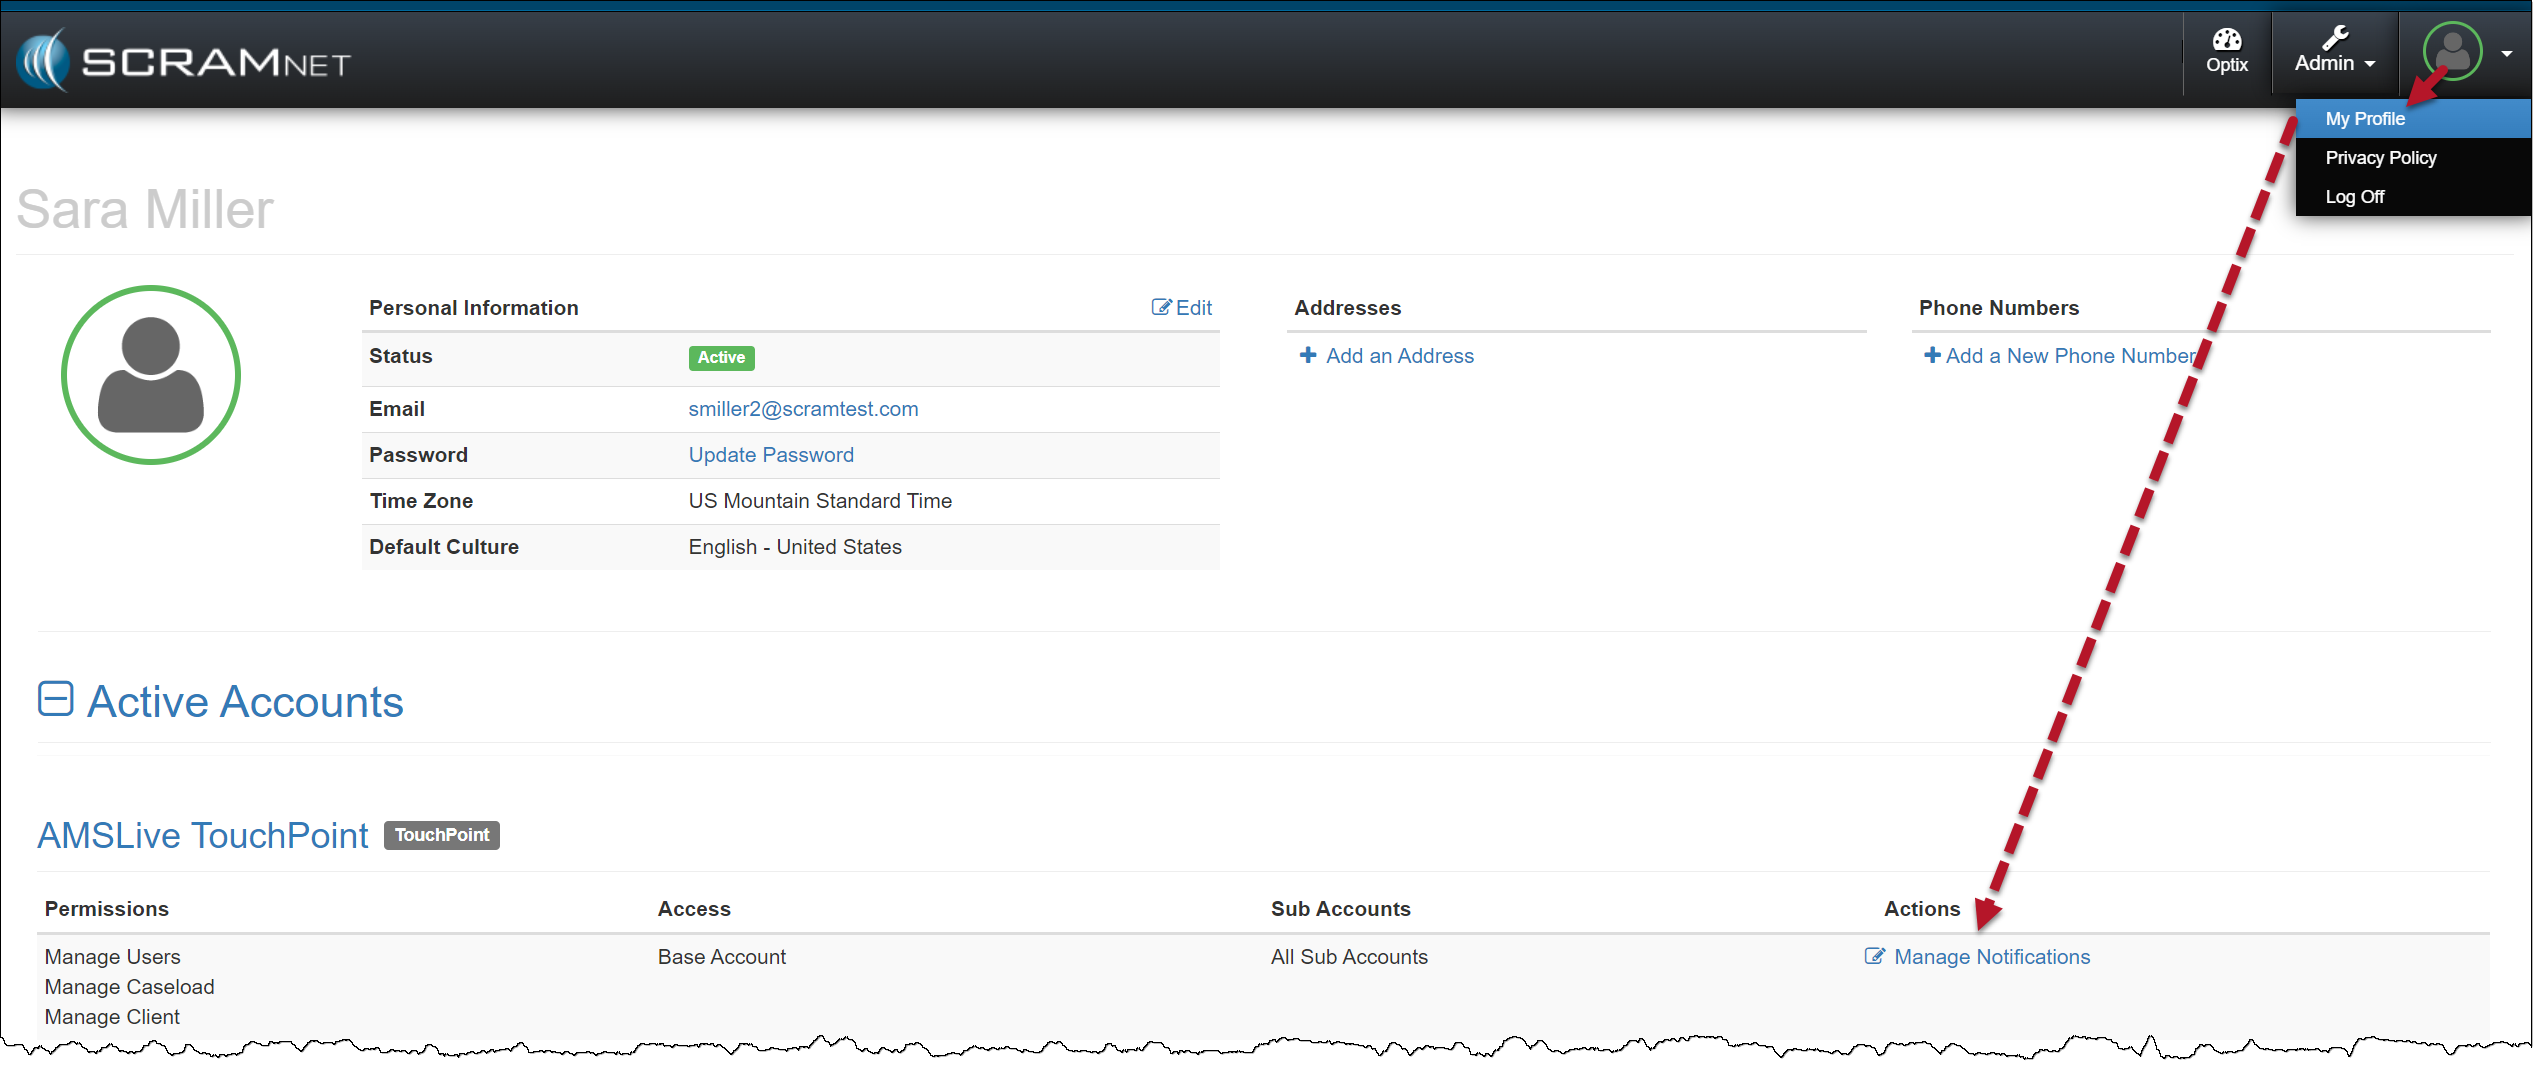
- Navigate to the My Profile page.
- Locate and select the Manage Notifications hyperlink for the TouchPoint Caseload.
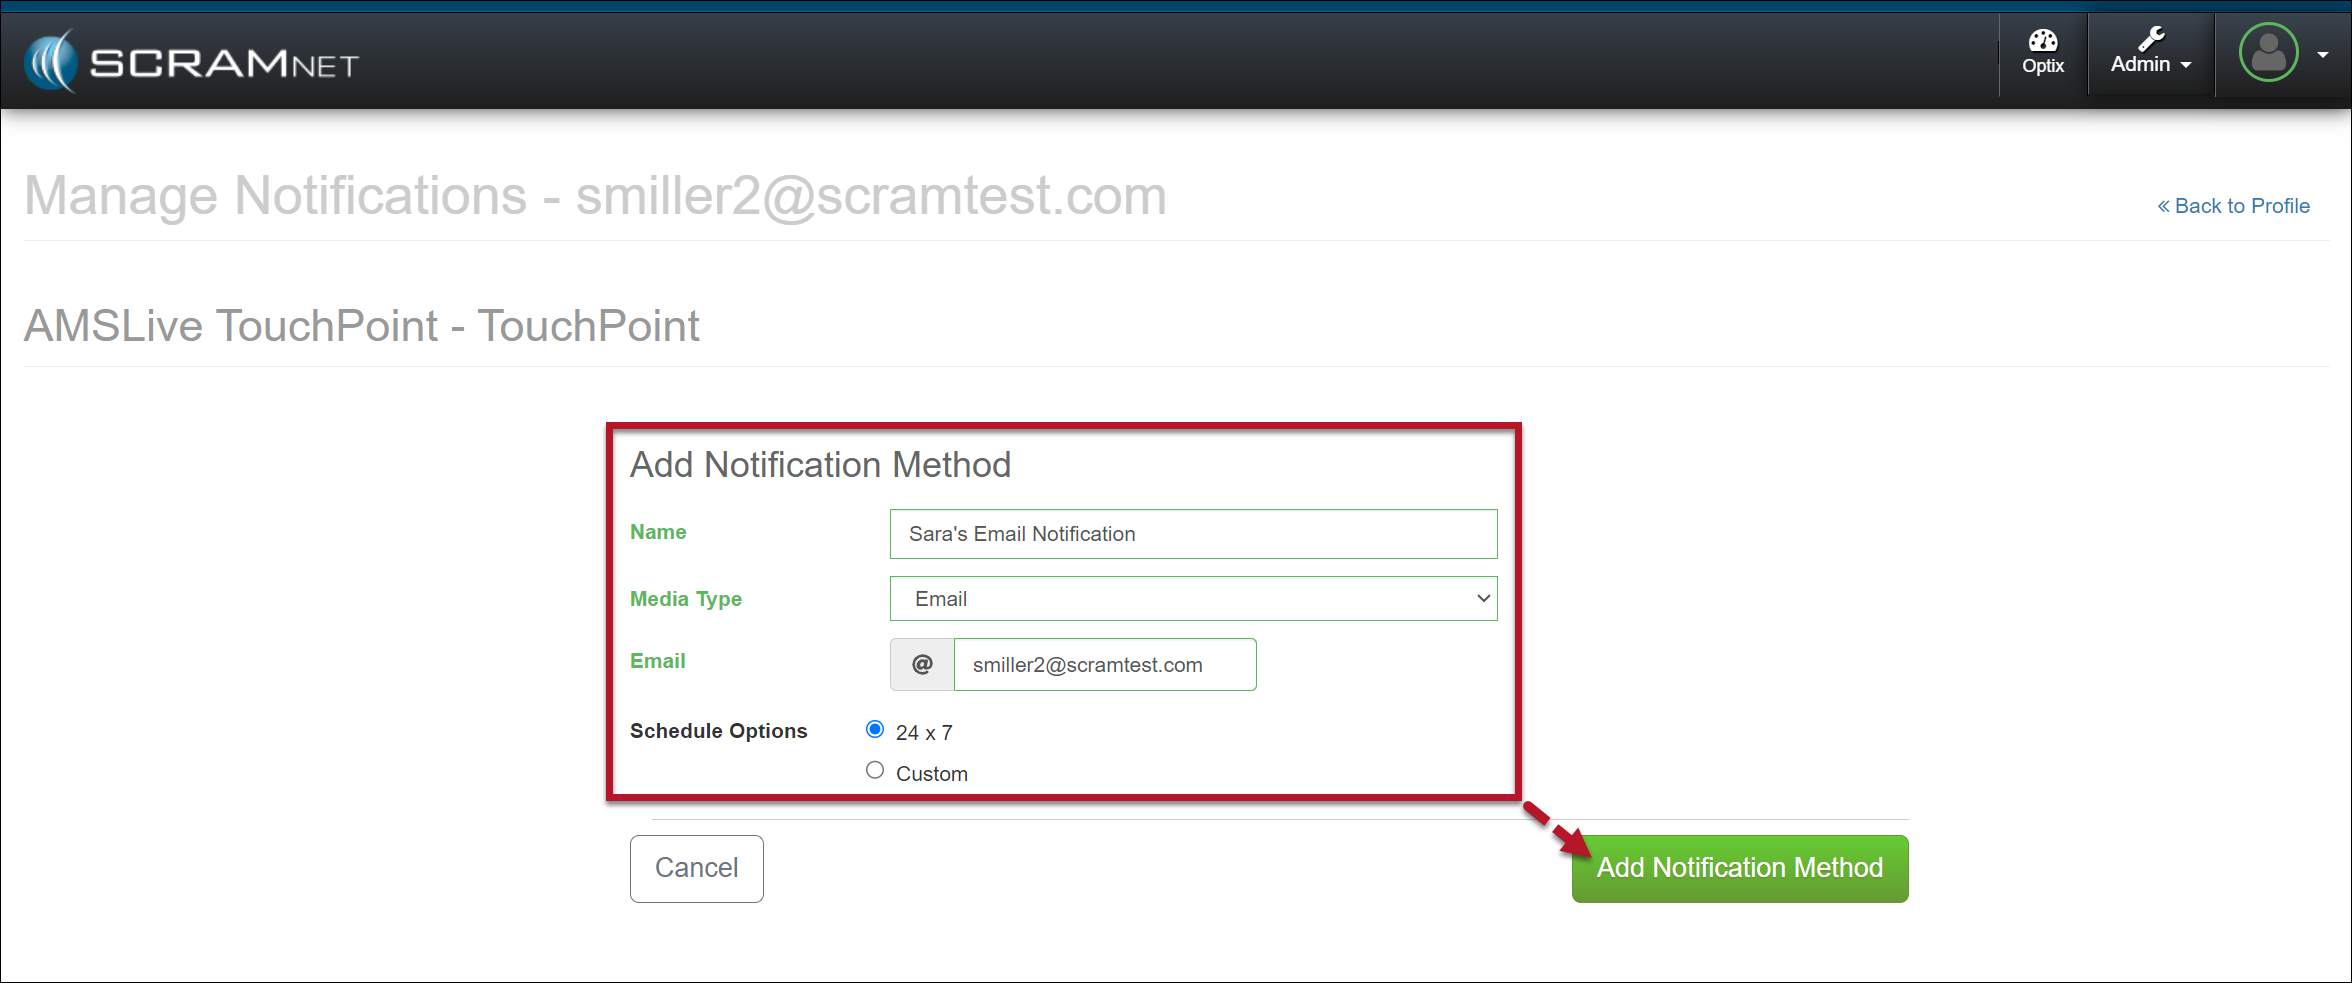
- Select the +Add Notification Method button.
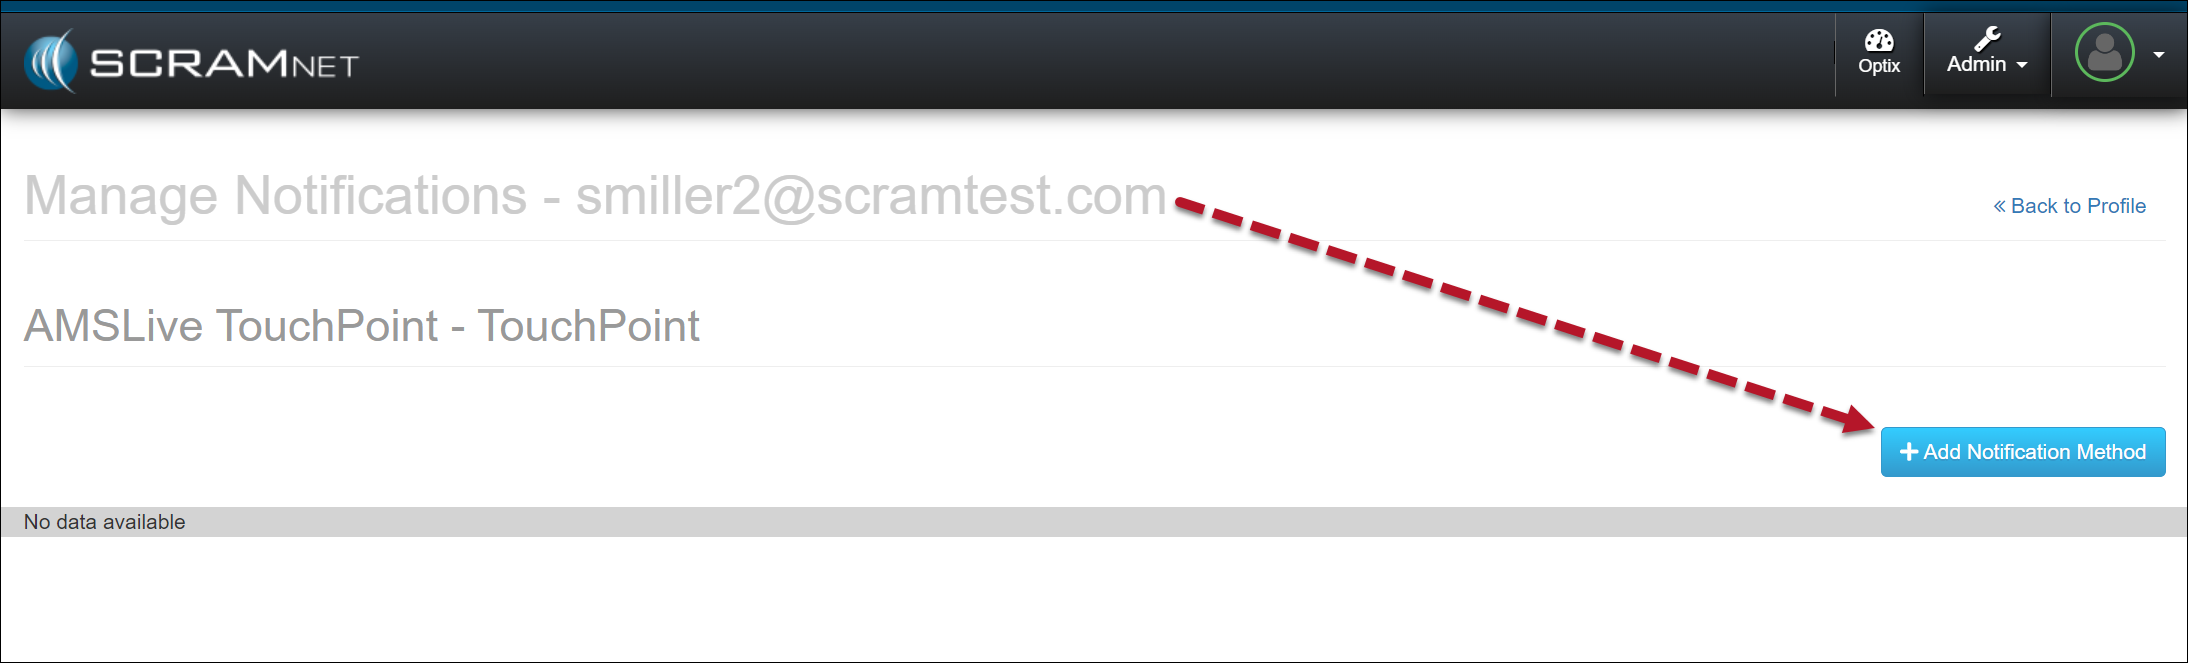
- Enter the details for the notification method. In the Schedule Options section, select the Custom option to customize the timeframe for which you wish to receive electronic notification or leave it at the default of 24×7.
- Select the Add Notification Method button to save the notification method.
Once saved, the user’s Manage Notifications page will display the notification method as “Awaiting Validation,” and a validation email or text message will be sent using the notification method entered.
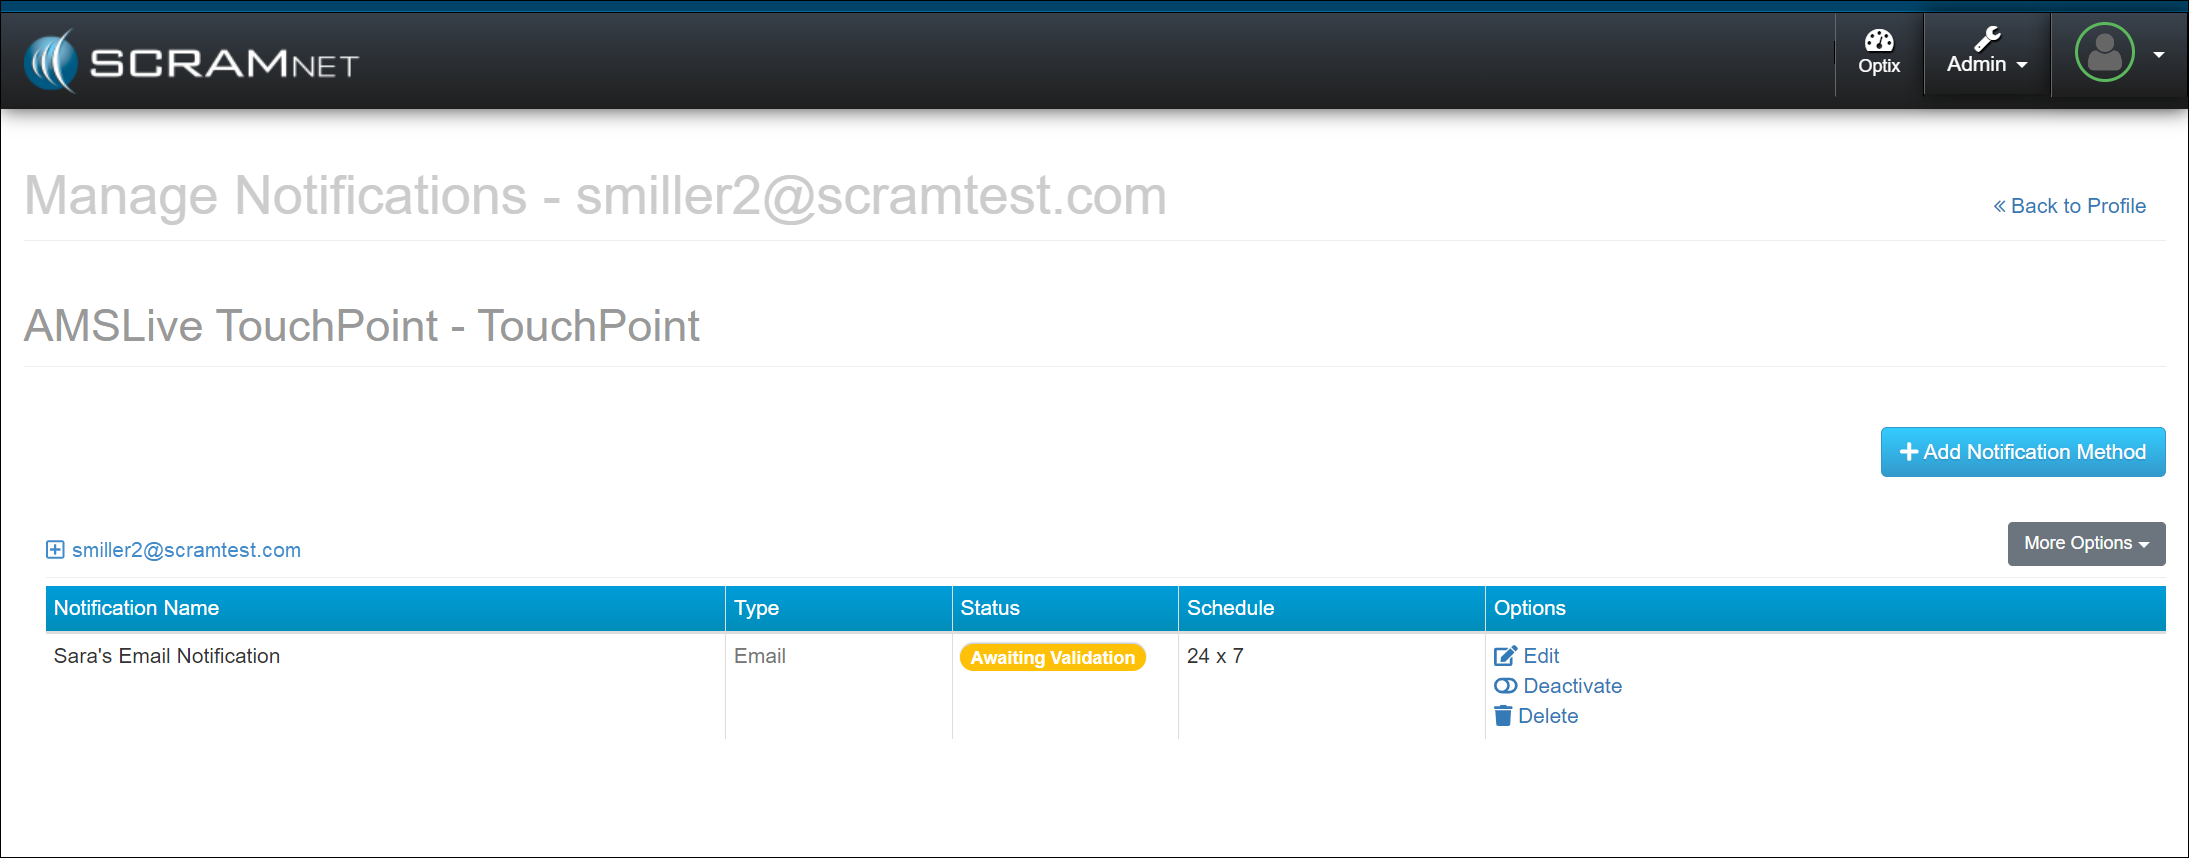
Once received, follow the email or text instructions to validate the delivery method. Refresh the Manage Notifications page, and the notification status will update to “Active.”
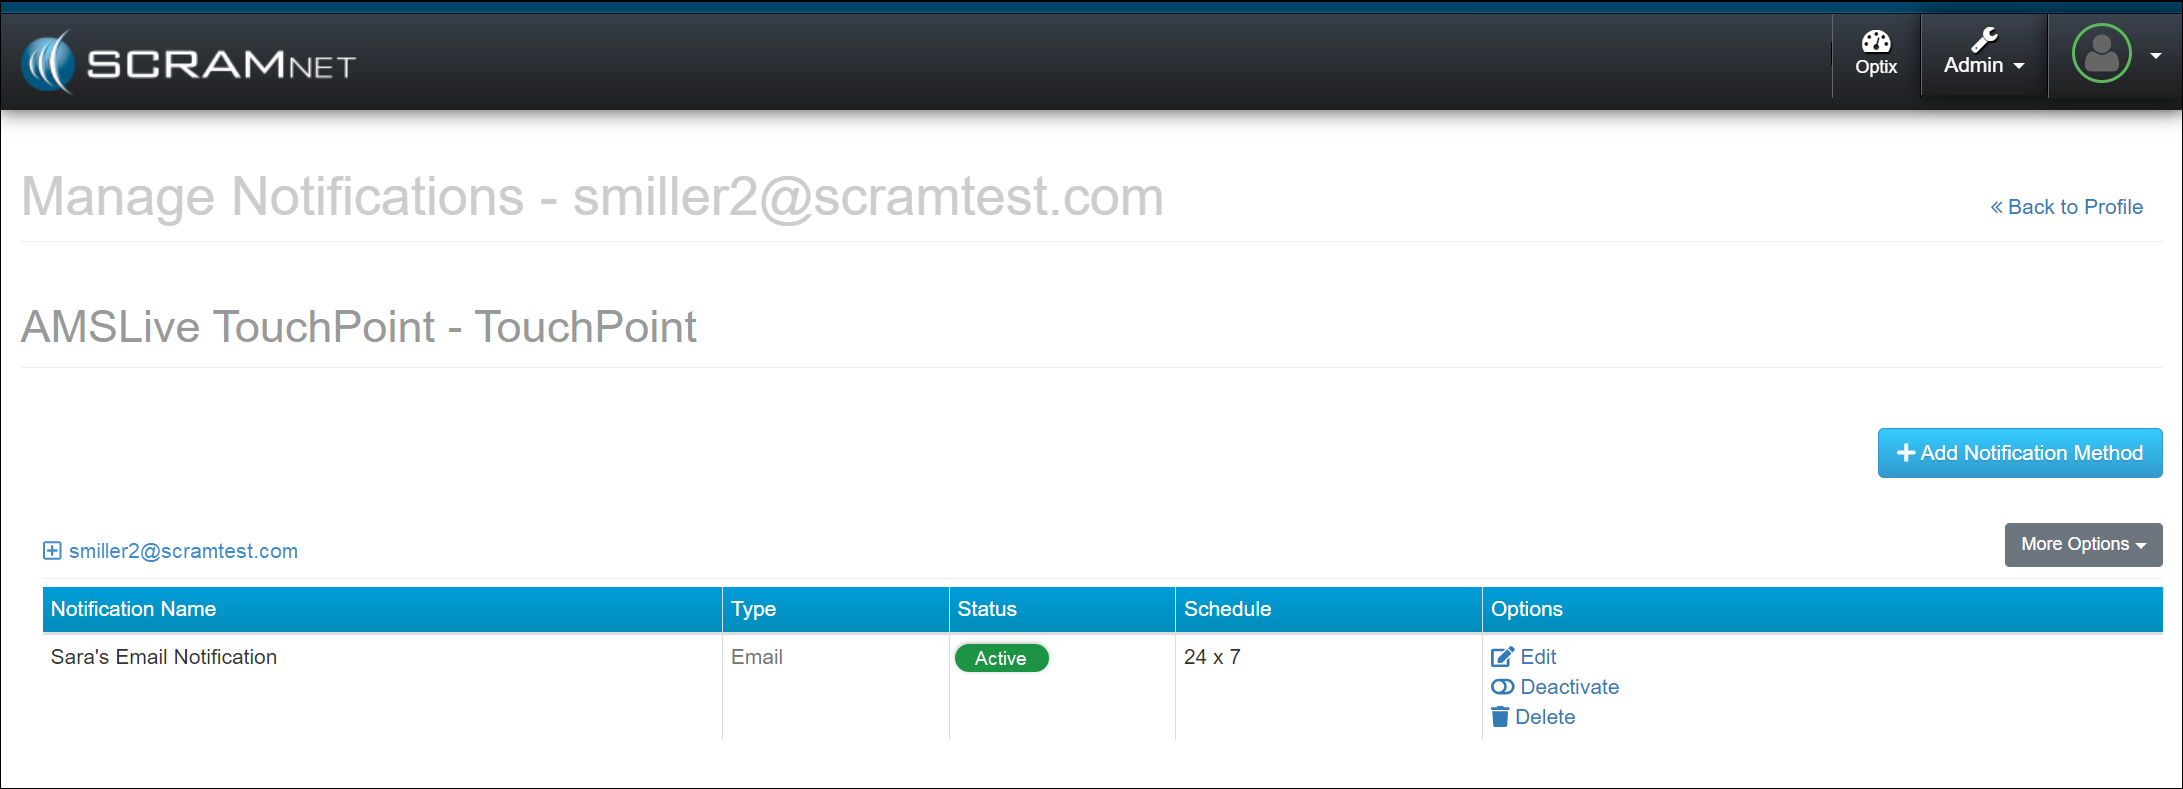
In the Options column, use the hyperlinks to edit, deactivate, or delete the notification method. Additionally, you may select the “More Options” button and edit the notification method or send a test email or text message.